Document to PDF using custom fonts
This guide will teach you how to change the font style of the document by converting it to PDF.
Before you begin
You should get your API key from your UniCloud account.
If this is your first time using UniOffice SDK, follow this guide to set up a local development environment.
Clone the project repository
In your terminal, clone the examples repository. It contains the Go code we will be using for this guide.
git clone https://github.com/unidoc/unioffice-examples
Navigate to the path document/doc-to-pdf-fonts folder in the unioffice-examples directory.
cd unioffice-examples/document/doc-to-pdf-fonts/
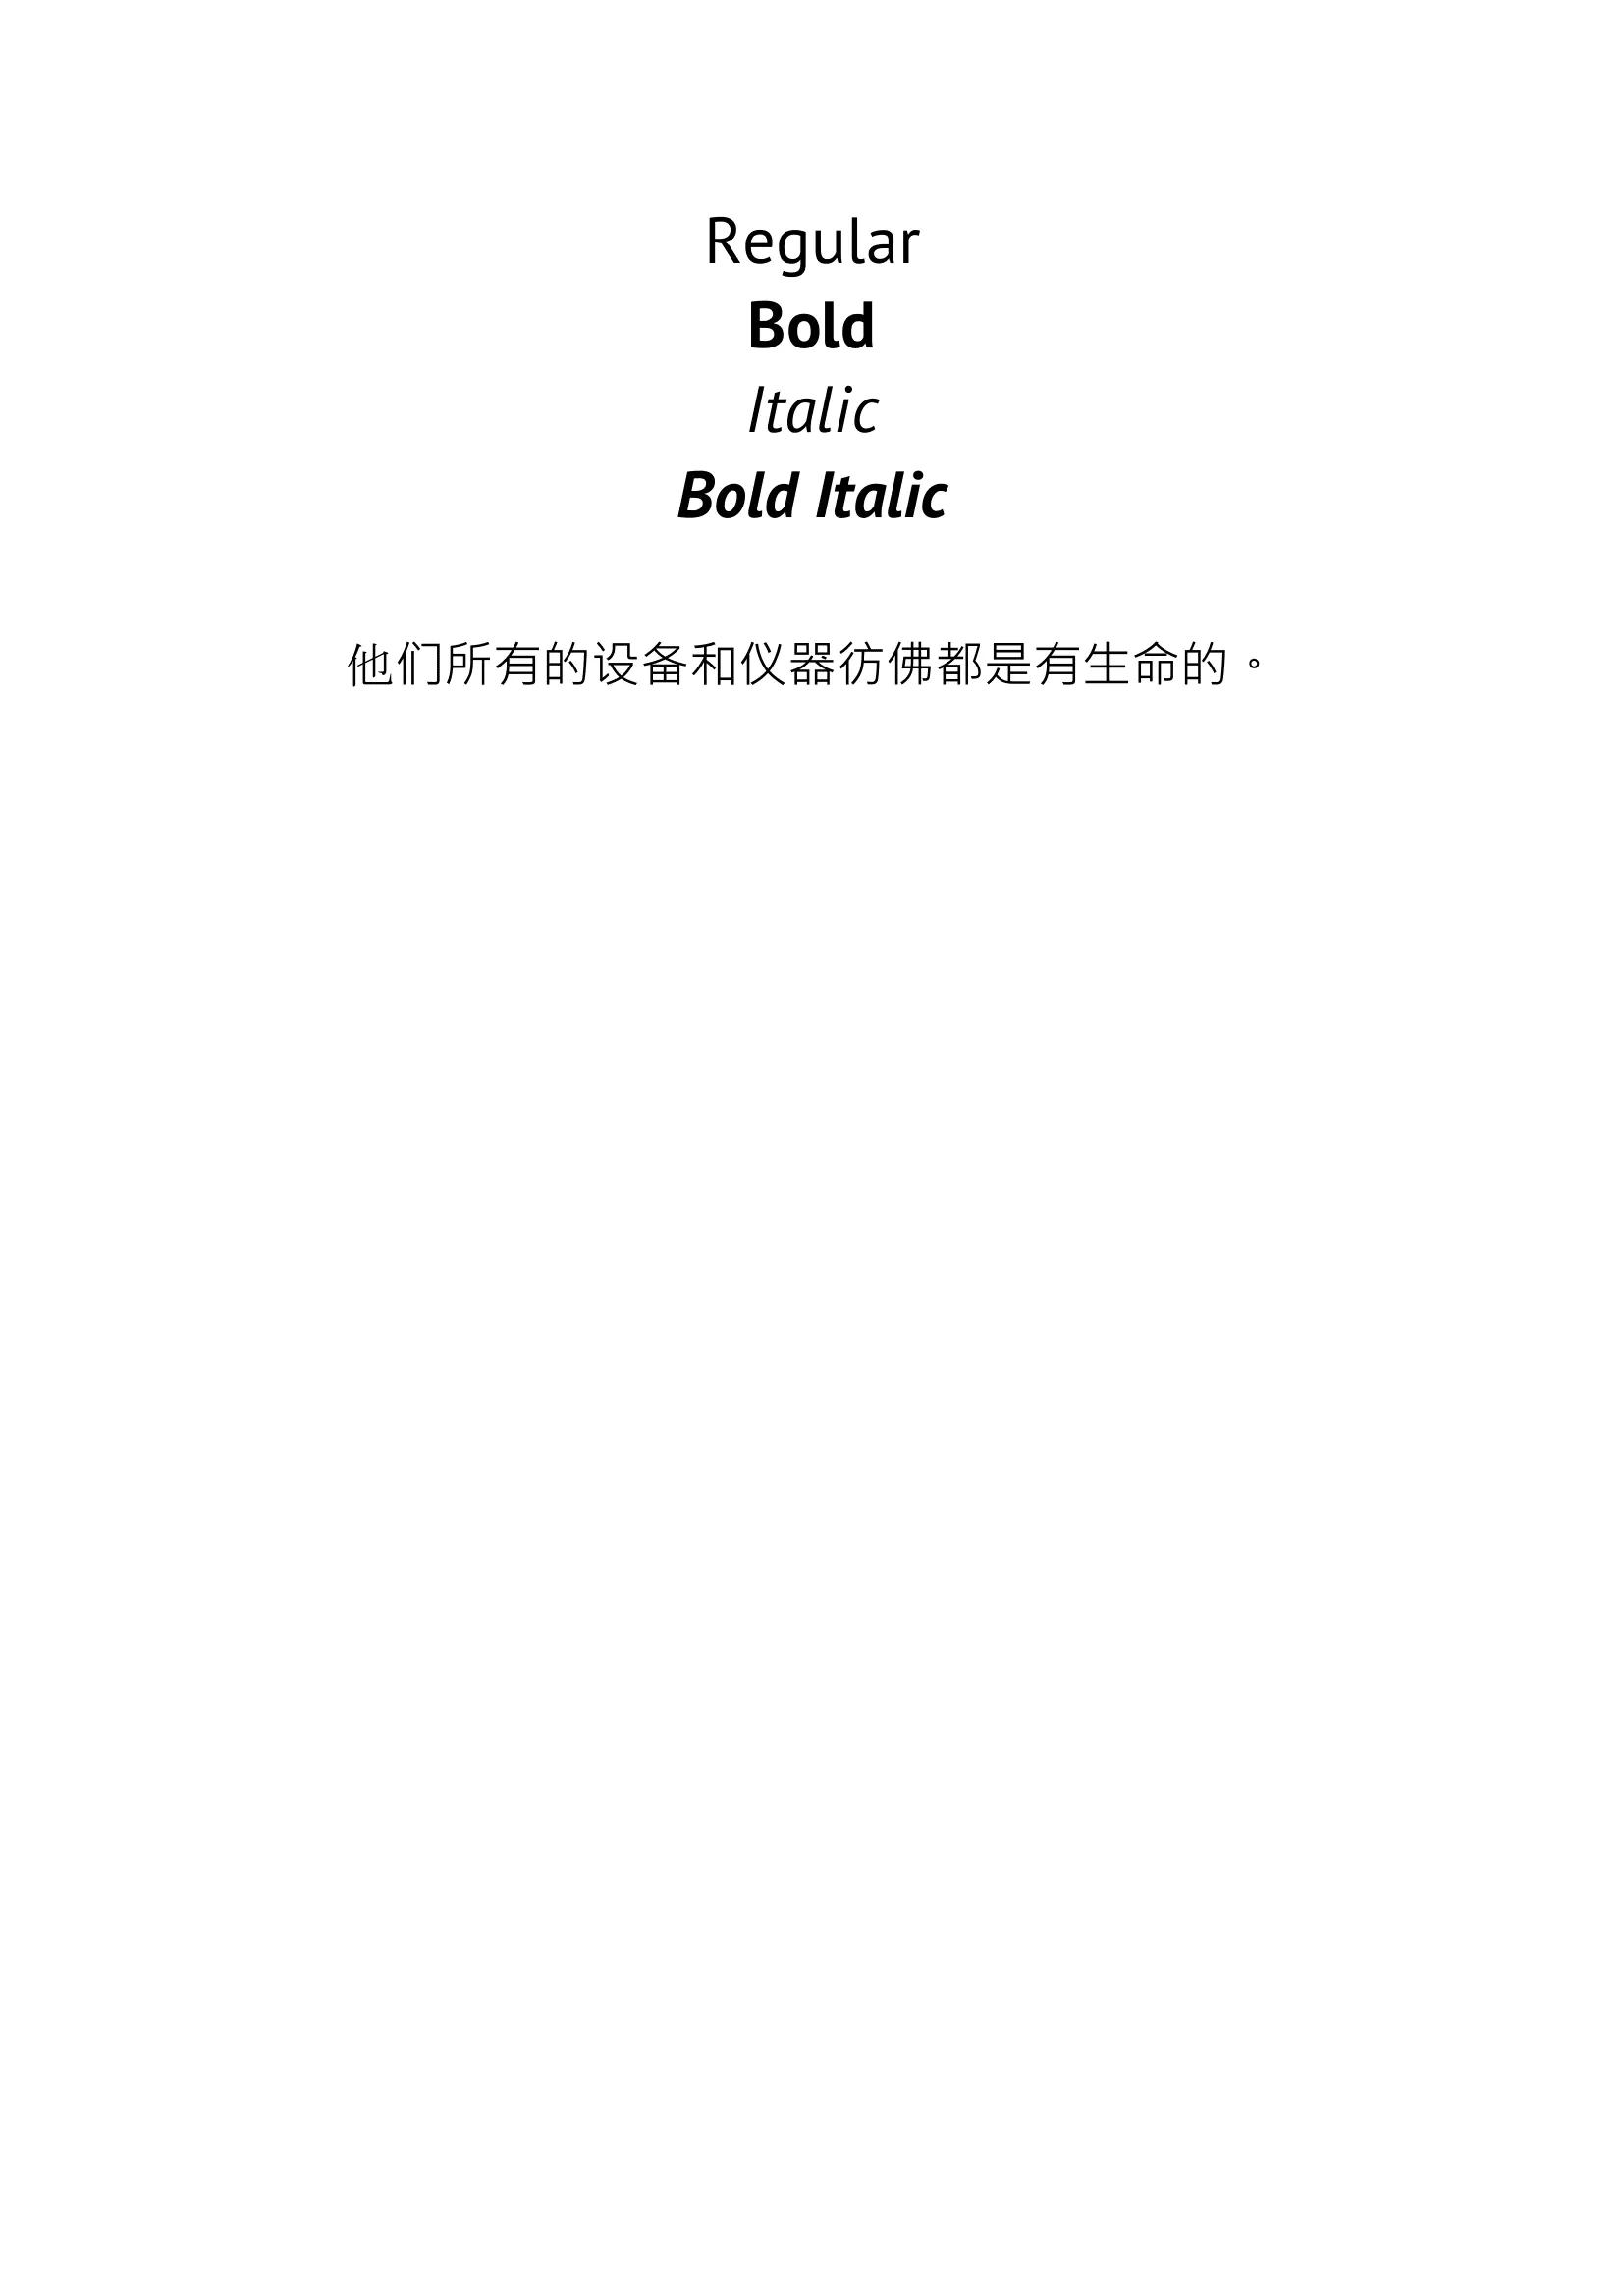
You can also find the “fonts.docx” file in the initial directory, which will be used in the code of the guide.
How it works
Lines 7-18 import the UniOffice packages and other required dependencies.
The init function in lines 20-29 authenticates your request with your UNIDOC_LICENSE_API_KEY.
The main function spans from line 41 to 67, demonstrating two methods for registering new external fonts. The first method, found at line 44, registers all the fonts from a specified directory using the RegisterFontsFromDirectory function.
Another more specific method involves obtaining the font file using the NewCompositePdfFontFromTTFFile method, as seen in line 50, and then, as shown in line 54, registering it using the RegisterFont method.
Subsequently, the document is opened in line 56, and at line 61, it is converted to PDF using the defined font with the ConvertToPdf method. The result is written as a PDF in line 63.
Run the code
Execute the following command to convert the Word document into a PDF document with a custom font style.
go run main.go
Sample output