Node Selection
This guide demonstrates how to select different types of nodes in a document and create a file for each of them.
Before you begin
You should get your API key from your UniCloud account.
If this is your first time using UniOffice SDK, follow this guide to set up a local development environment.
Clone the project repository
In your terminal, clone the examples repository. It contains the Go code we will be using for this guide.
git clone https://github.com/unidoc/unioffice-examples
To get the example navigate to the path document/node-selection folder in the unioffice-examples directory.
cd unioffice-examples/document/node-selection/
Here is the file that will be used in this example:
How it works
Lines 13-19 import the UniOffice packages and other required dependencies.
The init function in lines 21-28 authenticates your request with your UNIDOC_LICENSE_API_KEY.
The main function spans from line 30 to 86. It starts by opening the document and obtaining its nodes using the Nodes function until line 38.
After obtaining these nodes, they are filtered using the FindNodeByCondition function to select those of type table, resulting in a list from lines 41 to 47. This list is then used in creating a new document at line 50, and all the table nodes are added to it using the AppendNode function at line 54. Subsequently, the file is saved, resulting in a new document containing all the table nodes from the parent document.
Following this, the same process is repeated for nodes of type paragraph.
Run the code
Run this command to perform the node selection.
go run main.go
Sample output
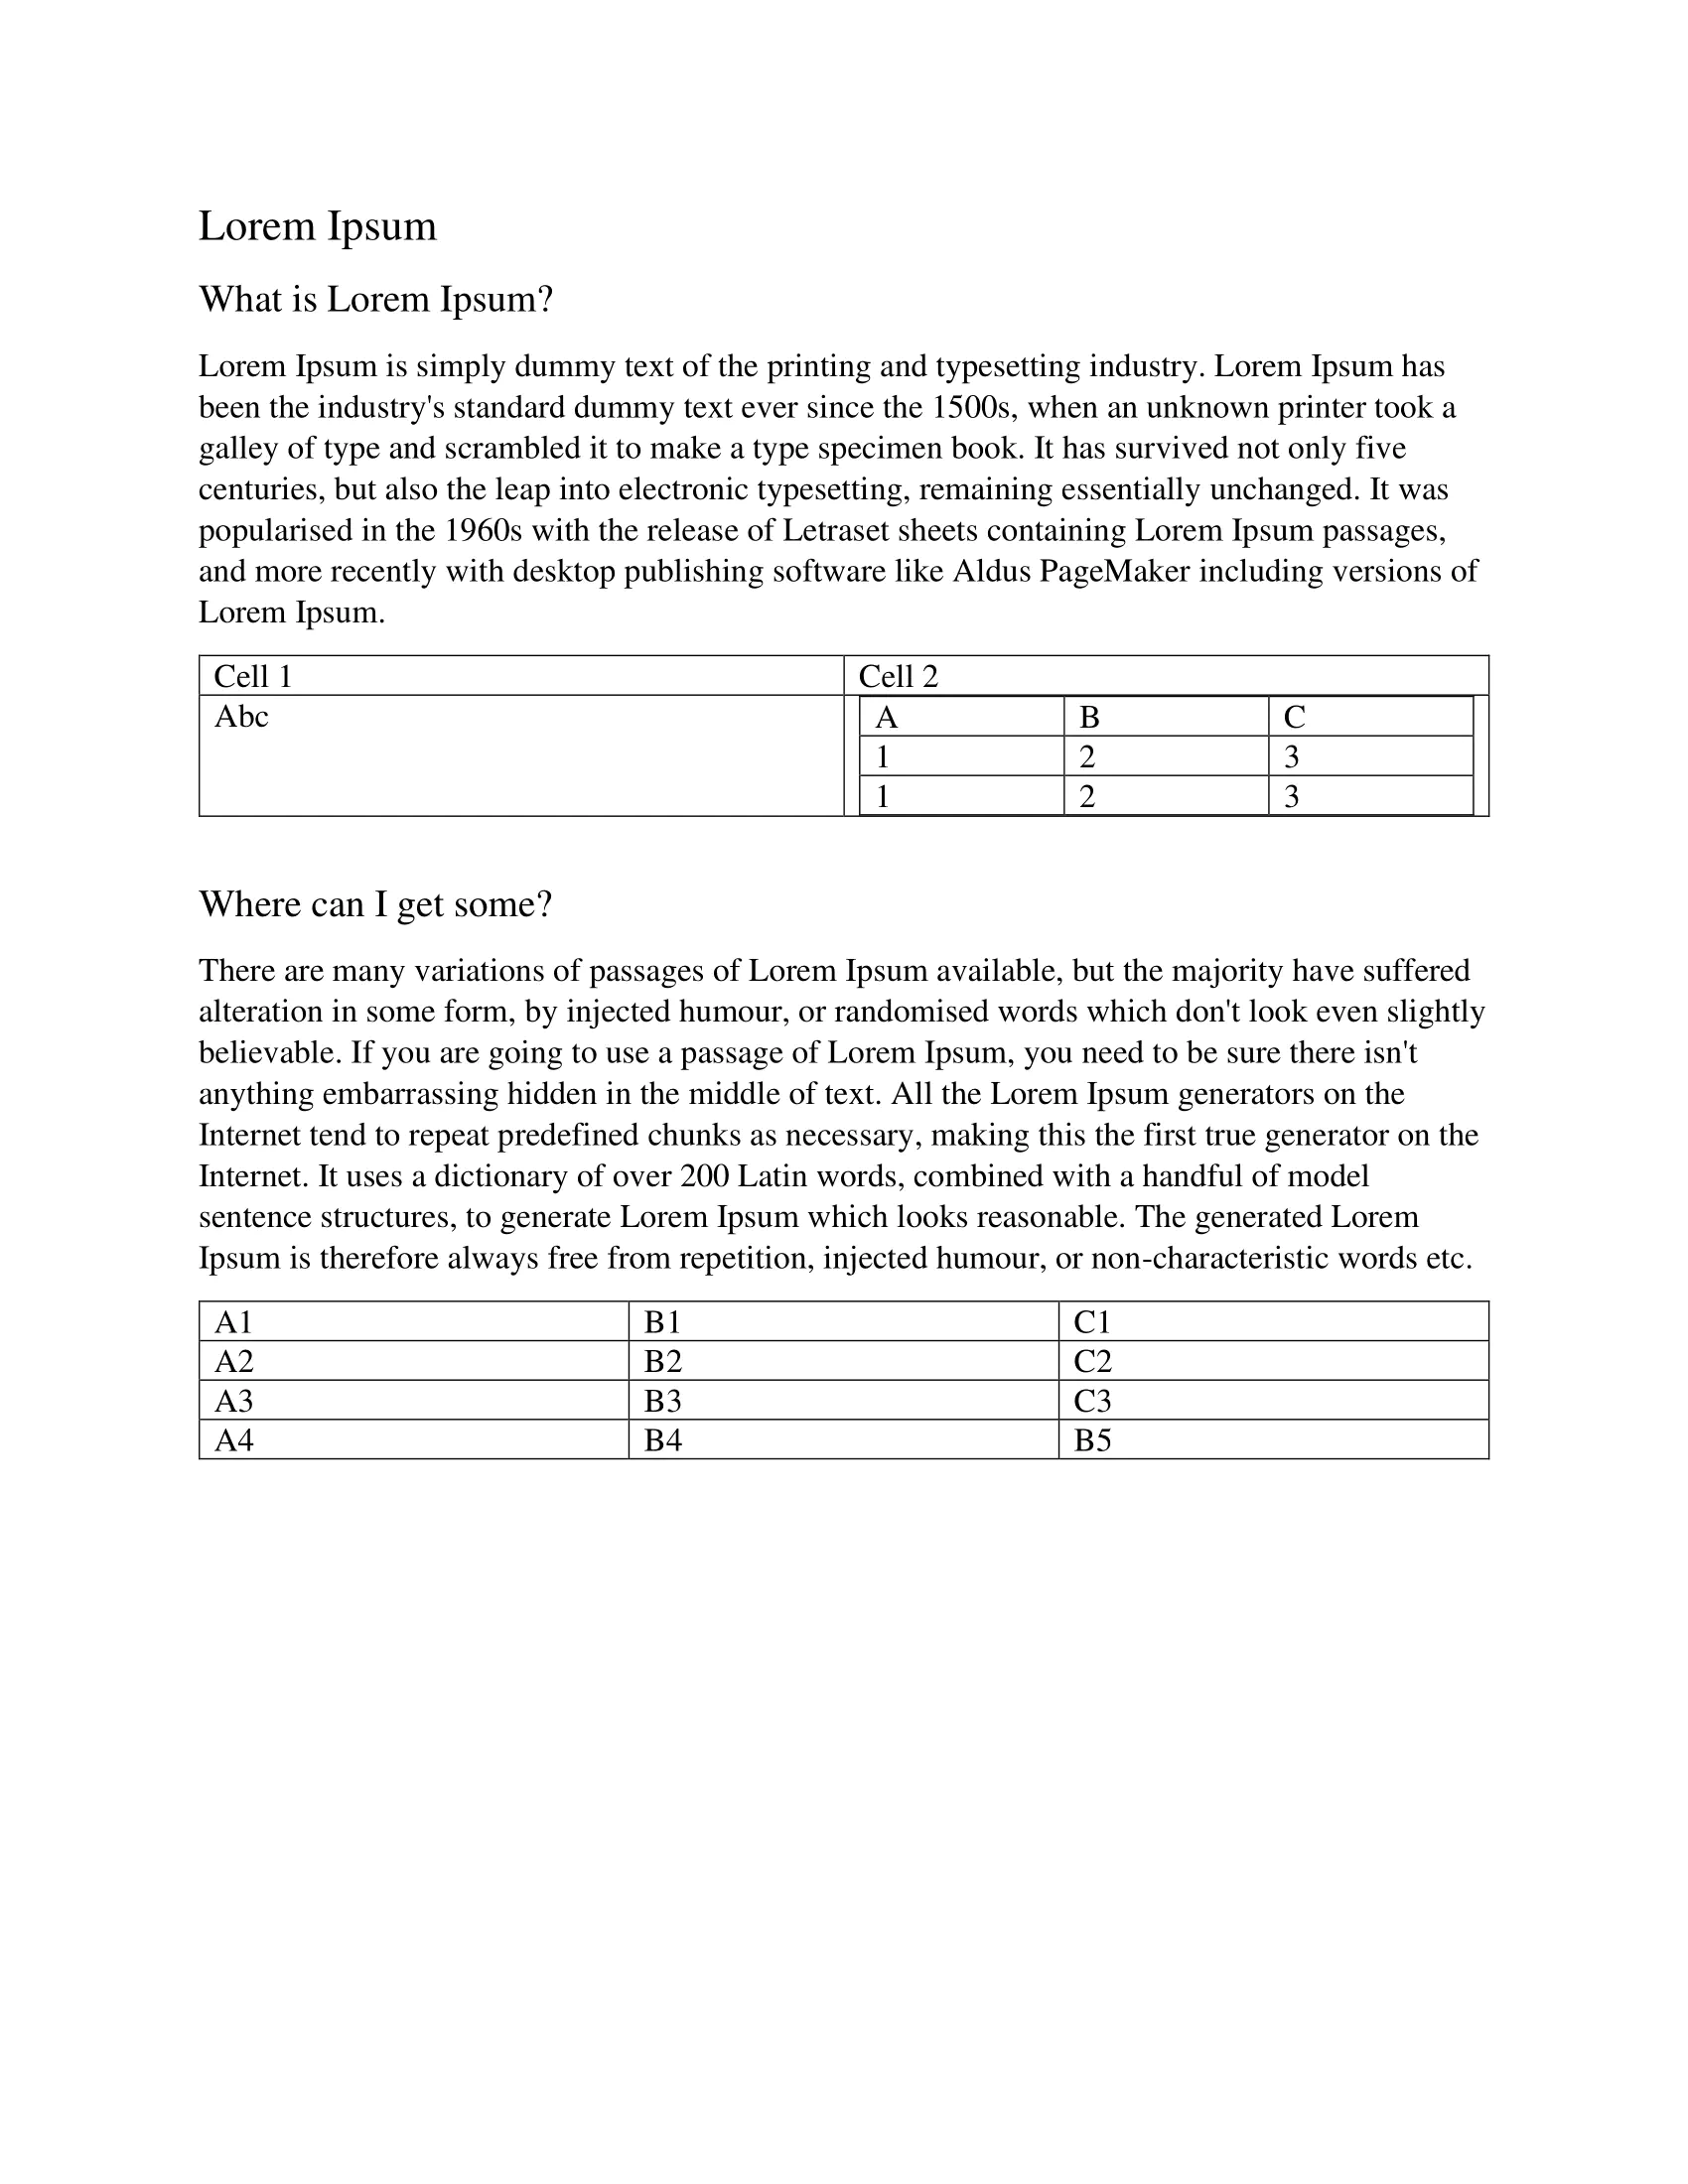
Here’s the initial document, featuring tables:

And here’s the subsequent document, which includes paragraphs: