Watermark Image
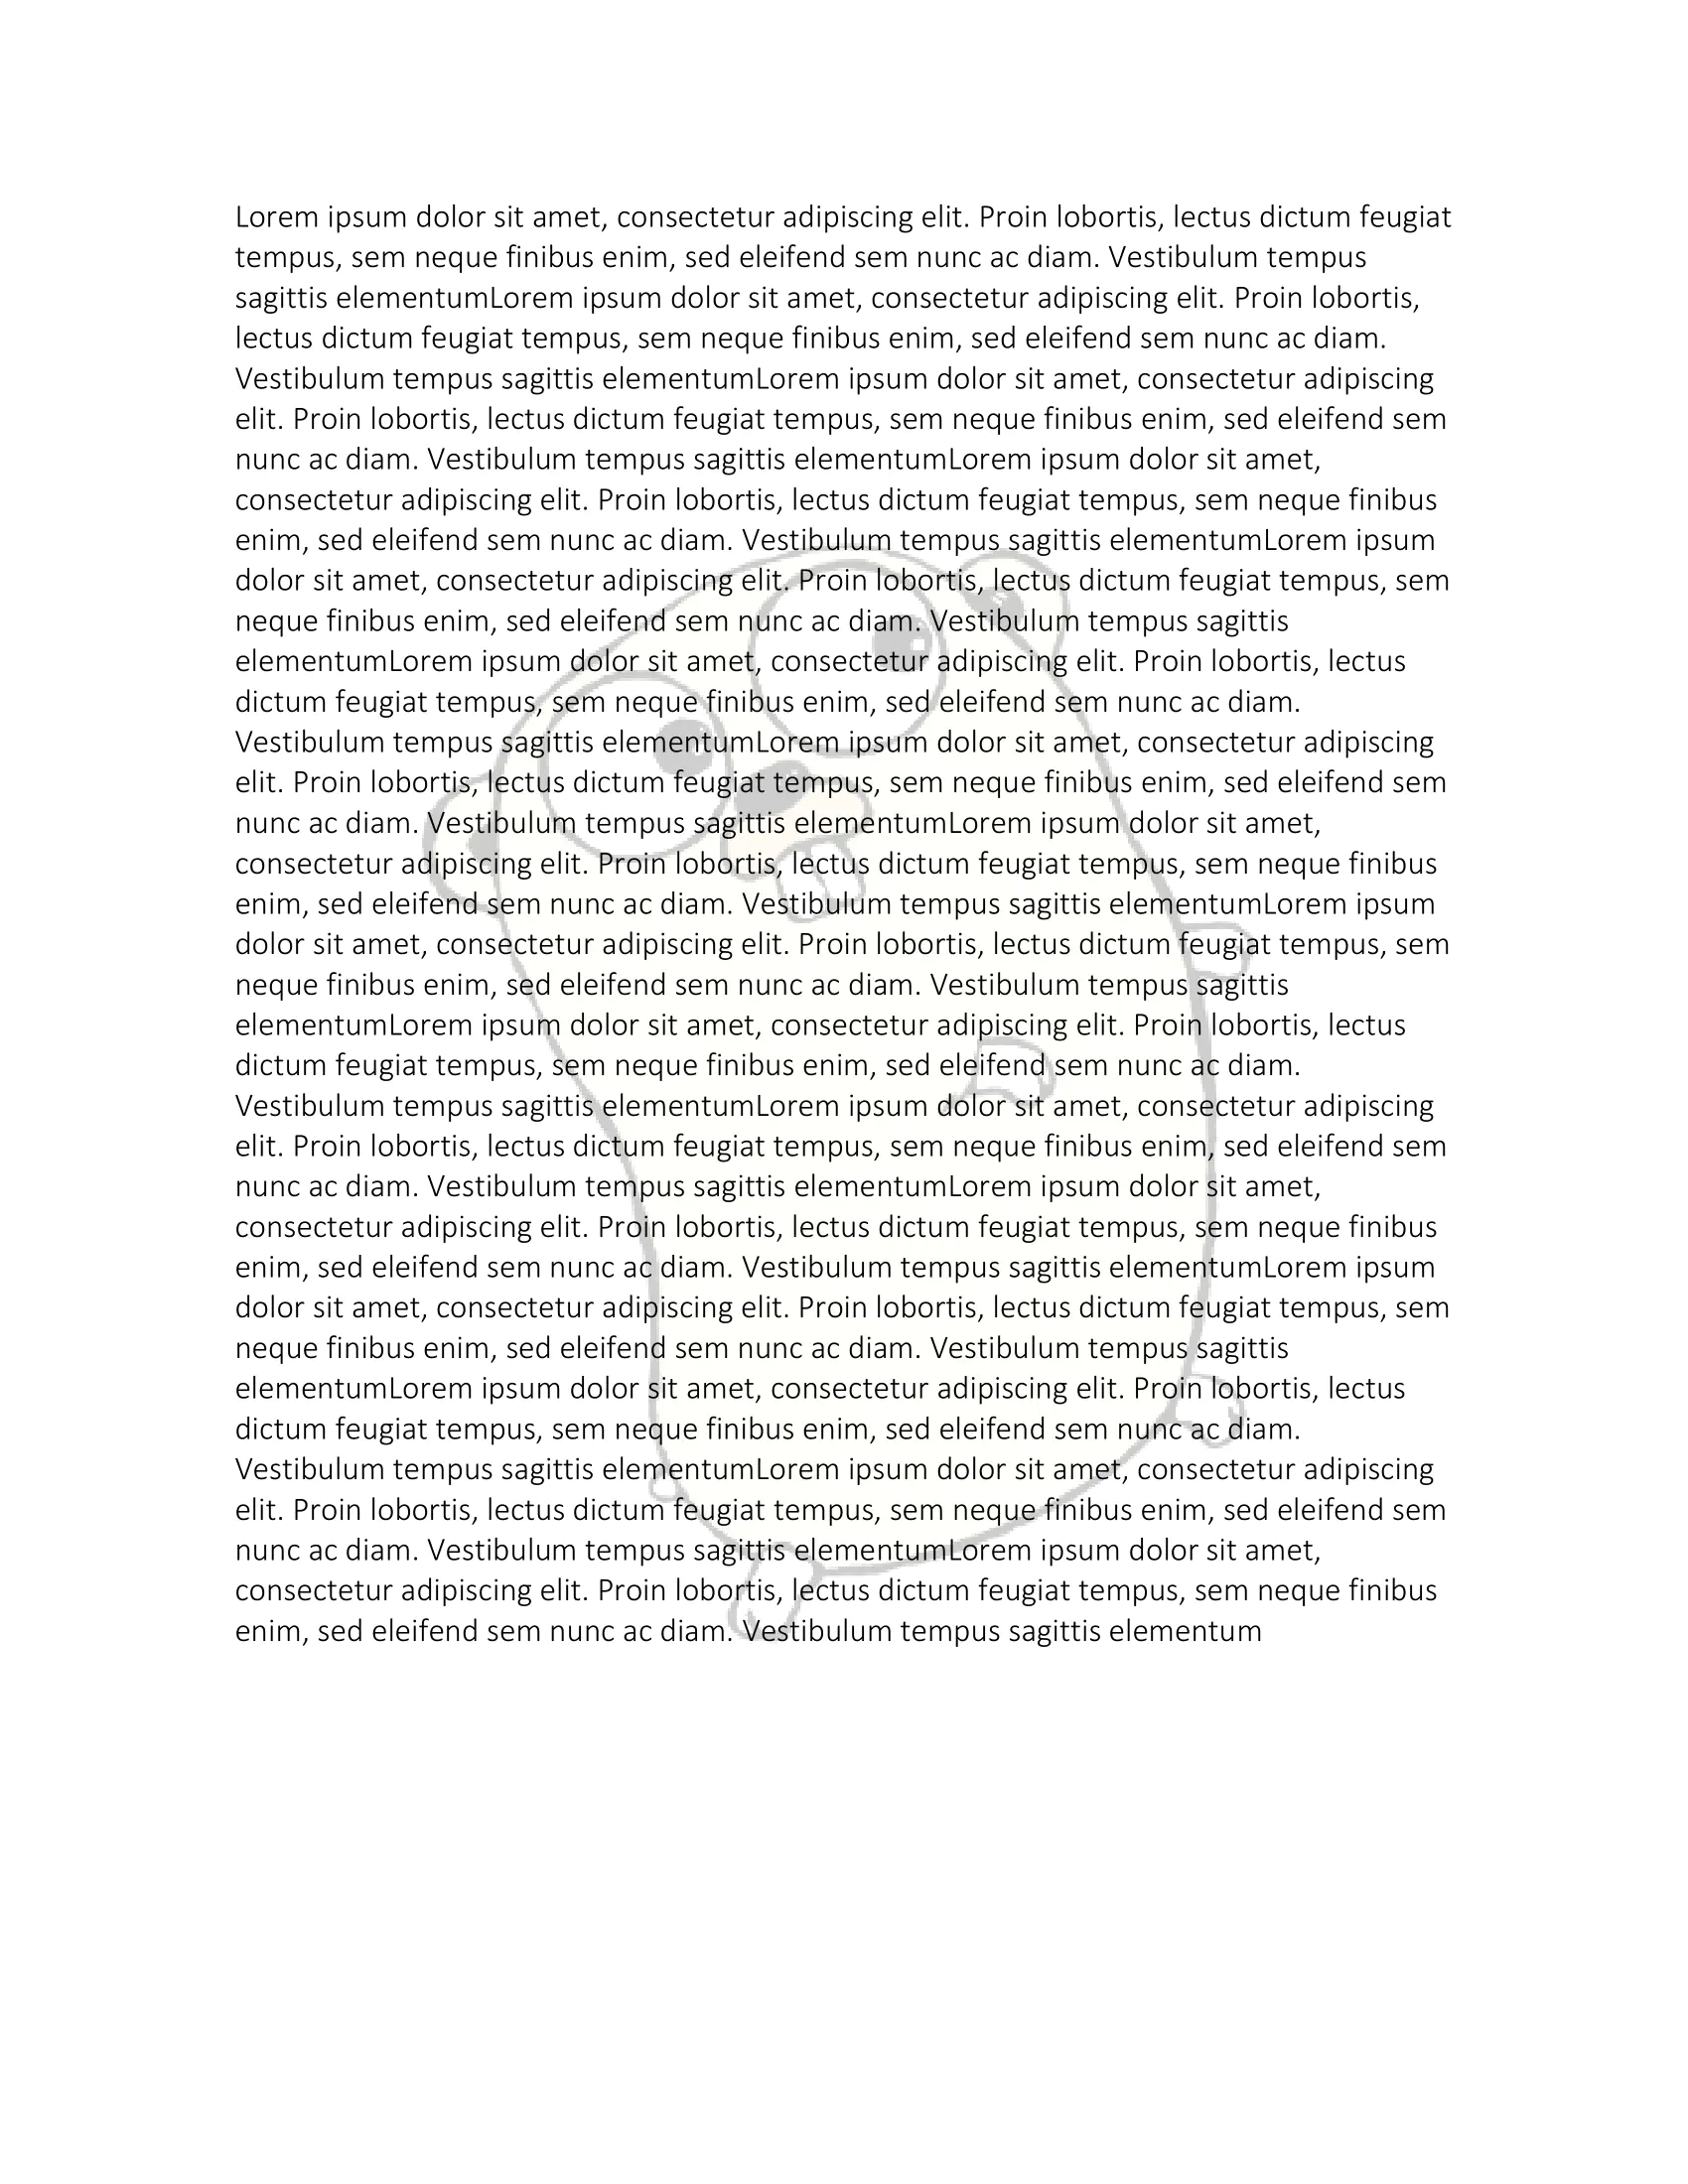
This guide will demonstrate how to add an image as a watermark in a Word document.
Before you begin
You should get your API key from your UniCloud account.
If this is your first time using UniOffice SDK, follow this guide to set up a local development environment.
Clone the project repository
In your terminal, clone the examples repository. It contains the Go code we will be using for this guide.
git clone https://github.com/unidoc/unioffice-examples
To get the example navigate to the path document/watermark-picture folder in the unioffice-examples directory.
cd unioffice-examples/document/watermark-picture
How it works
Lines 5-13 import the UniOffice packages and other required dependencies.
The init function in lines 15-22 authenticates your request with your UNIDOC_LICENSE_API_KEY.
The main function, which runs from line 26 to 58, creates a new document and adds a paragraph and a run while inserting text multiple times using a loop.
At line 37, the image is retrieved using the ImageFromFile function, and at line 43, the image is added to the document using AddImage.
Line 49 sets the watermark using the AddWatermarkPicture function and adjusts it with SetPictureWashout.
Finally, before saving the file in lines 54 and 55, the image size is obtained, and the size is set using the SetPictureSize function.
Run the code
Execute this command to create the file with a watermark image.
go run main.go
Sample output
