Presentation with an Image from Template
This guide explains the process of creating a presentation with an image from a template file.
Before you begin
You should get your API key from your UniCloud account.
If this is your first time using UniOffice SDK, follow this guide to set up a local development environment.
Clone the project repository
In your terminal, clone the examples repository. It contains the Go code we will be using for this guide.
git clone https://github.com/unidoc/unioffice-examples
To get the example navigate to the path presentation/use-template-with-image folder in the unioffice-examples directory.
cd unioffice-examples/presentation/use-template-with-image/
How it works
The import section, as its name implies, imports the necessary UniOffice packages and other Go libraries.
In the init function, which is defined in lines 4-15, sets the metered license key before running the main function.
The main function is defined in lines 26-104. In this function, the template presentation is instantiated from the template file in lines 30-35.
The for loop 38-43, cleans up the existing slides from the template. In line 46, a new layout is obtained from the template presentation using ppt.GetLayoutByName("Picture with Caption"). The required image is loaded from local file and added to the presentation in lines 53-63.
A new slide is created in line 65 using ppt.AddDefaultSlideWithLayout(layout). Then all the contents are added to the slides by injecting them to the placeholders. In line 94, the presentation is validated using ppt.Validate().
Finally, the presentation is written to file in line 98.
Run the code
Run this command to create the presentation file.
go run main.go
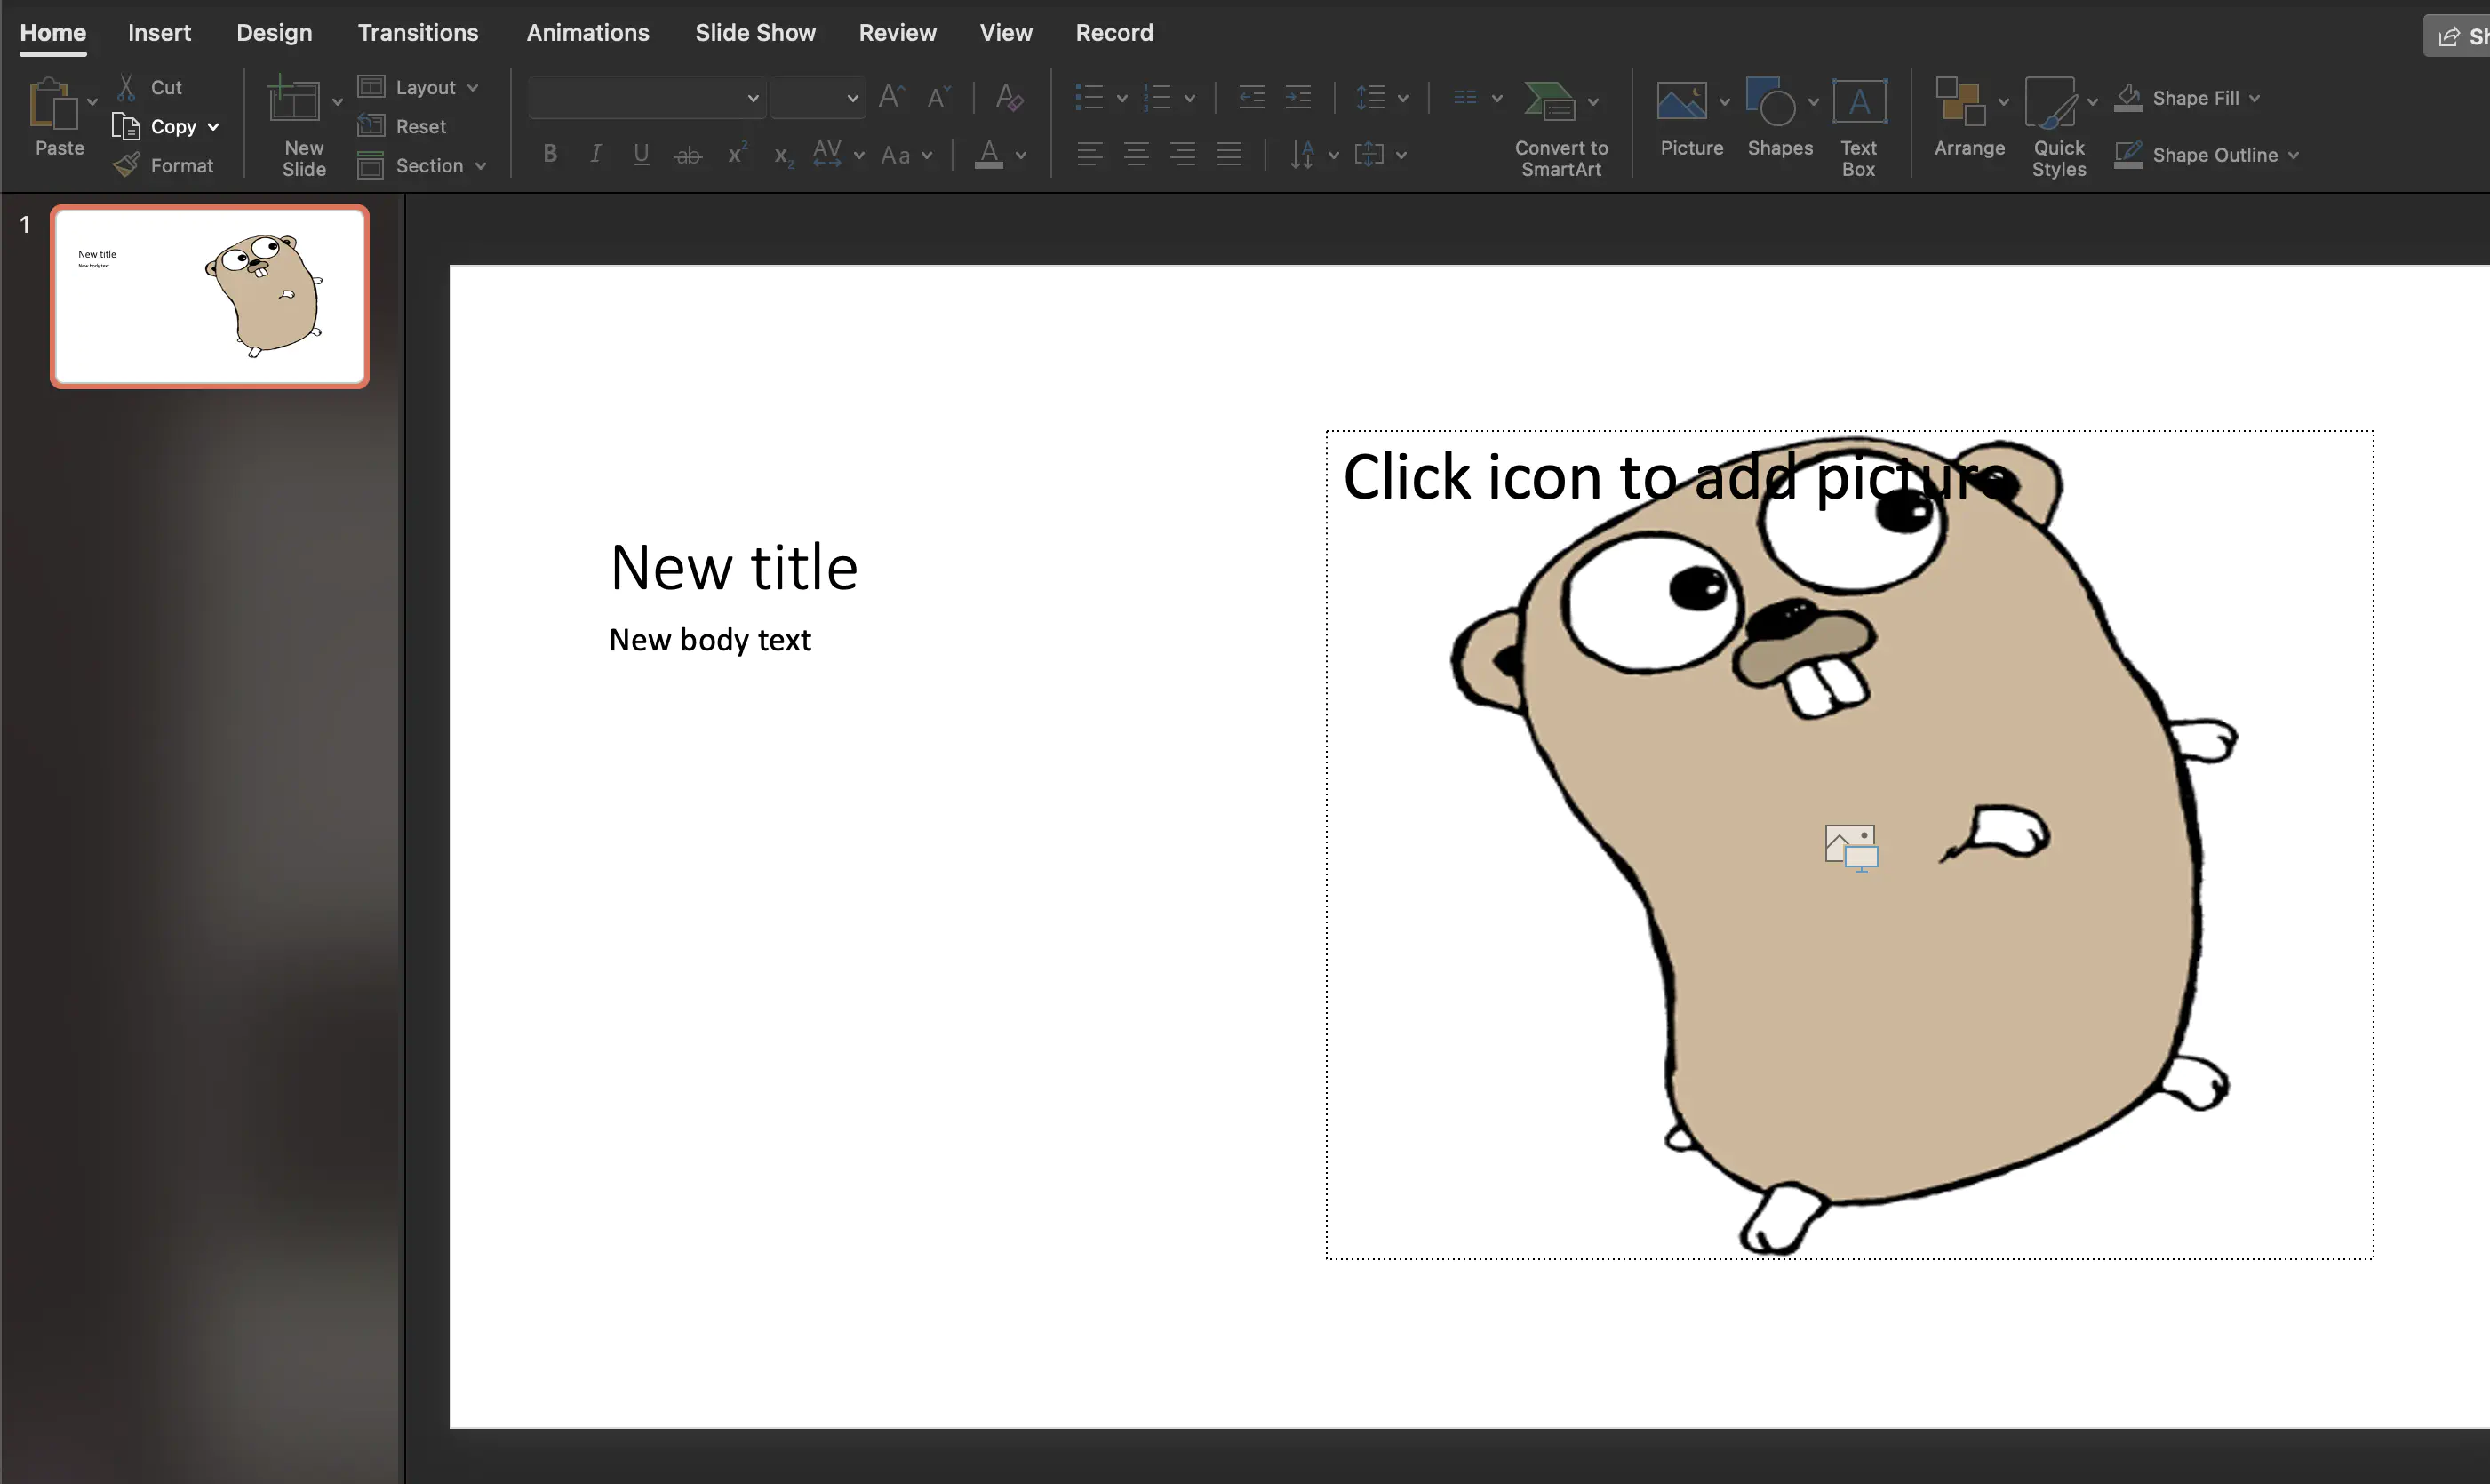
Sample input
Template file

Sample output
Modified presentation.
Terminal output.
success! took 0.014773875 seconds