Creating Named Cells
This guide will explain the process of creating named cells using UnOffice.
Before you begin
You should get your API key from your UniCloud account.
If this is your first time using UniOffice SDK, follow this guide to set up a local development environment.
Clone the project repository
In your terminal, clone the examples repository. It contains the Go code we will be using for this guide.
git clone https://github.com/unidoc/unioffice-examples
To get the example navigate to the path spreadsheet/named-cells folder in the unioffice-examples directory.
cd unioffice-examples/spreadsheet/named-cells/
How it works
The code starts by importing the necessary libraries in the import section.
Then it defines the init function in which the metered license key is set.
The main function is defined in lines 22-65. It starts by creating a new workbook with an empty sheet.
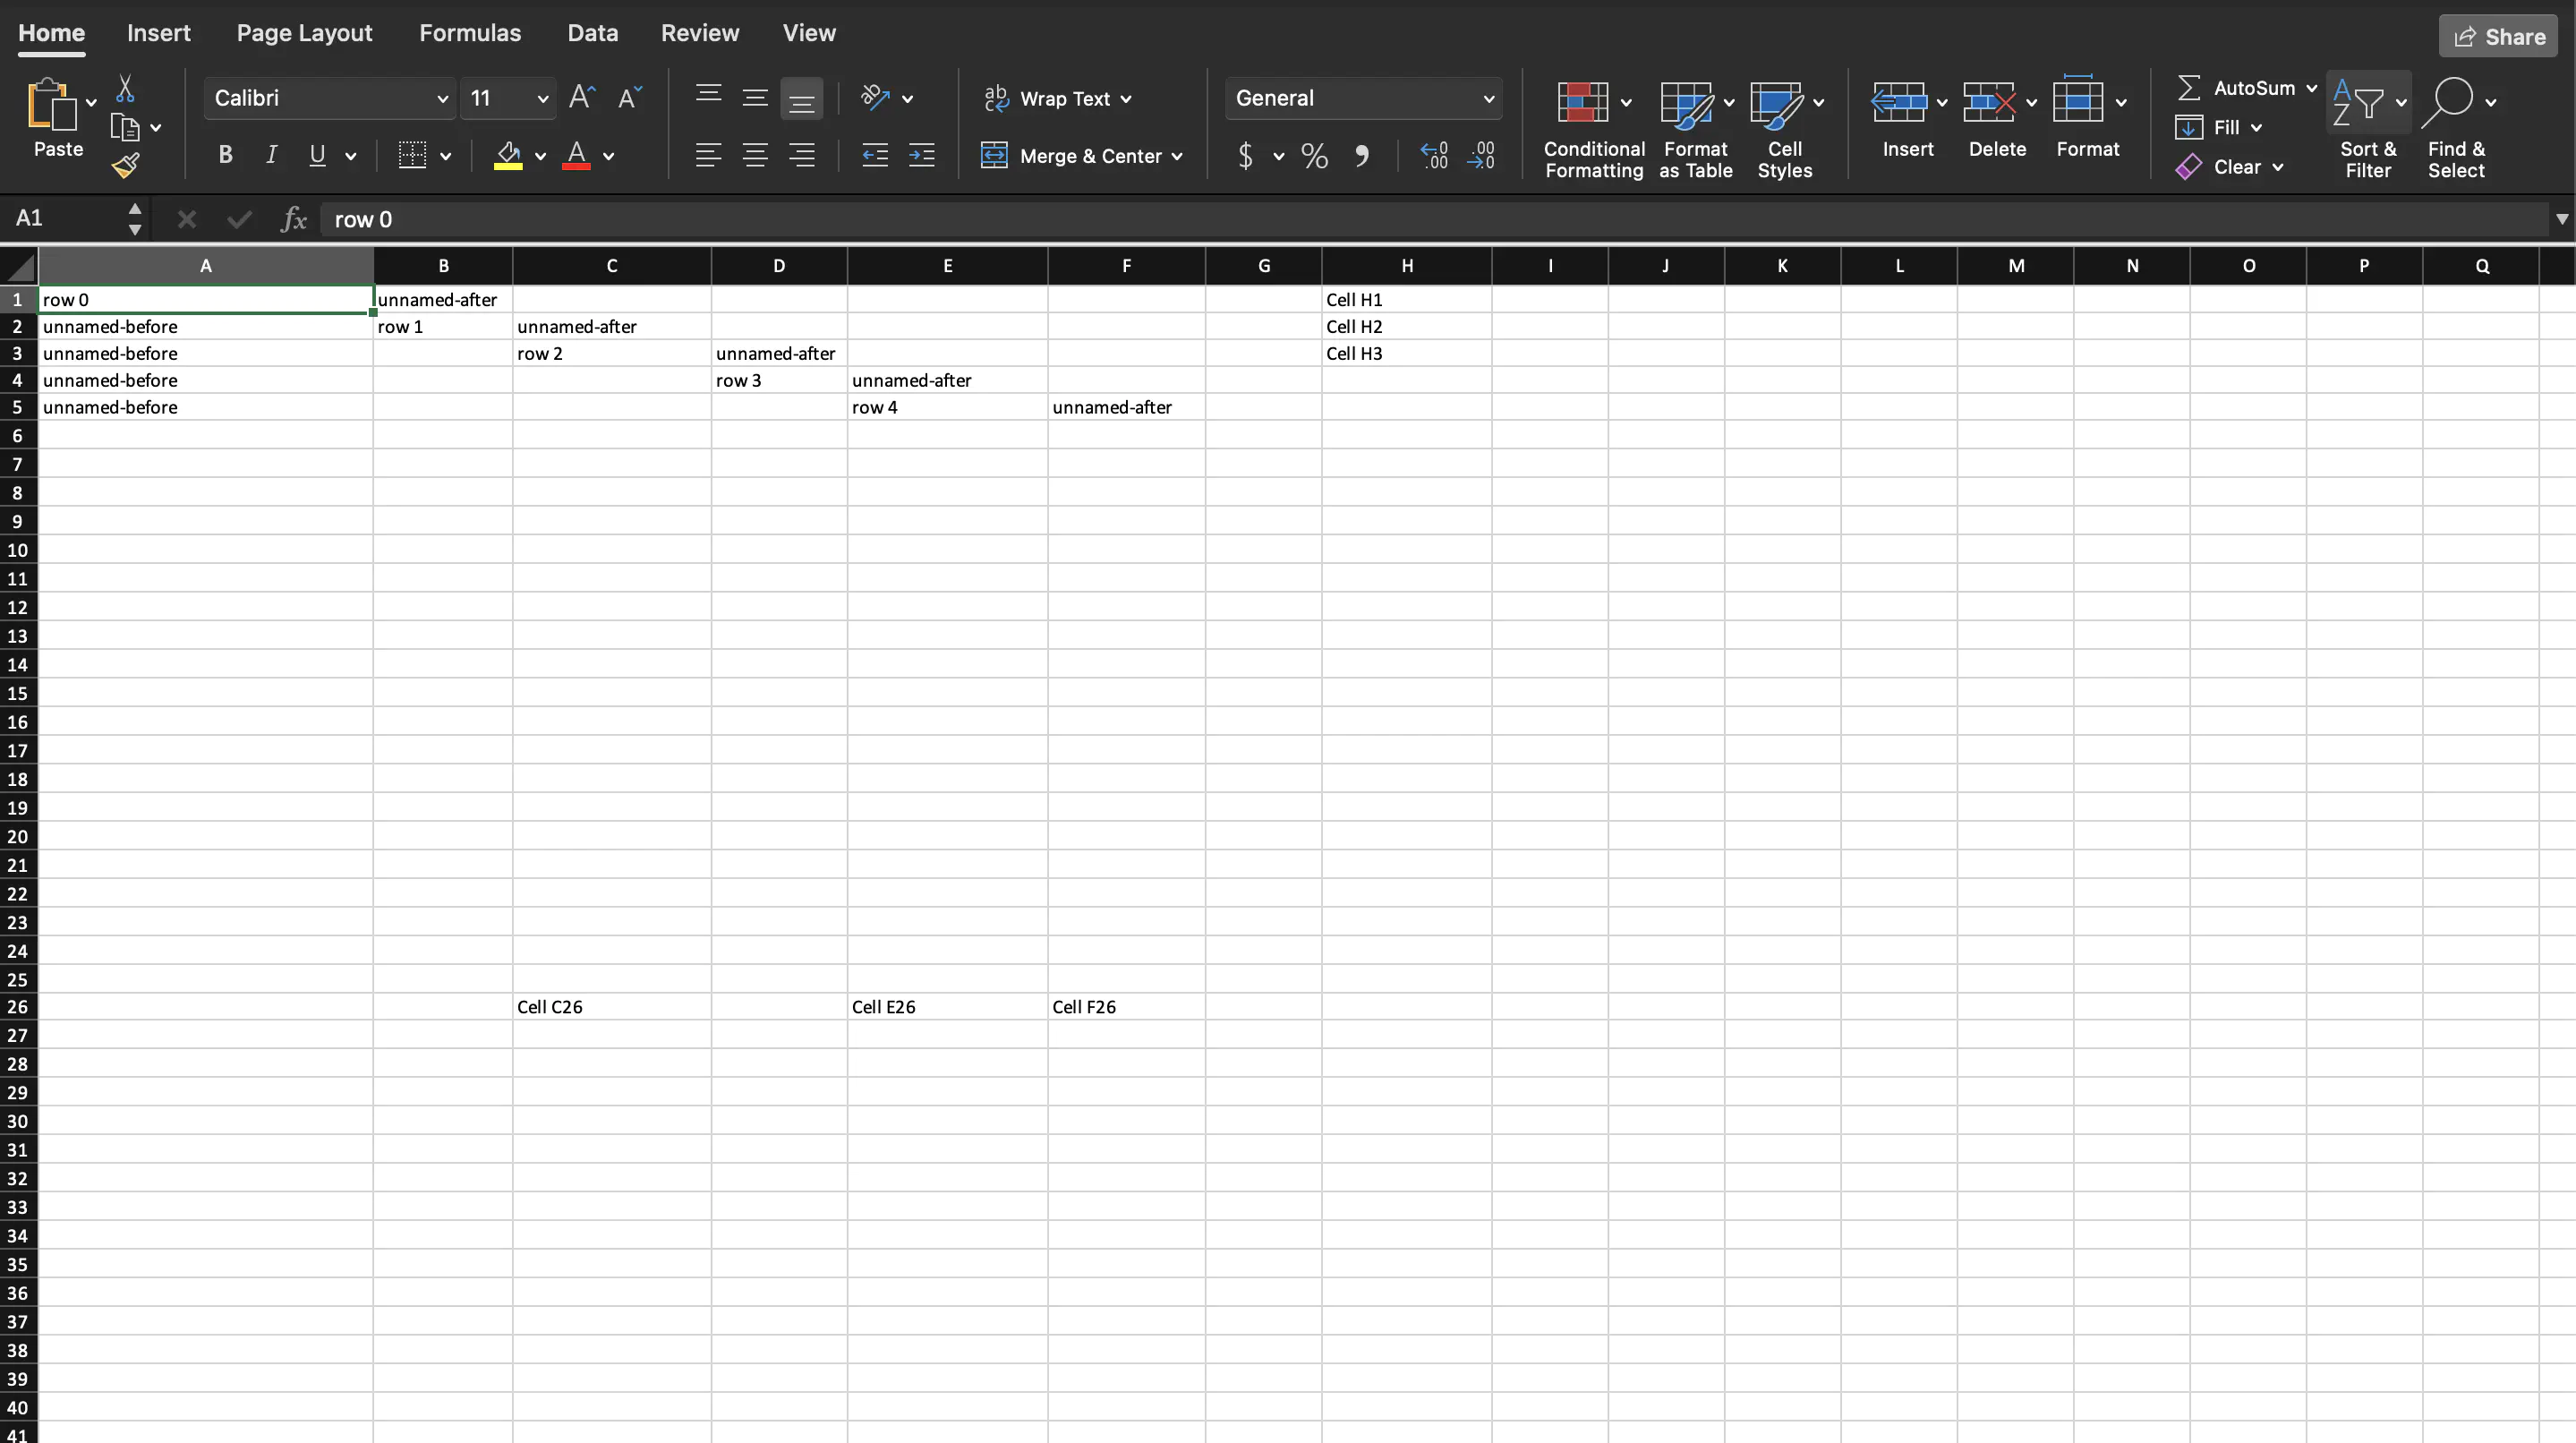
The for loop 27-43 adds five rows with named and unnamed cells. Line 45 creates a named cell at a numbered row using
sheet.AddNumberedRow(26).AddNamedCell("C").SetString("Cell C26")
Lines 52 and 53 create named cells at the same row number i.e. 26. However, sheet.Row(26) is used instead of sheet.AddNumberedRow(26) which would have created an invalid workbook. This is because it will create two identically ID’d rows.
Lines 56-58 demonstrates how to fully reference cells from the sheet.
Finally, the workbook is validated and saved to file in lines 60-64.
Run the code
Use the following command to run the code.
go run main.go
Sample Output
