Insert Images
This guide will demonstrate how to insert an image to a spreadsheet file.
Before you begin
You should get your API key from your UniCloud account.
If this is your first time using UniOffice SDK, follow this guide to set up a local development environment.
Clone the project repository
In your terminal, clone the examples repository. It contains the Go code we will be using for this guide.
git clone https://github.com/unidoc/unioffice-examples
To get the example navigate to the path spreadsheet/image folder in the unioffice-examples directory.
cd unioffice-examples/spreadsheet/image/
How it works
The import section in lines 4-13 imports the necessary libraries from UniOffice and Go.
Then, the init function in lines 15-22 sets the metered license key using license.SetMeteredKey(os.Getenv(`UNIDOC_LICENSE_API_KEY`)).
The main function starts in line 24. In lines 25-28 of this function, a new workbook with new sheet is created using:
ss := spreadsheet.New()
defer ss.Close()
// add a single sheet
sheet := ss.AddSheet()
Then the image is loaded from file in lines 30. In line 35, an image reference is created using AddImage method of the spreadsheet.Sheet object. Then a new spreadsheet.Drawing is added to the Workbook in lines 40-41. In the next section, i.e. 42-55 adds the image to the drawing multiple times circularly. This is done using the following snippet code:
for i := float64(0); i < 360; i += 30 {
  anc := dwng.AddImage(iref, spreadsheet.AnchorTypeAbsolute)

  ang := i * math.Pi / 180
  x := 2 + 2*math.Cos(ang)
  y := 2 + +2*math.Sin(ang)
  anc.SetColOffset(measurement.Distance(x) * measurement.Inch)
  anc.SetRowOffset(measurement.Distance(y) * measurement.Inch)

  // set the image to 1x1 inches
  var w measurement.Distance = 1 * measurement.Inch
  anc.SetWidth(w)
  anc.SetHeight(iref.RelativeHeight(w))
}
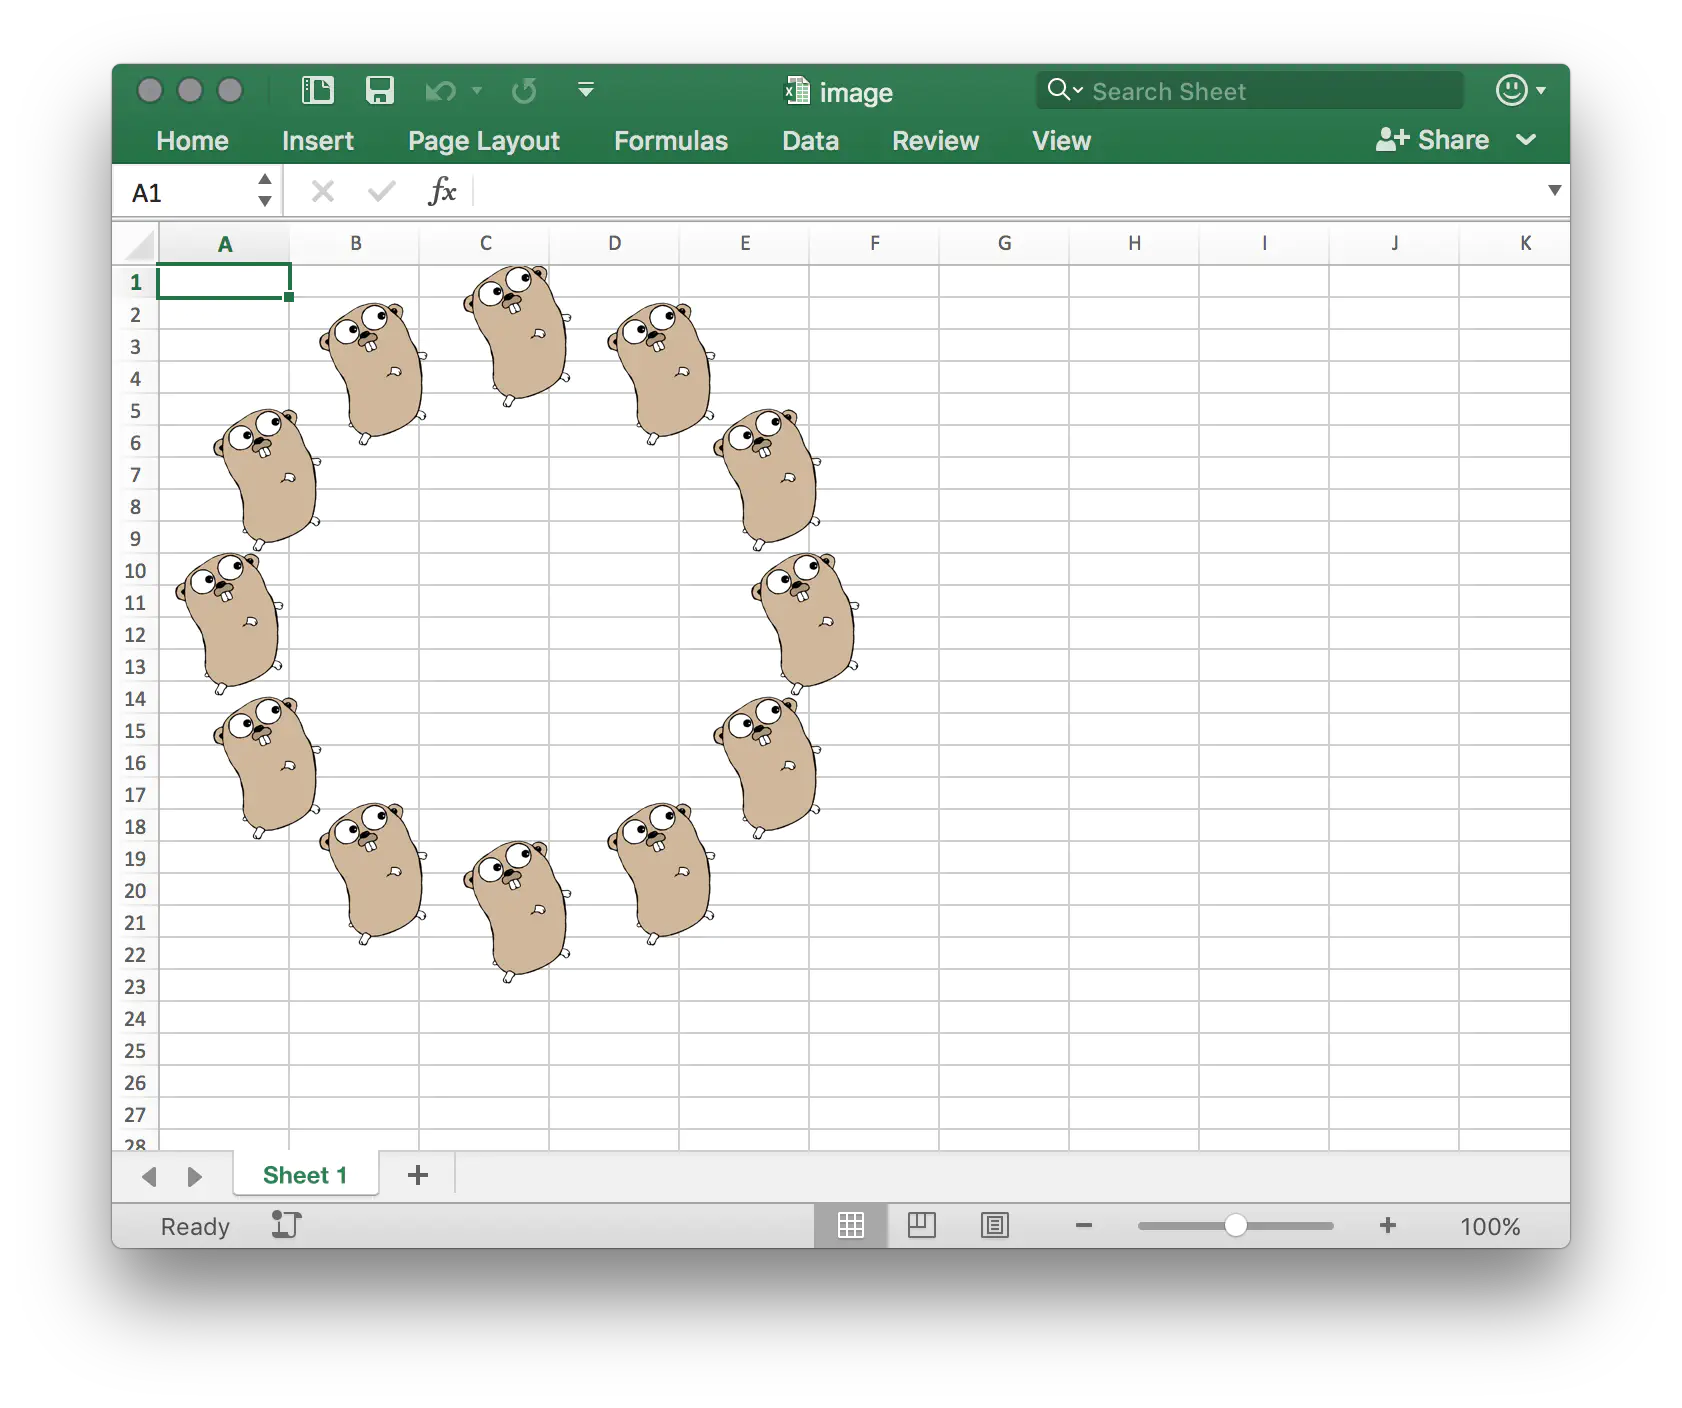
The for loop basically iterates by 30 degree increments and draws the image. First the x and y positions are computed using the current angle. i.e. x := 2 + 2*math.Cos(ang) and y := 2 + +2*math.Sin(ang). This formula for x and y gives us a list of points arranged in a circle. The columns offset and row offset of the spreadsheet.Anchor are then applied in lines 48-49 using the coordinates computed above. Lines 52-54 set the width and height of the images. The document is then validated in line 57 and saved to file in line 61.
Run the code
Use the following command to run the code.
go run main.go
Sample Output