Merge Cells
This guide will explain how to merge multiple cells into one and set with value using UniOffice.
Before you begin
You should get your API key from your UniCloud account.
If this is your first time using UniOffice SDK, follow this guide to set up a local development environment.
Clone the project repository
In your terminal, clone the examples repository. It contains the Go code we will be using for this guide.
git clone https://github.com/unidoc/unioffice-examples
To get the example navigate to the path spreadsheet/merged folder in the unioffice-examples directory.
cd unioffice-examples/spreadsheet/merged/
How it works
The import section in lines 4-13, imports the necessary libraries.
Then the init function initializes the package by setting the metered license key using license.SetMeteredKey(os.Getenv(`UNIDOC_LICENSE_API_KEY`)).
The main function starts in line 24. In this function a new workbook with a new sheet is created in lines 25-27.
Then two new cells are created in lines 29-31 using:
sheet.Cell("A1").SetString("Hello World!")
sheet.Cell("B1").SetString("will not be visible") // as it's not the first cell within a merged range Excel warns you when you do this through the UI
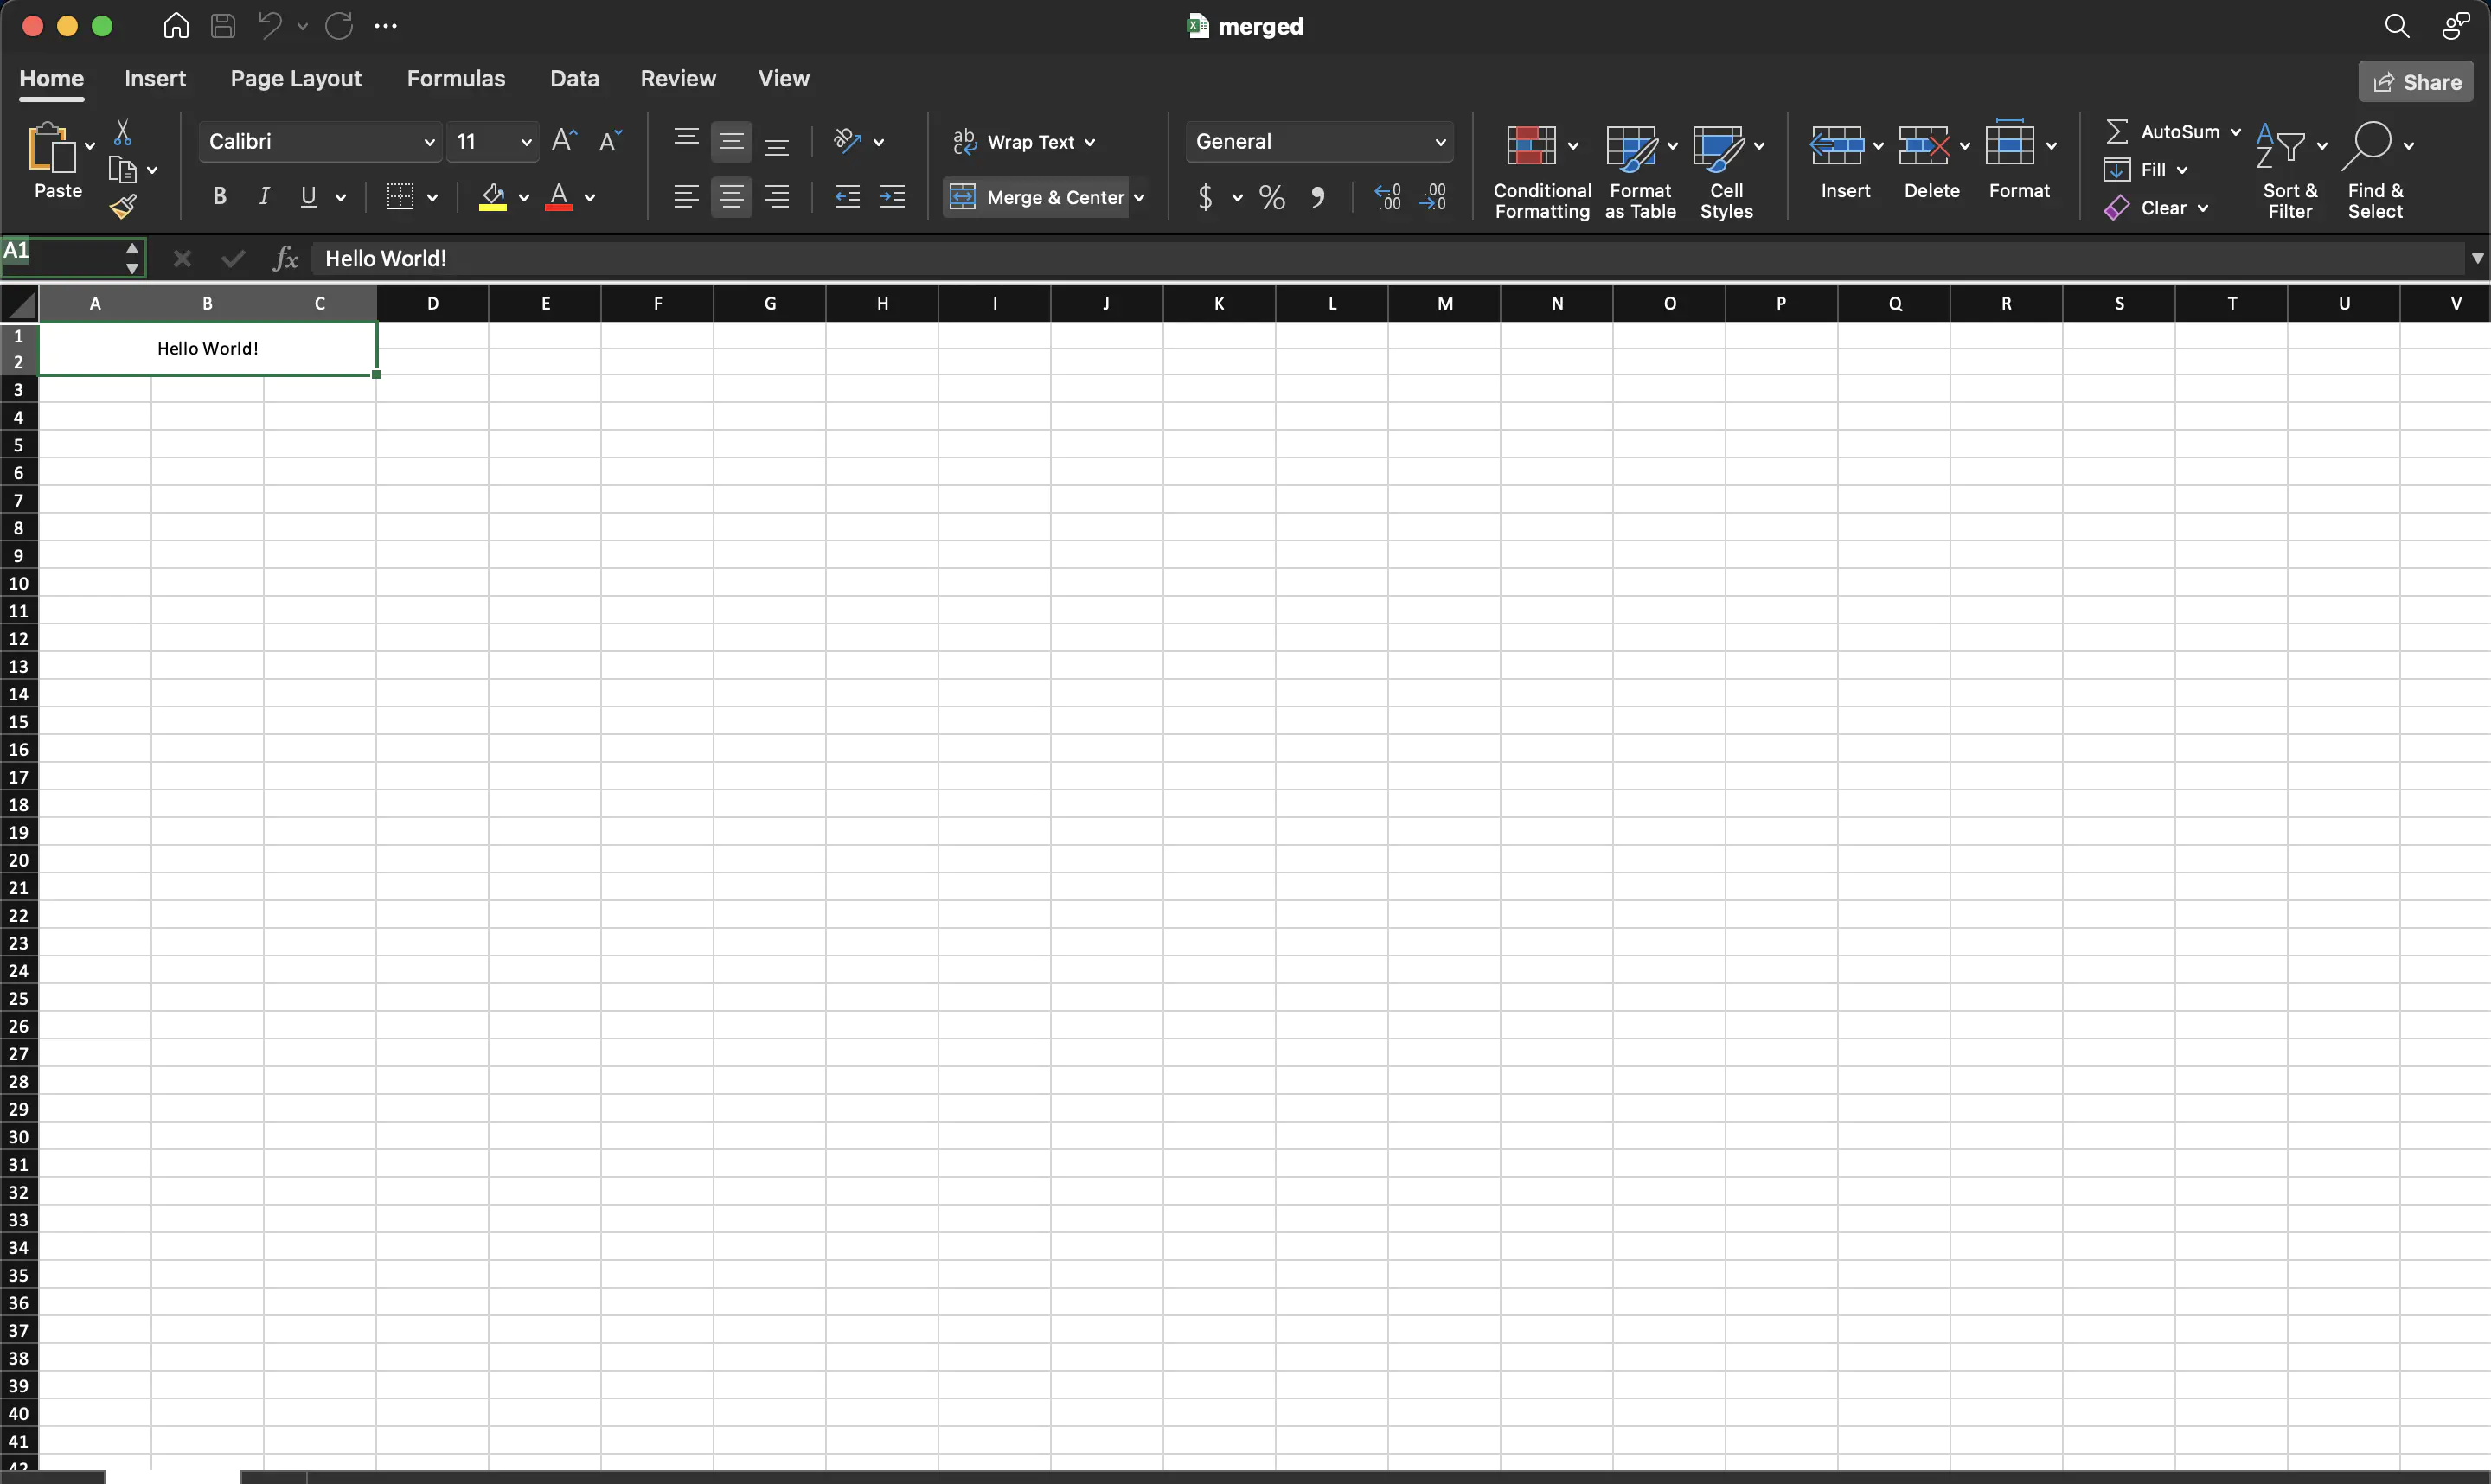
sheet.AddMergedCells("A1", "C2")
The AddMergedCells method here takes the content of the first cell and expands it to the given cell ranges, which means the content of the second cell will not be visible. Lines 33-36 add some styling to cell A.
Finally, in lines 42-46, the workbook is validated and saved to file.
Run the code
Use the following command to run the code.
go run main.go
Sample Output
