Rotate Cells
This guide will demonstrate how to create rotated cells using UniOffice.
Before you begin
You should get your API key from your UniCloud account.
If this is your first time using UniOffice SDK, follow this guide to set up a local development environment.
Clone the project repository
In your terminal, clone the examples repository. It contains the Go code we will be using for this guide.
git clone https://github.com/unidoc/unioffice-examples
To get the example navigate to the path spreadsheet/rotated-cells folder in the unioffice-examples directory.
cd unioffice-examples/spreadsheet/rotated-cells/
How it works
The import section in lines 4-10 imports the necessary libraries.
The init function initializes the package by setting the metered license key.
The main function starts in line 23. First a new workbook with an empty sheet is created in lines 24-27. Then a new row with a single cell is created using:
row := sheet.AddRow()
cell := row.AddCell()
A spreadsheet.CellStyle is created in line 32. The rotation angle is then set on this cell style using rotated.SetRotation(45). In line 35-36 the content and the style of the cell is set using:
cell.SetString(lorem)
cell.SetStyle(rotated)
Finally, the workbook is validated and saved to file in lines 38-42.
Run the code
Use the following command to run the code.
go run main.go
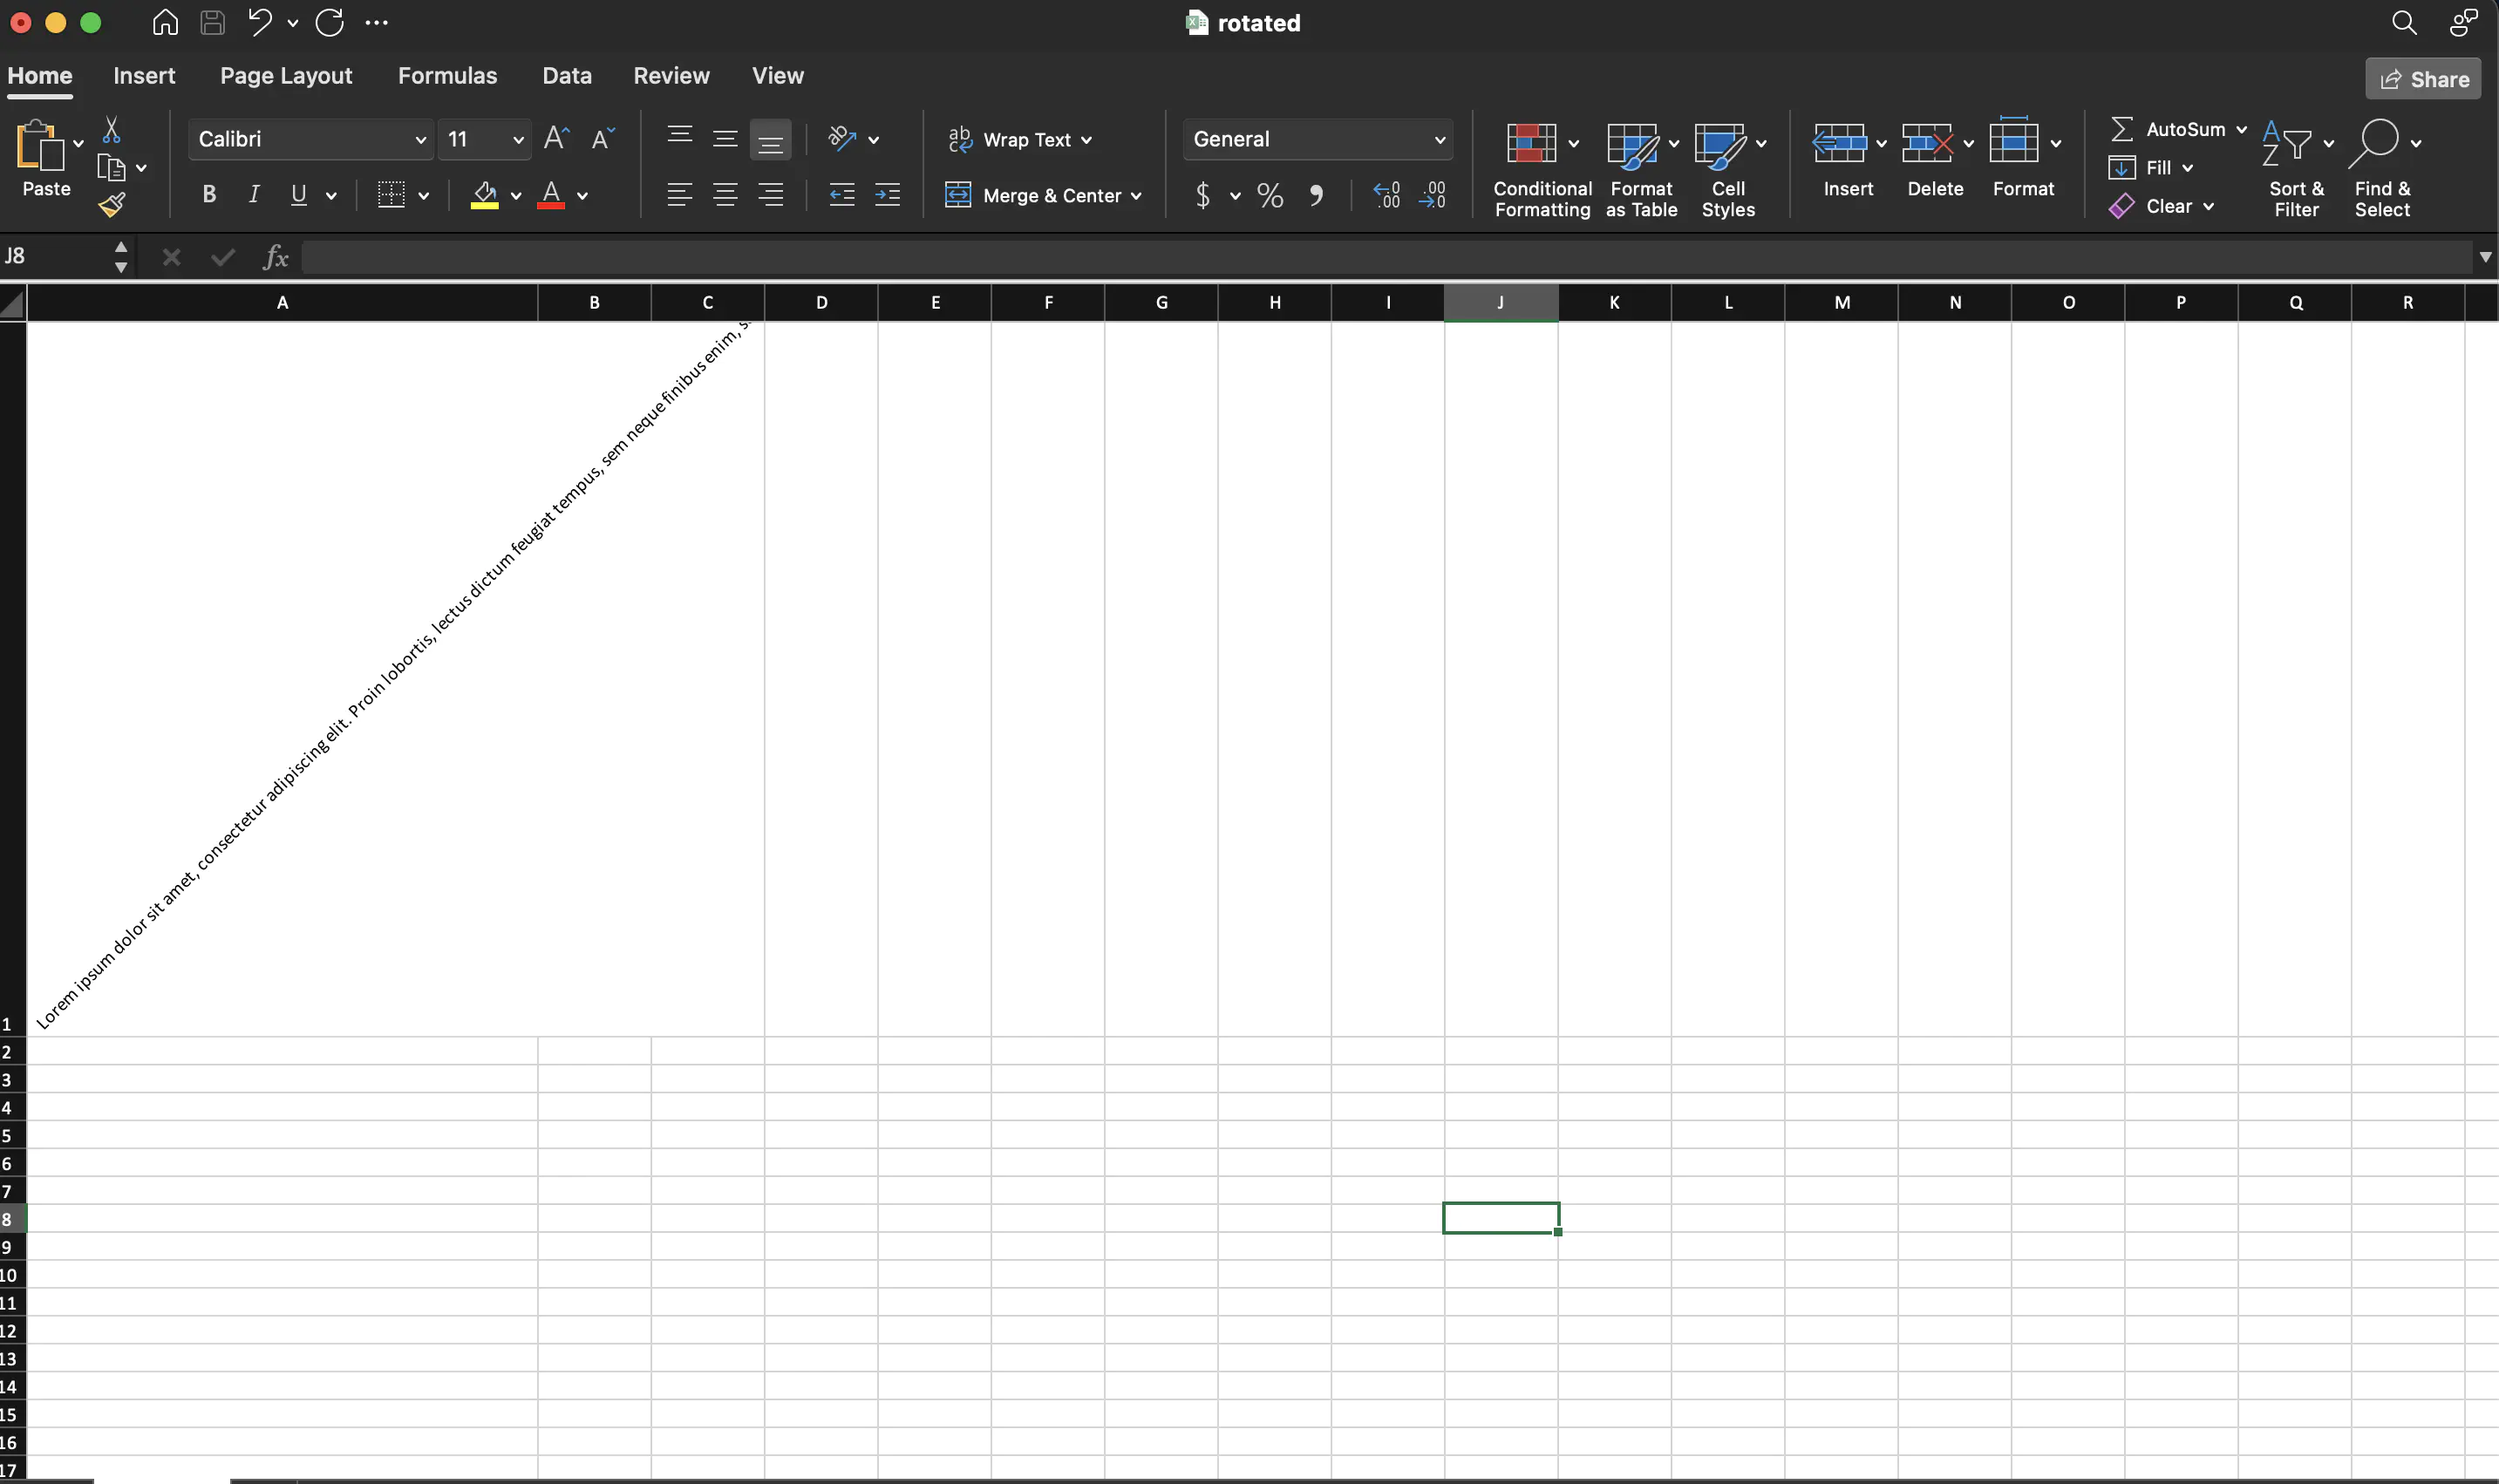
Sample Output