Image Extraction
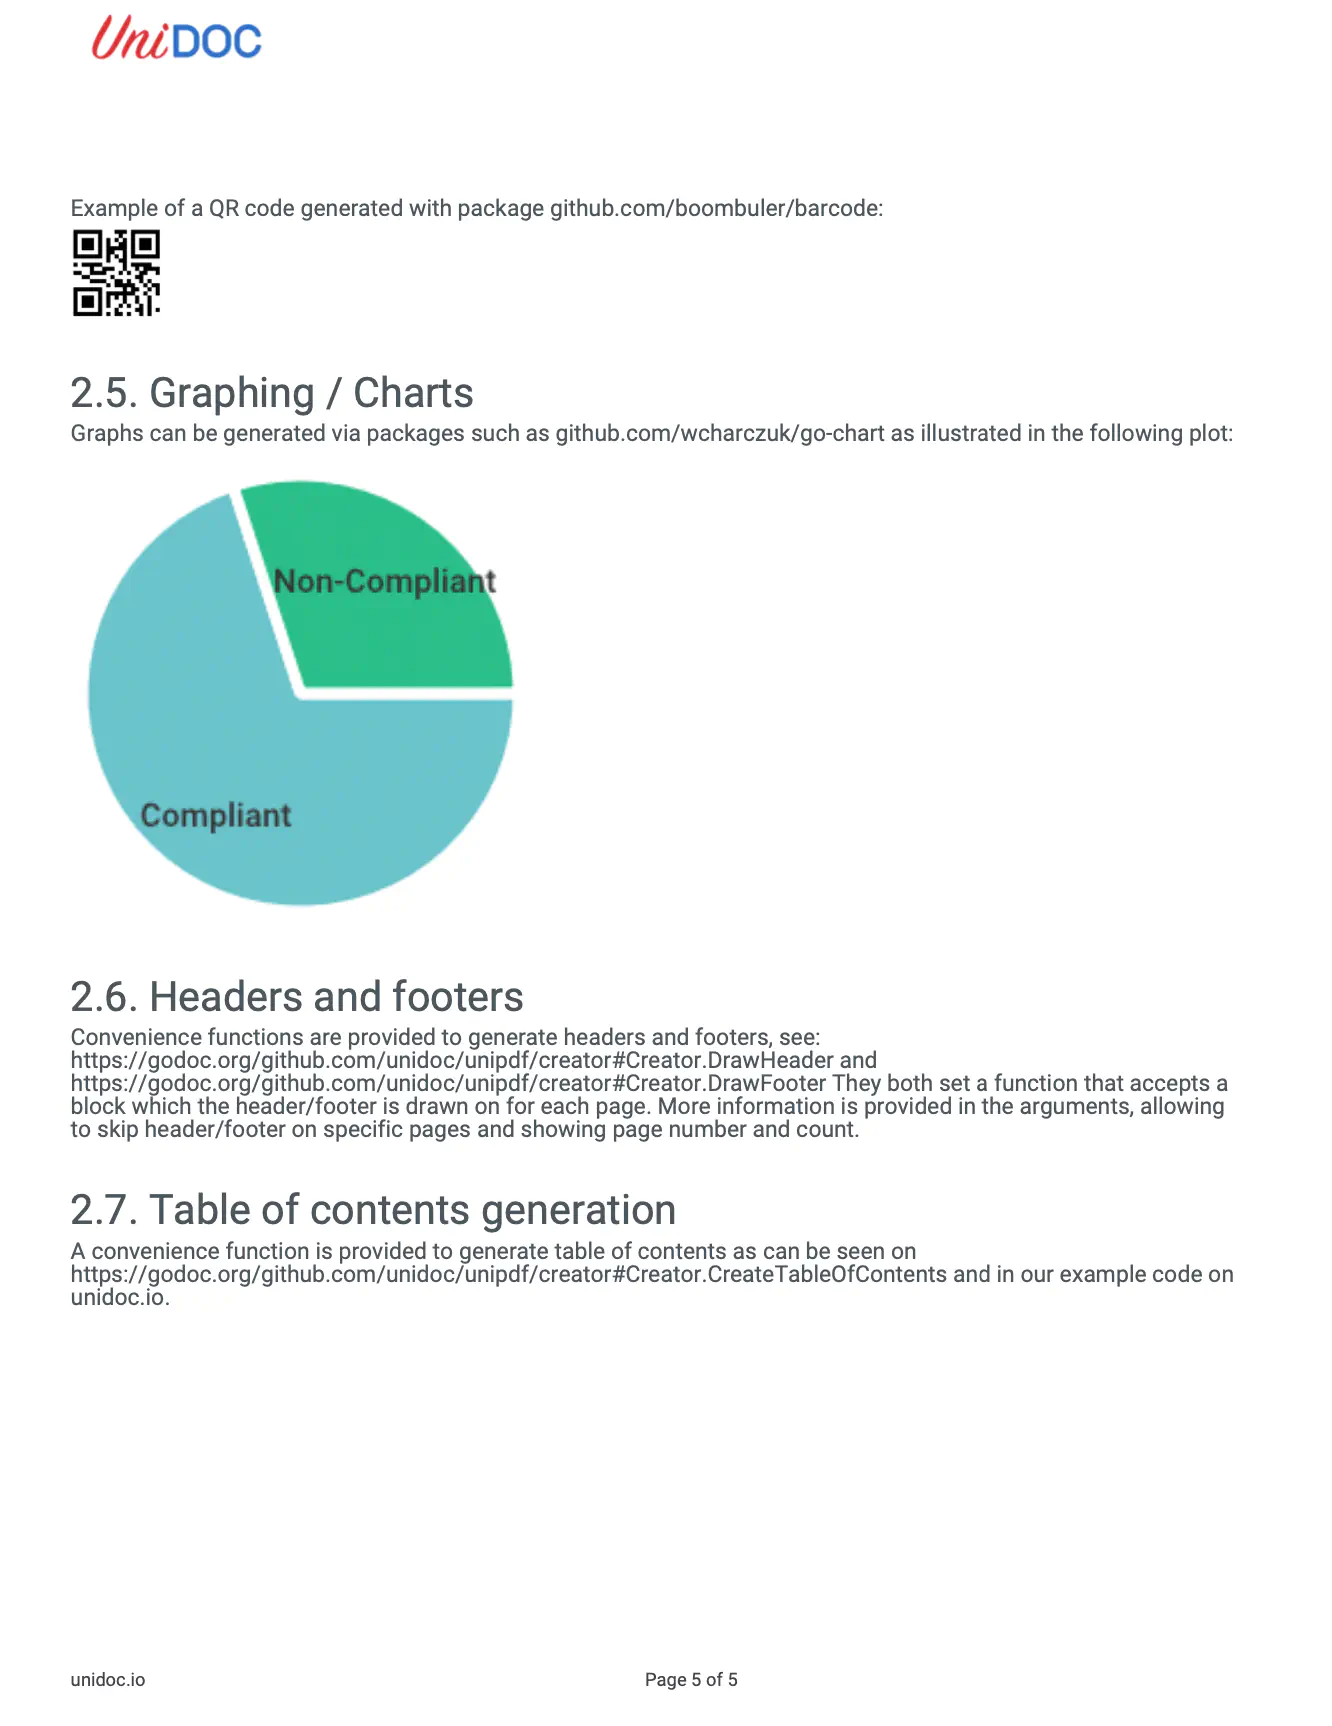
This guide will show you how to extract images from a PDF and save the output images in a zip archive.
Sample input

Before you begin
You should get your API key from yourUniCloud account.
If this is your first time using UniPDF SDK, follow this guide to set up a local development environment.
Project setup
Clone the project repository
In your terminal, clone the examples repository. It contains the Go code we will be using for this example.
git clone https://github.com/unidoc/unipdf-examples.git
Navigate to the extract folder in the unipdf-examples directory.
cd unipdf-examples/extract
Configure environment variables
Replace the UNIDOC_LICENSE_API_KEY with your API credentials from your UniDoc account.
Linux/Mac
export UNIDOC_LICENSE_API_KEY=PUT_YOUR_API_KEY_HERE
Windows
set UNIDOC_LICENSE_API_KEY=PUT_YOUR_API_KEY_HERE
How it works
Lines 11-20 import the UniPDF packages and other required dependencies.
Lines 22 -29 authenticate your request with your UNIDOC_LICENSE_API_KEY with the init function.
The main function in lines 31-46 validate your input and passes it as arguments to the extractImagesToArchive function.
The extractImagesToArchive function in lines 50-123 extract images and their properties from the PDF in the input path with the ExtractPageImages function. The images are saved in the specified output path (output.zip).
Run the code
Run this command to extract the images. This will also get all the required dependencies to run the program.
go run pdf_extract_images.go input.pdf output.zip
Sample output
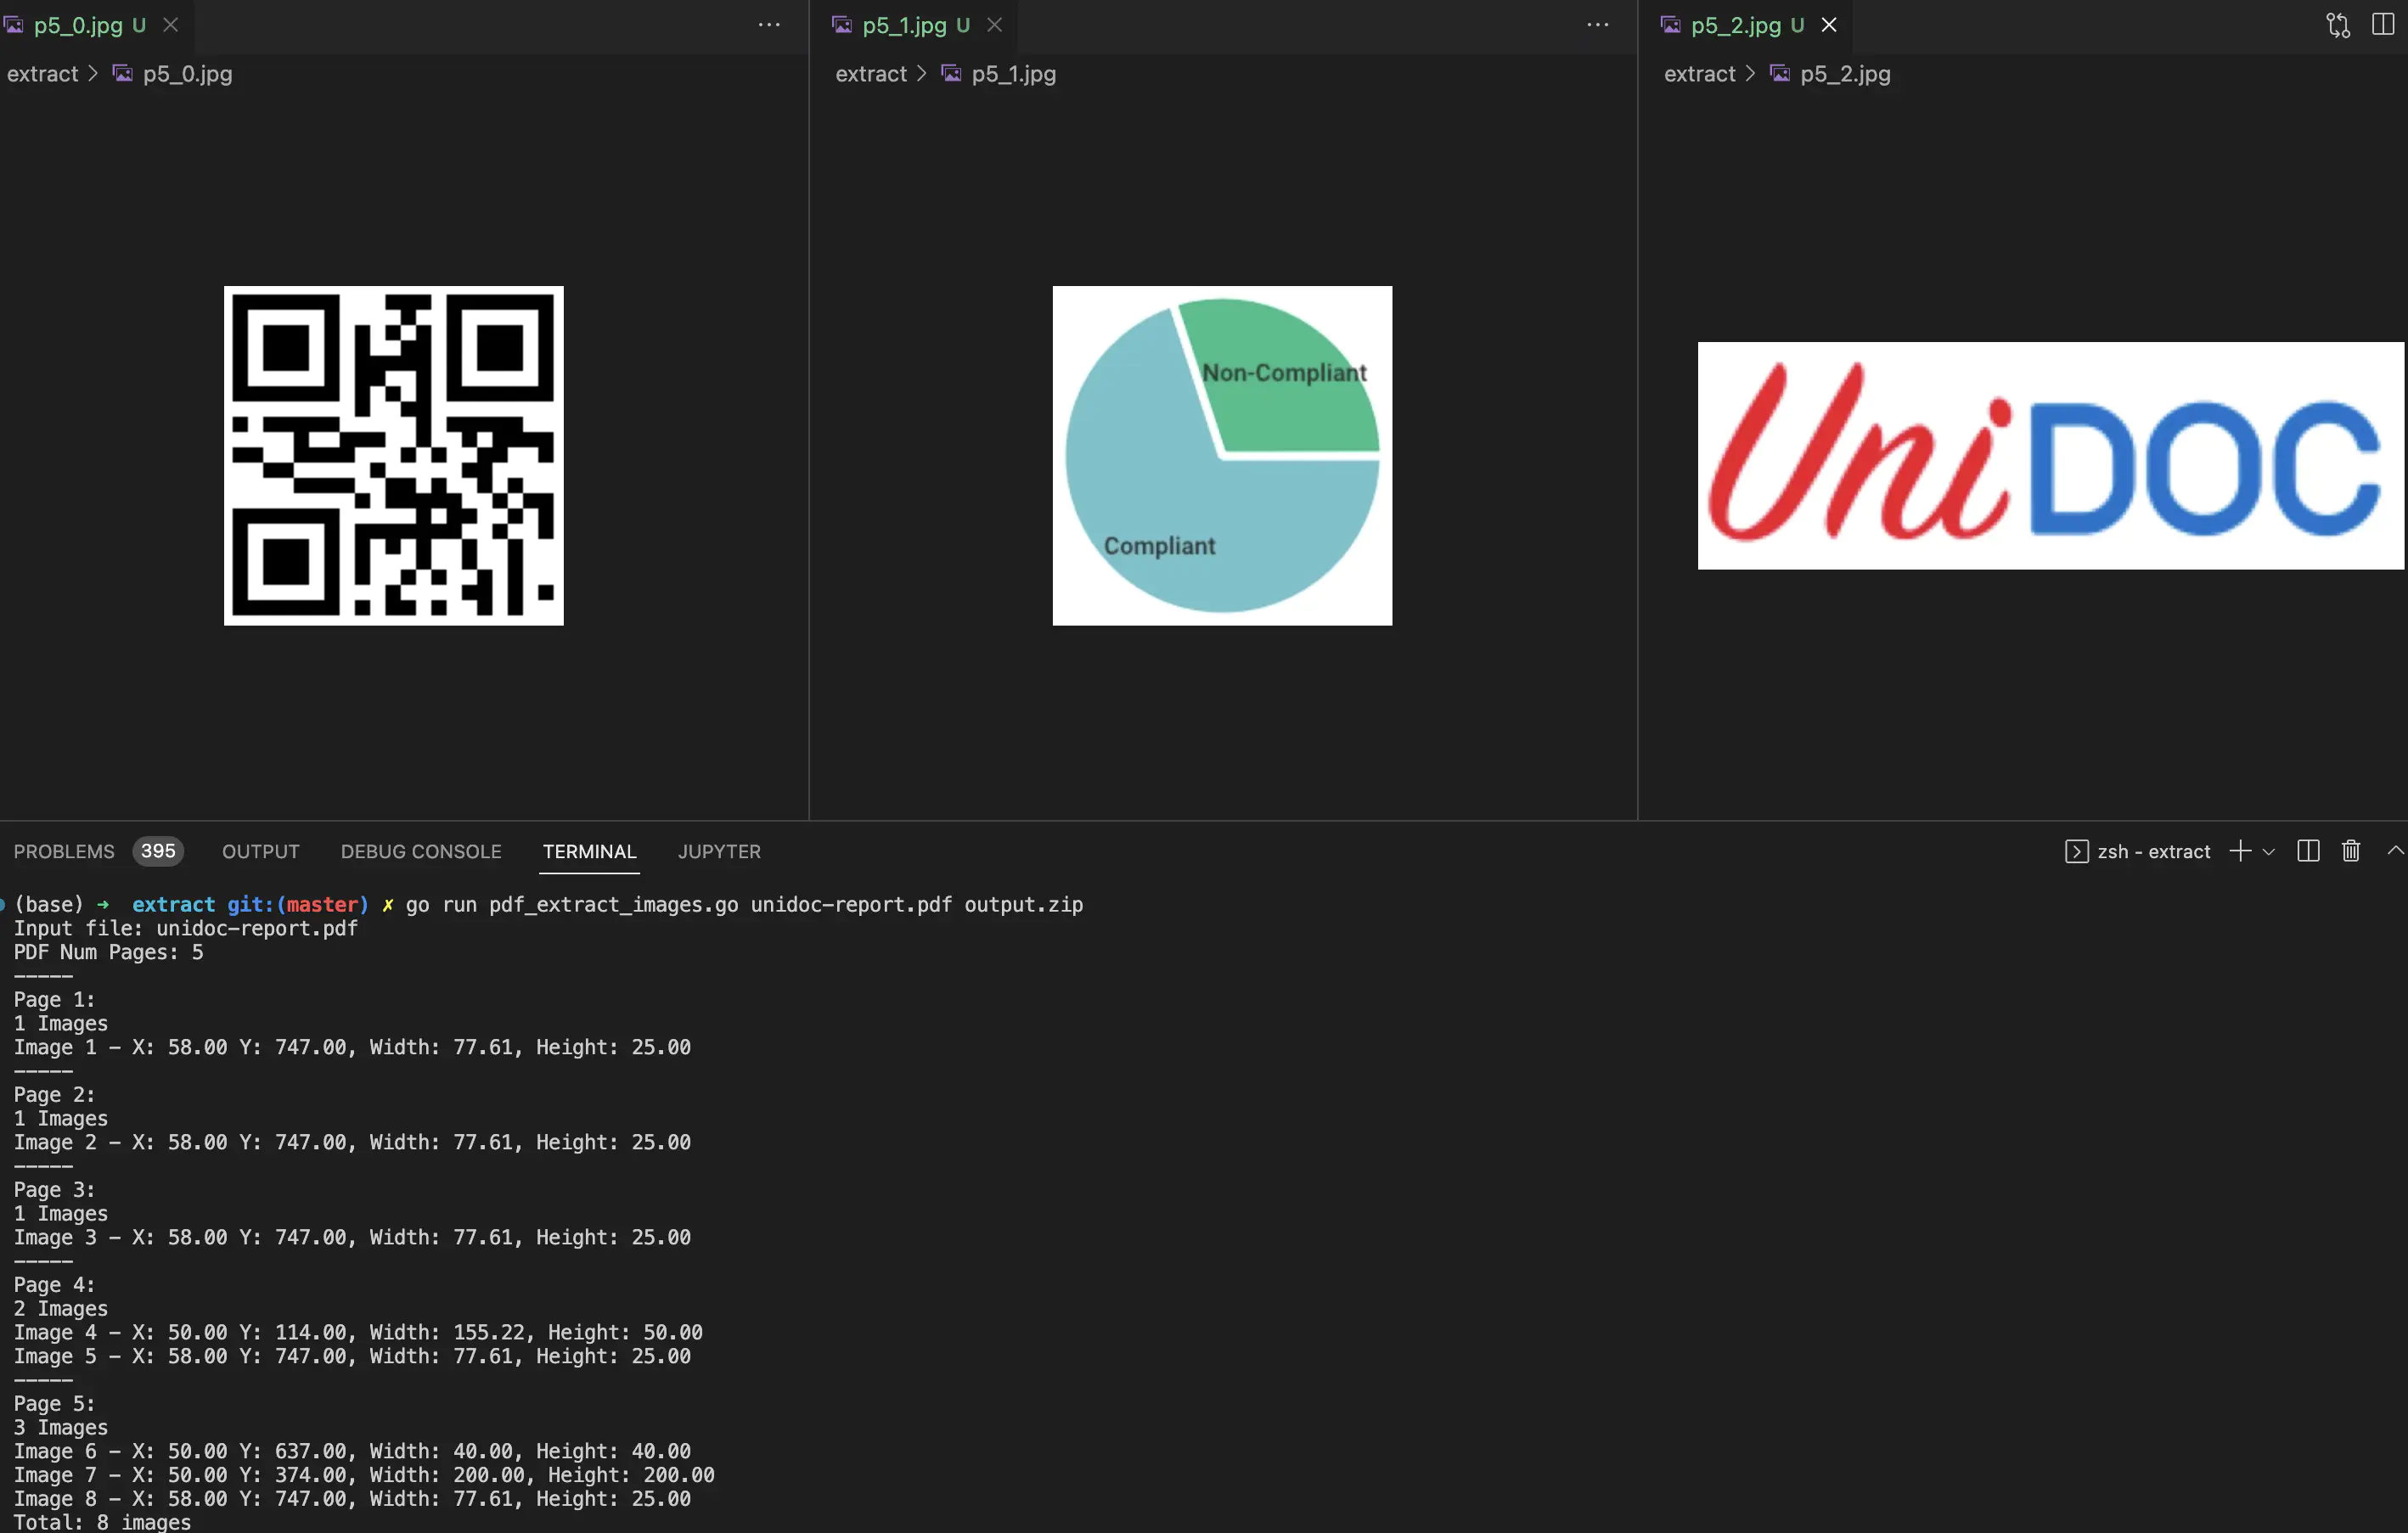
All images per page in the input PDF is saved to a zip archive in your current directory. Unzip the archive to view the images.
On the terminal or command line, the number of images on a page as well as their spatial information (display position and size) will be displayed.
