Form With Custom Text Color
This guide will demonstrate how to create PDF forms with custom text colors using UniPDF.
Before you begin
You should get your API key from your UniCloud account.
If you are using the UniPDF SDK for the first time, follow this guide to set up a local development environment.
Clone the project repository
In your terminal, clone the examples repository. It contains the Go code we will be using for this guide.
git clone https://github.com/unidoc/unipdf-examples.git
Navigate to the forms folder in the unipdf-examples directory.
cd unipdf-examples/forms
How it works
In the above example code, in lines 9-20, the necessary libraries are imported. Then lines 22-29, i.e the init function, initialize the package by setting the metered license key.
The main function starts in line 31. In this function, an array of anonymous struct type which is used to hold the necessary data for each text field, is initialized. This can be seen in lines 32-41, as follows:
textFieldsDef := []struct {
    Label       string
    Name        string
    SampleInput string
    Rect        []float64
}{
  {Label: "Full Name", Name: "full_name", SampleInput: "Enter Full Name", Rect: []float64{123.97, 619.02, 343.99, 633.6}},
  {Label: "Address 1", Name: "address_line_1", SampleInput: "Enter Address 1", Rect: []float64{123.97, 596.82, 343.99, 611.4}},
  {Label: "Address 2", Name: "address_line_2", SampleInput: "Enter Address 2", Rect: []float64{123.97, 574.28, 343.99, 588.86}},
}
The text field label, the text field name, the place-holder text, and the boundary of the text field are defined before hand here.
In lines 43-50, a new PDF page is created from the creator object. Following this, a new Acroform object and an array of PDF objects are created using:
form := model.NewPdfAcroForm()
fields := core.MakeArray()
Then, in the for loop defined in lines 55-87, iterates through each textFieldsDef object and creates the text fields. First, the annotator.TextFieldOptions object for the current text field is defined as follows:
opt := annotator.TextFieldOptions{
  TextColor: "#0000FF", // Set text color to Blue.
  Value:     fdef.SampleInput,
}
The color of the text field is specified here. In the example code, a blue color is selected for all text fields. However, a unique color can be set for each text field by including this in the text fields definition earlier. The Value here is used to set the place-holder text of the field.
In line 60, a text field object is created using annotator.NewTextField(page, fdef.Name, fdef.Rect, opt). This text field object is then appended to the Fields attribute of the acroform object in line 66.
Then, using AddAnnotation method of the page object, the annotation field of the text field object is added to the page. This annotation is taken from the first element of the Annotations field of the text field object.
In lines 69-84, some position calculation and line drawing is done for the appearance of the text field. Then, in line 86, the text field is appended to the array of PDF Objects defined earlier.
Lines 90-101, 103-107, 113-124 and 126-130 create Submit and Reset buttons. They basically use built in factory functions in the annotator package to create each button. Then the widgets are added to the existing fields *form.Fields field while the annotations of these buttons are added to the page using the page.AddAnnotation.
Finally, the forms are set using c.SetForms(form) method in line 136. The rest of the code is just setting the PDF produce tool and then writing the document to a file.
Run the code
To run the code, use the following command.
go pdf_form_with_text_color.go
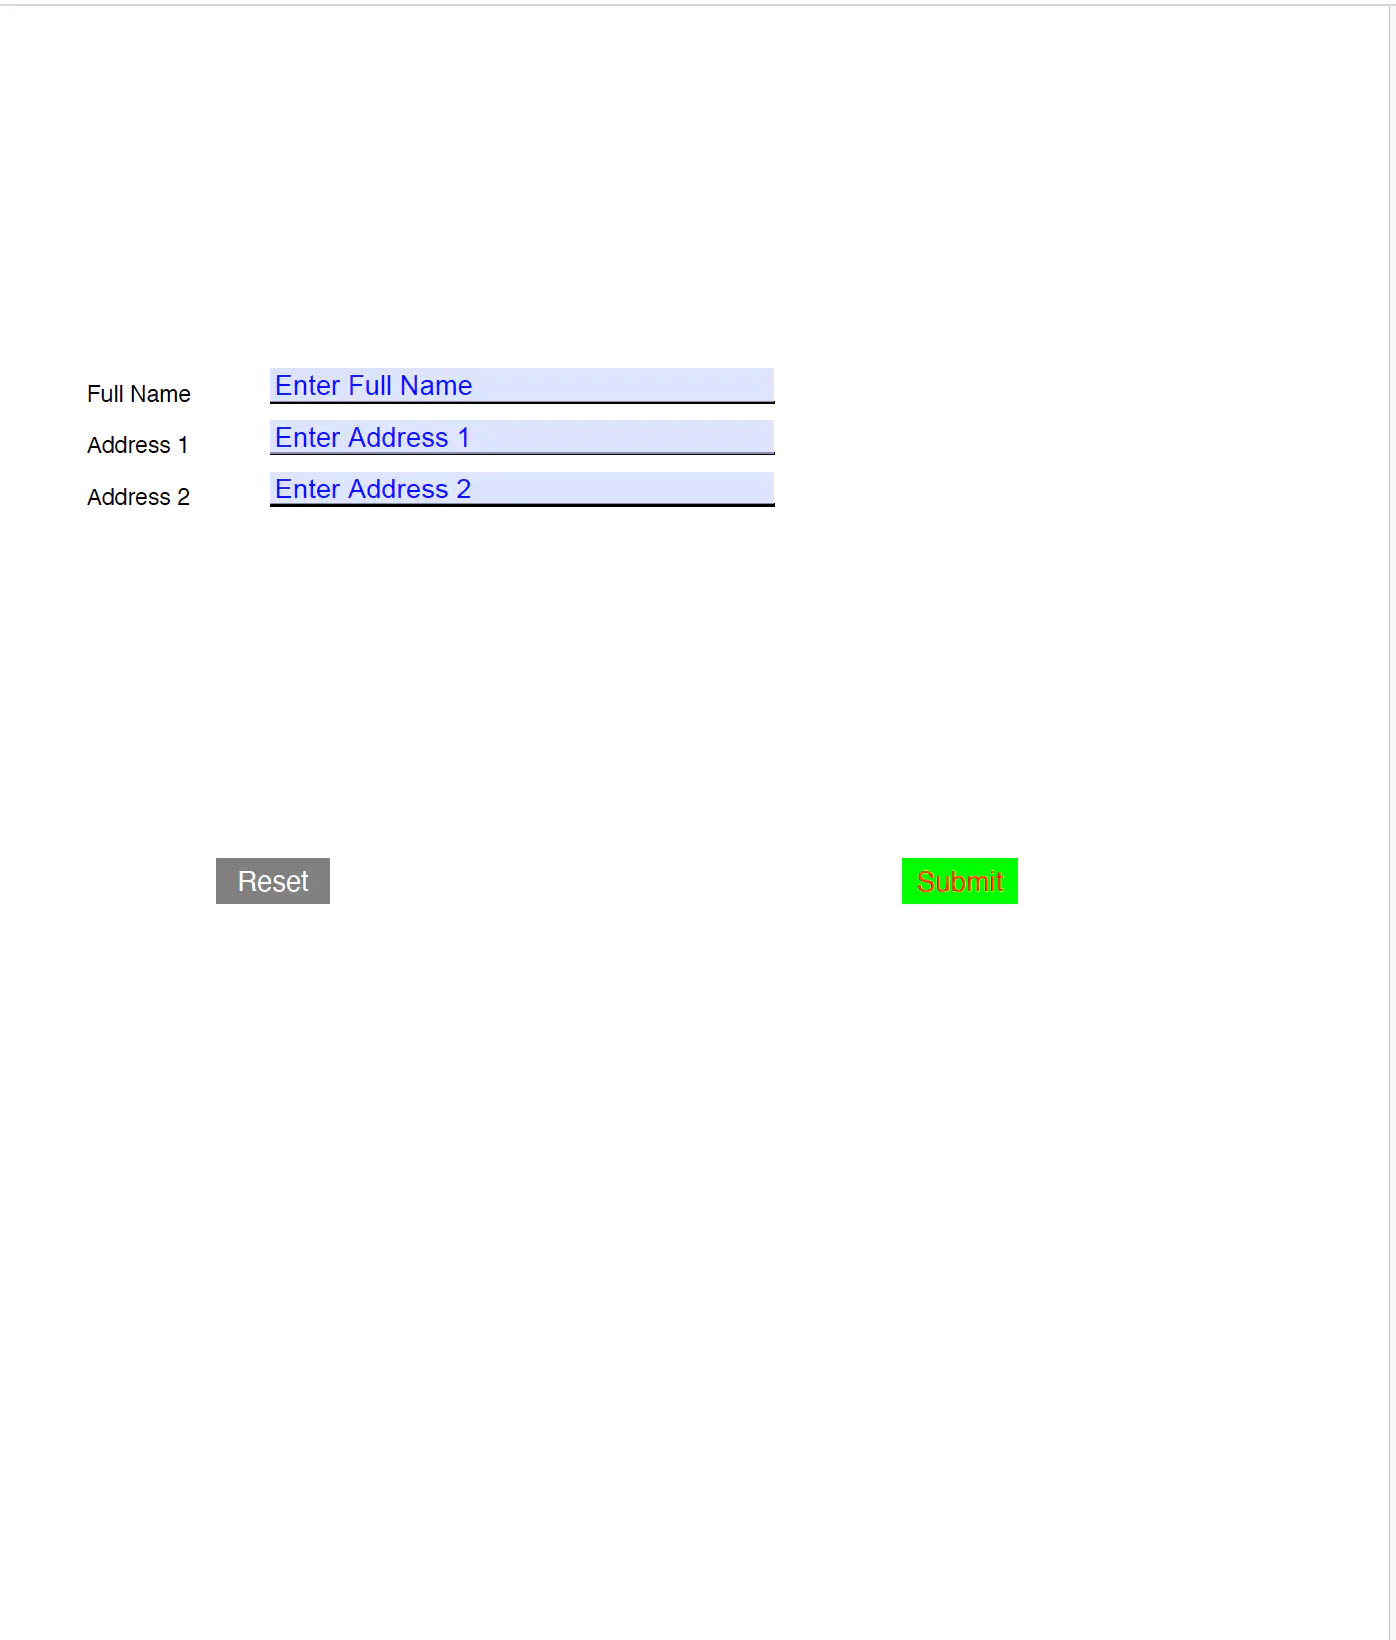
And you should expect a file as follows. In some PDF viewers the place holder text only appears when the text field is active such as when clicked.
Sample output