Create PDF Tables
This guide will show you how to PDF tables using UniPDF’s creator package.
Before you begin
Before you begin this guide you should get your API key from your UniCloud account.
If this is your first time using UniPDF SDK, follow this guide to set up a local development environment.
Project setup
Clone the project repository
In your terminal, clone the examples repository. It contains the Go code we will be using for this guide.
git clone https://github.com/unidoc/unipdf-examples.git
Navigate to the report folder in the unipdf-examples directory.
cd unipdf-examples/report
How it works
The import section in lines 9-18 imports UniPDF packages and other necessary libraries.
The init function defined in lines 20-27 authenticates your library request.
The main function defined in lines 29-72 creates the document and writes it to file. In this function the code in lines 31-42 loads font files and instantiates new creator object. In line 45 the front page is generated by calling the drawFrontPage function. Line 48 draws the footer for the pages using drawFooter function. In line 51 the table of content is customized using customizeTOC function. In lines 54-66 basic usage, styling content and advanced usage chapters are generated by calling the corresponding functions. Finally in lines 69-71 the document is written to file using c.WriteToFile("unipdf-tables.pdf").
The drawFrontPage function defined in lines 74-94 as its name indicates draws the front page of the document. It uses the CreateFrontPage method of the creator.Creator type by providing the a call back function to draw the front page.
The drawFooter function is defined in lines 96-108 draws a footer to all the pages by using c.DrawFooter(func(block *creator.Block, args creator.FooterFunctionArgs).
The function customizeTOC defined in lines 110-129 customizes the table of contents. In this function the margin of the table of content’s heading is customized using toc.Heading().SetMargins(0, 0, 50, 0) in line 116. In lines 118-122 a new text style is initialized using c.NewTextStyle(). The color and the font of the text style are set in lines 119-121. Then the text style is added to the table of contents using toc.SetHeading("Table of Contents", hstyle) in line 122. Another text style is added in lines 125-128.
In lines 131-150 the function basicUsage creates a basic usage chapter and draws the horizontal, vertical and content wrapping sub chapters using the contentAlignH, contentAlignV and contentWrapping functions respectively. Finally the chapter is drawn using c.Draw(ch) in line 145.
A table with horizontally aligned content is drawn using the function contentAlignH in lines 152-196. The table cells are drawn using the anonymous function in 171-179 which is assigned to the variable drawCell. This function takes the content text, the font and the horizontal alignment as parameters. The table header with contents that are left, center and right aligned is drawn using the following code.
drawCell("Align left", fontBold, creator.CellHorizontalAlignmentLeft)
drawCell("Align center", fontBold, creator.CellHorizontalAlignmentCenter)
drawCell("Align right", fontBold, creator.CellHorizontalAlignmentRight)
The for loop in lines 187-193 draws the rest of the table content one table row per iteration by calling the drawCell function with the necessary arguments. Finally the table is added to the sub chapter using sc.Add(table) in line 195.
The contentAlignV function defined in lines 198-246 draws a table with cell contents that are positioned with different vertical alignment values. The cells are drawn using the function that is defined in lines 217-228. The vertical alignments are set using creator.CellVerticalAlignmentMiddle, creator.CellVerticalAlignmentMiddle and creator.CellVerticalAlignmentMiddle constants. All the cells are drawn by calling the drawCell function and providing the necessary arguments.
Table cell content that is automatically wrapped into multiple lines is drawn using the contentWrapping function defined in lines 248-295. Here the anonymous function defined in lines 268-278 which is assigned to the variable drawCell is used to draw the table cells.
The function stylingContent in lines 297-317 creates a styled content. The functions contentBorders and contentBackground are used to create cells with borders and backgrounds respectively.
The function contentBorders defined in lines 319-382 is used to create tables with cells that have different kinds of borders.
The border of the cell is set by calling cell.SetBorder(borderSide, borderStyle, borderWidth) which is used inside the anonymous function defined in liens 343-354.
A table with with different cell backgrounds is drawn using the contentBackground function defined in lines 385-428. The background of the cell is set using cell.SetBackgroundColor(bgColor).
TheadvancedUsage function defined in lines 430-451 creates tables that have column span, row headers and sub tables. In this function the table with column span is created using columnSpan function which is defined in lines 453-538. The table with row headers is created using the tableHeaders function defined in lines 540-538. And the table which contains sub tables is created using the subtables function which is defined in lines 611-711. The section that calls these three function is in lines 441-443 and can be seen below.
// Draw subchapters.

columnSpan(c, ch, font, fontBold)
tableHeaders(c, ch, font, fontBold)
subtables(c, ch, font, fontBold)
The chapter that contains these tables is drawn using c.Draw(ch) in line 446.
Run the code
To create the document run the code using the following command.
go run pdf_tables.go
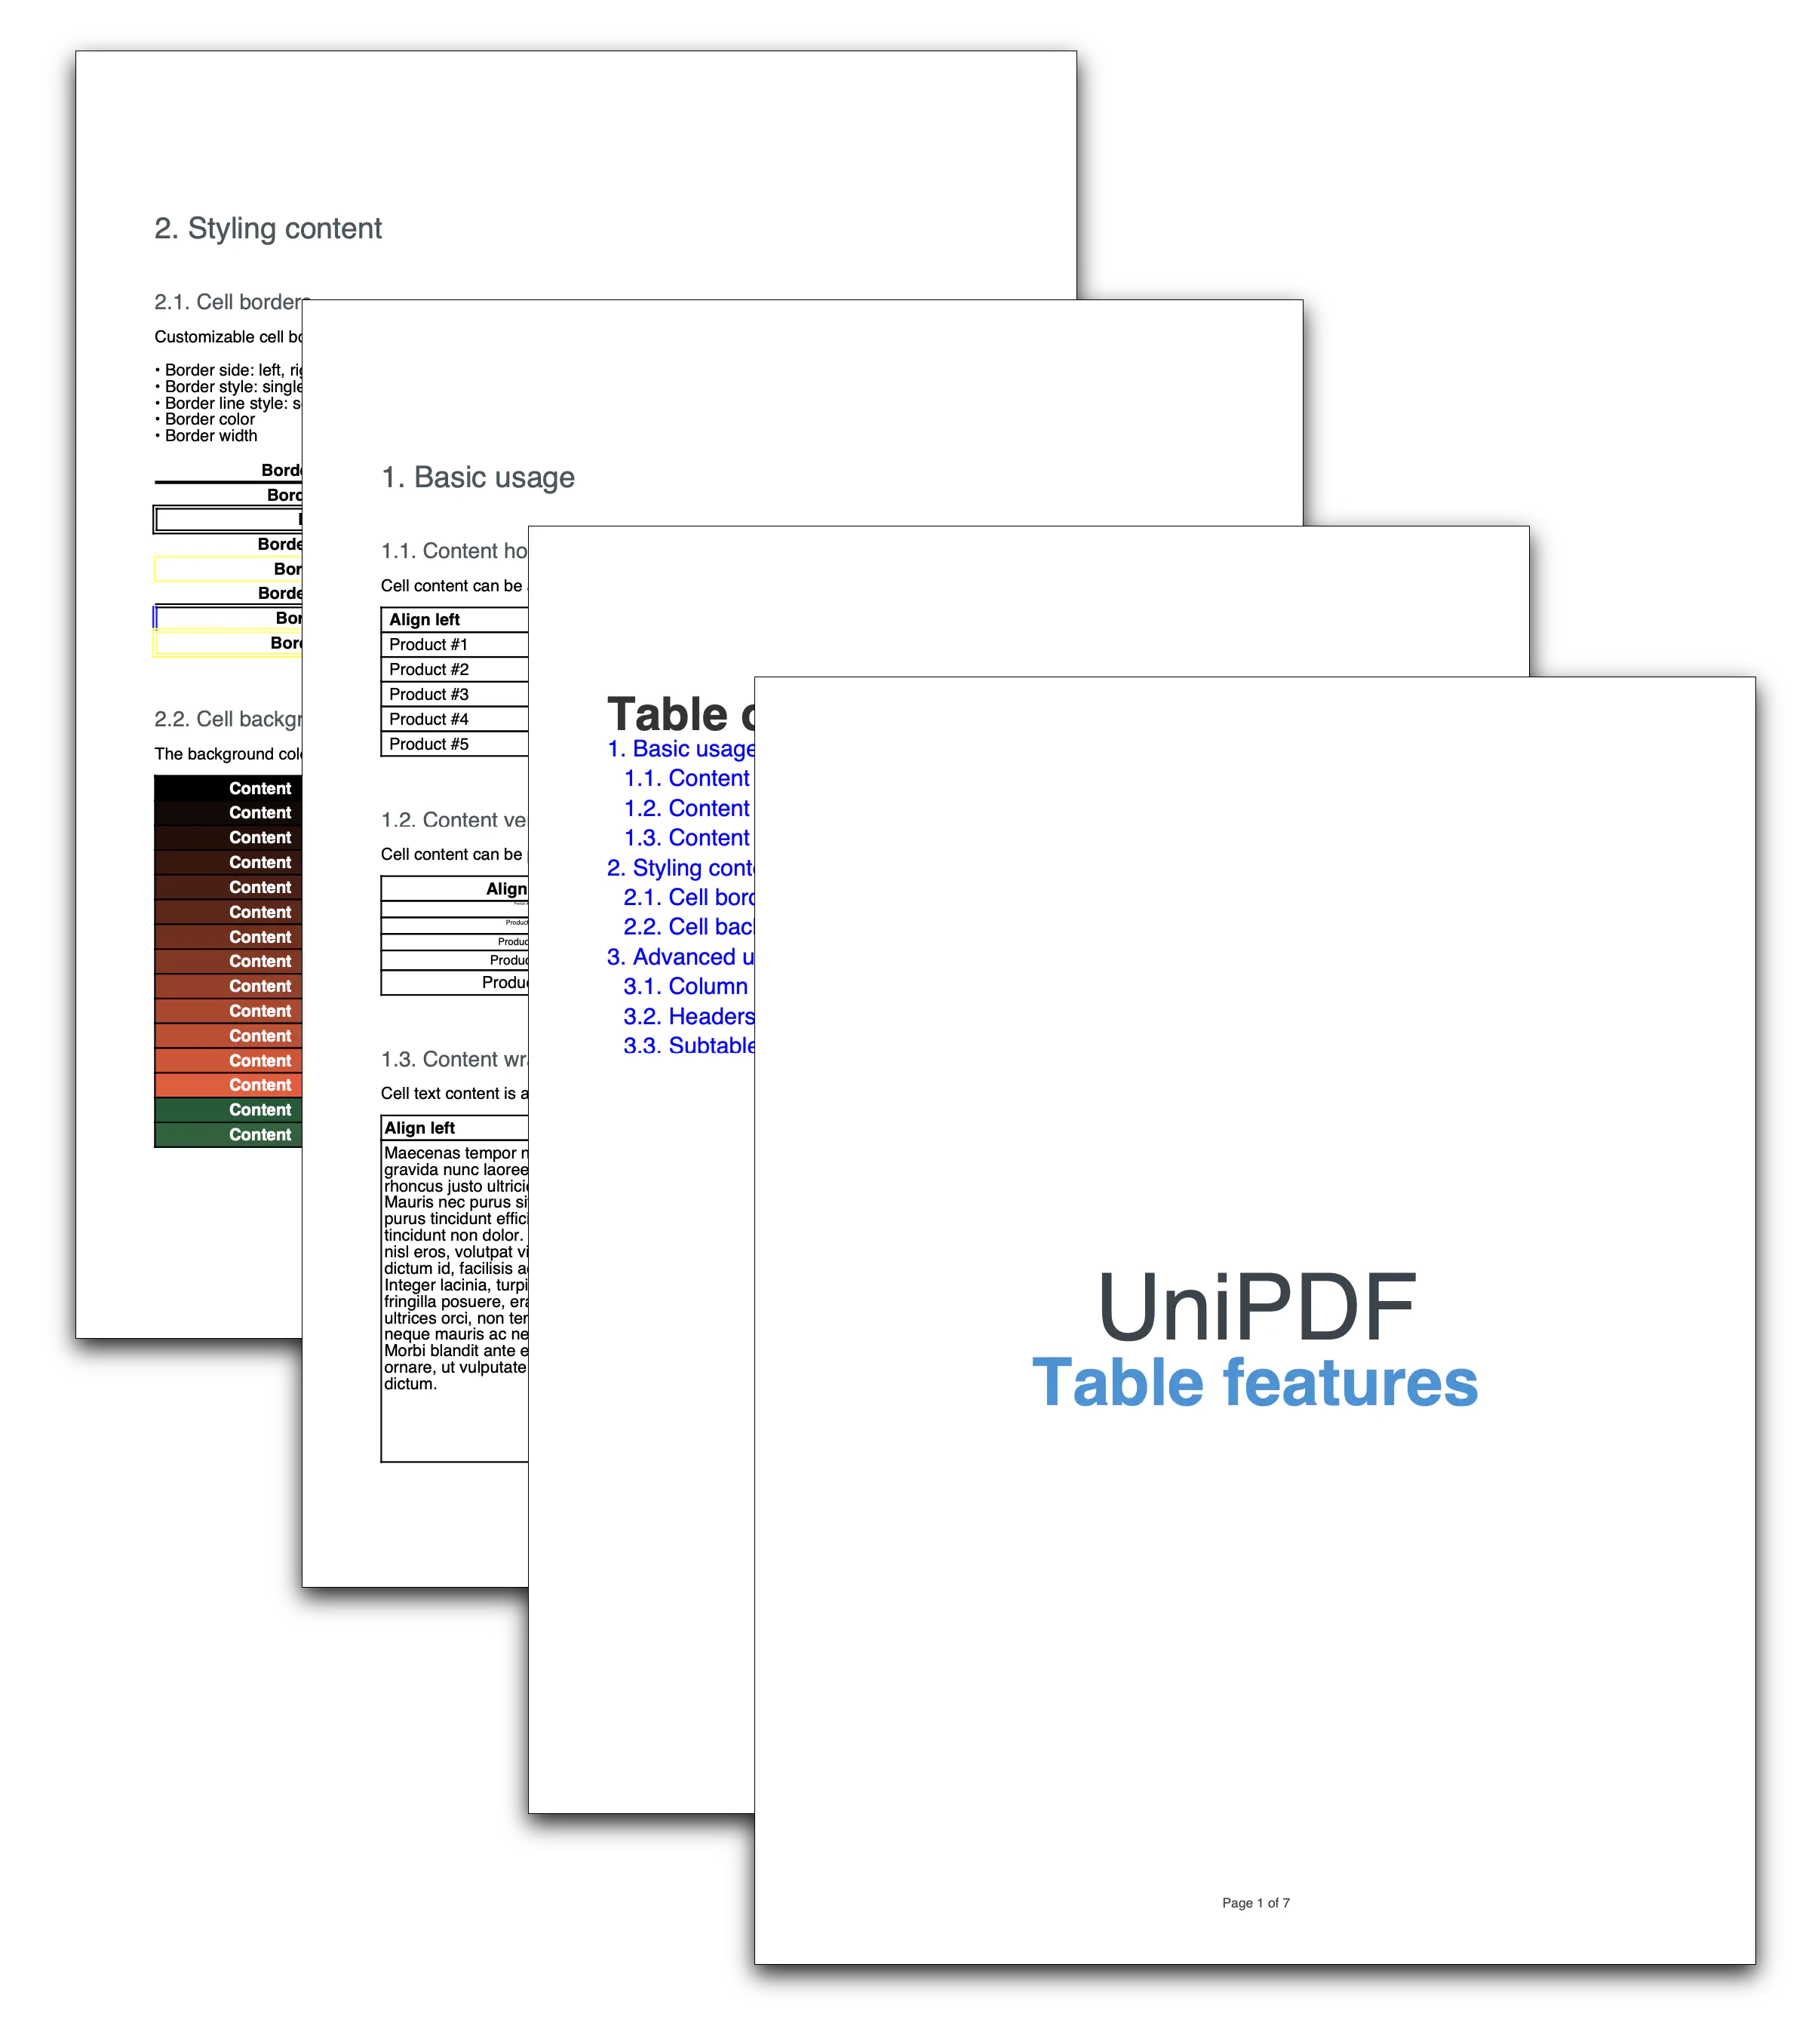
Sample output
The following image shows the preview of the generated tables document.