Create Image Appearance for Digital Signature
This guide will explain how to create appearance fields for a digital signature following the example code provided in the unipdf-examples repository.
Sample Input
Before you begin
You should get your API key from your UniCloud account.
If this is your first time using UniPDF SDK, follow this guide to set up a local development environment.
Project setup
Clone the project repository
In your terminal, clone examples repository. It contains the Go code we will be using for this guide.
git clone https://github.com/unidoc/unipdf-examples.git
Navigate to the signatures folder in the unipdf-examples directory.
cd unipdf-examples/signatures
How it works
The necessary UniPDF packages are imported in the import section.
The init function loads the metered license key from the system environment and authenticates your library request.
In the main function, the document is signed and written to a file. First, the inputPath, imageFile, watermarkImageFile and outputPath are read from the command line argument in lines 47-50. The private/public key pair are generated by calling the generateKeys() function in line 53. A new PdfReader object is instantiated from the input file in lines 59-68. The signature image and the watermarkImage are created in lines 71-87.
In lines 95-98, a new model.PdfAppender is instantiated from the reader. The signature handler which is used to create a PdfSignature model is created using the private and public key pair in lines 101 using sighandler.NewAdobePKCS7Detached(priv, cert).
In lines 107-108, the PdfSignature is created and its name, reason and date fields are set. Then the Initialize() method is called on PdfSignature to initialize the object. The for loop in lines 122-240, iterates through each page and applies the signing process. In this section, in lines 126-131, a new annotator.SignatureFieldOpts is created, and the necessary fields are set with the configuration values to create the appearance widget dictionary. Then the model.PdfFieldSignature object is instantiated from the annotator.SignatureFieldOpts, model.PdfSignature and a new annotator.SignatureLine object, as can be seen in the following piece of code.
sigField, err := annotator.NewSignatureField(
	signature,
	[]*annotator.SignatureLine{
		annotator.NewSignatureLine("Name", "Jane Doe"),
		annotator.NewSignatureLine("Date", "2019.01.03"),
		annotator.NewSignatureLine("Reason", "Image on right"),
		annotator.NewSignatureLine("Location", "New York"),
		annotator.NewSignatureLine("DN", "authority1:name1"),
	},
	opts,
)
The T field of the sigField object is set using sigField.T = core.MakeString(fmt.Sprintf("Signature %d", pageNum)) in line 144. Then the current page is signed using appender.Sign(pageNum, sigField) in line 223. A new annotator.SignatureFieldOpts is instantiated and the Rect, Image, and WatermarkImage fields are set in lines 228-231. A model.PdfFieldSignature is created and its T filed is set in lines 231-233. Then the page is signed with the image using appender.Sign(pageNum, sigField) in line 237. Finally, in line 243 the document is written to file using appender.WriteToFile method.
In lines 251-284, the generateKeys function which generates public and private pair of keys is defined.
Run the code
Use the following command to run the code.
go run pdf_image_sign_appearance <INPUT_PDF_PATH> <IMAGE_FILE> <WATERMARK_IMAGE_FILE> <OUTPUT_PDF_PATH>
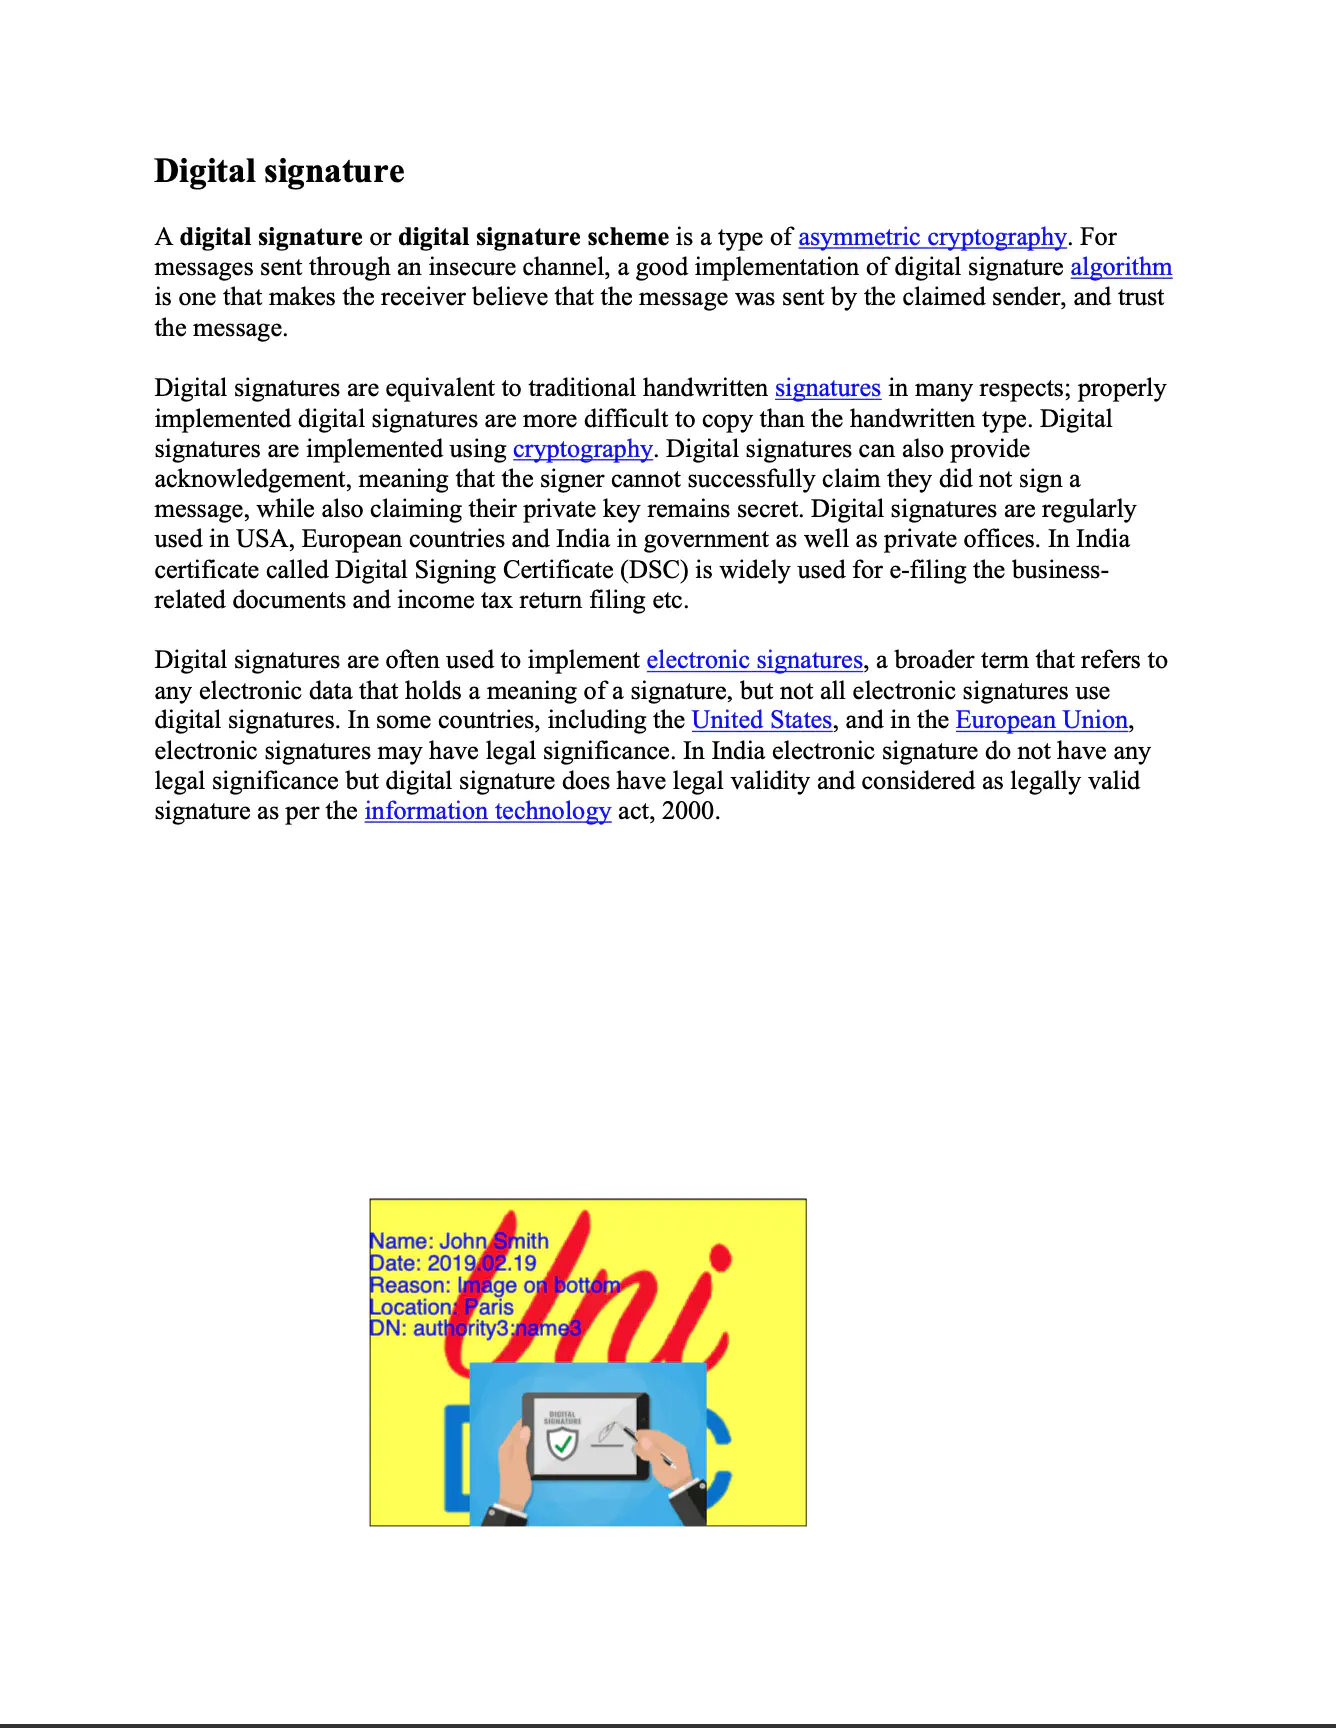
Sample output
Signature appearance field for image added at bottom.