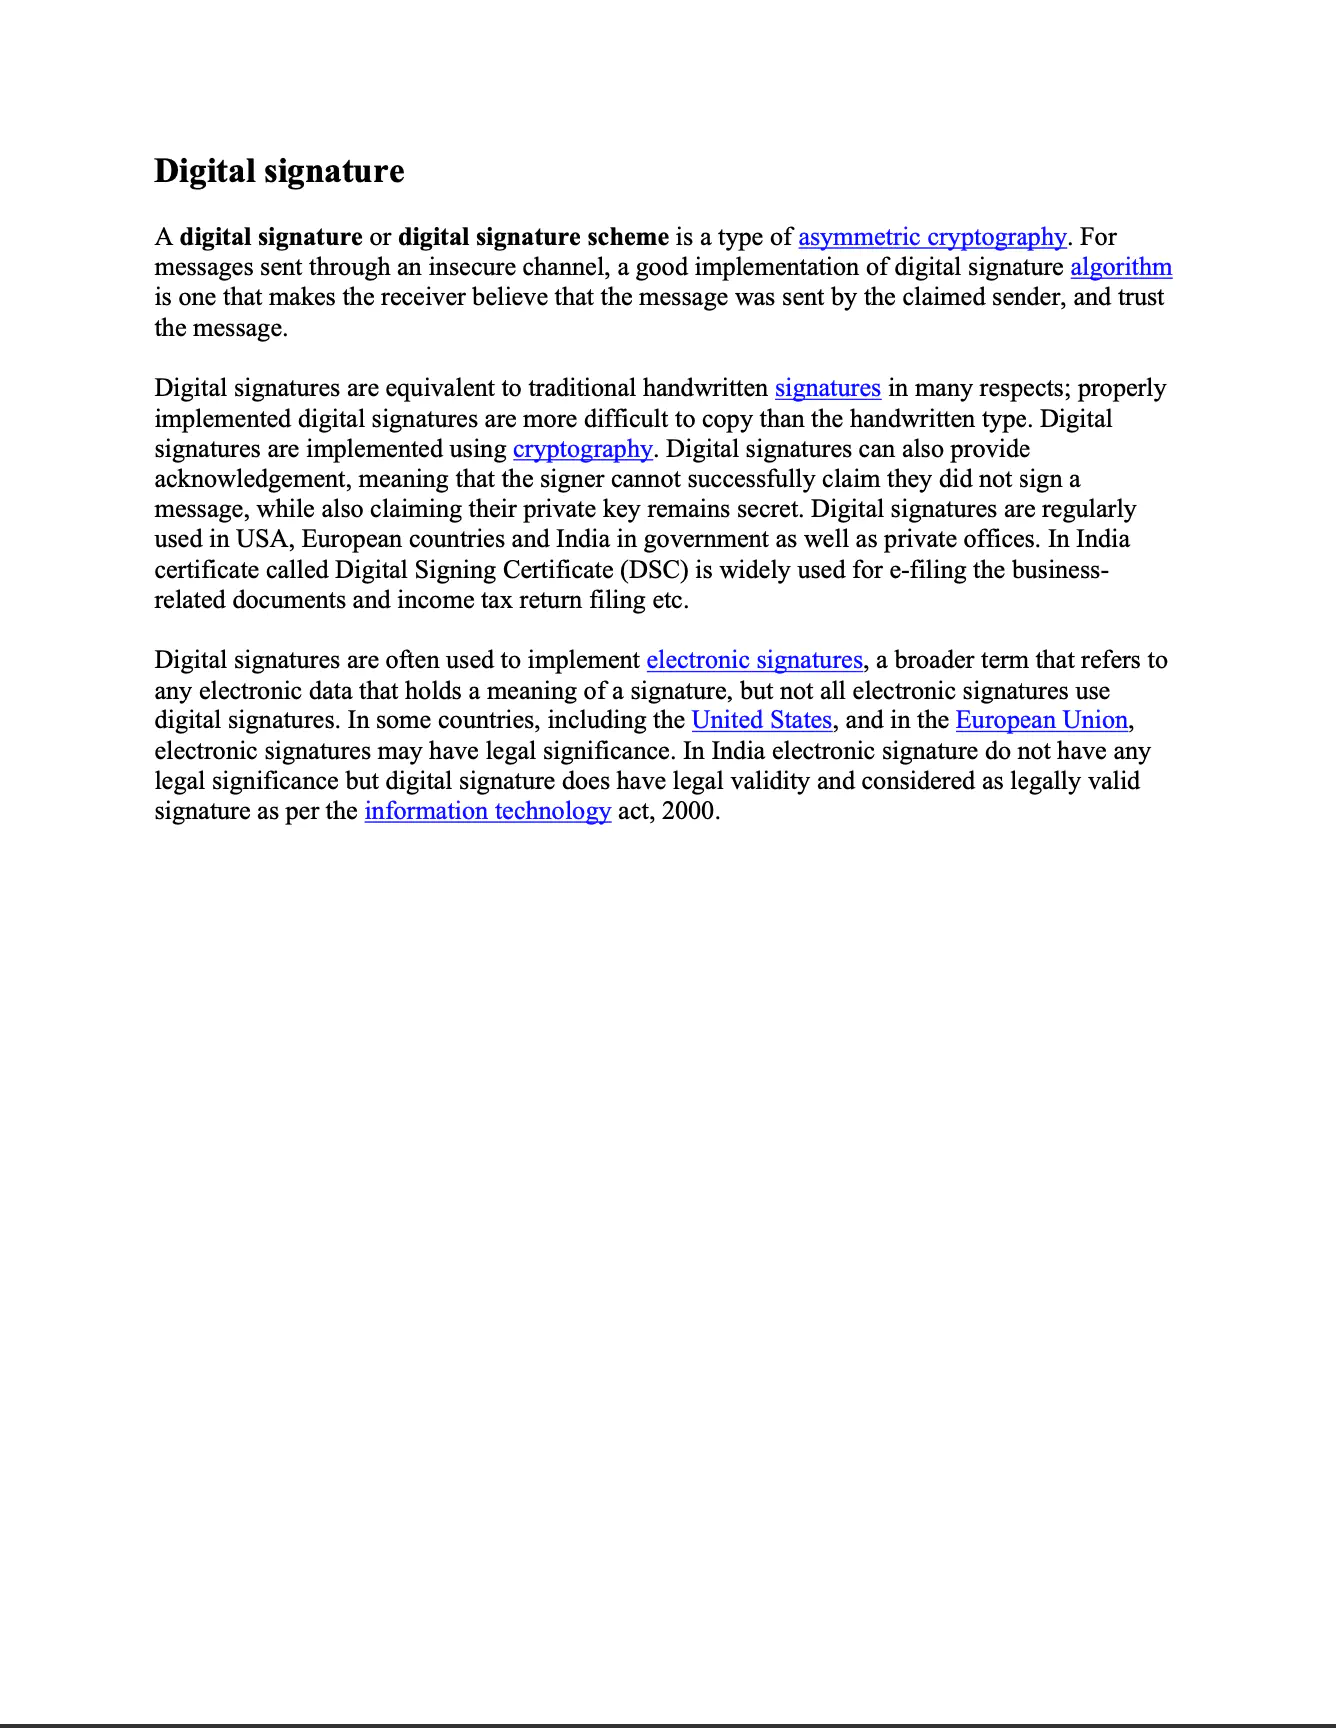
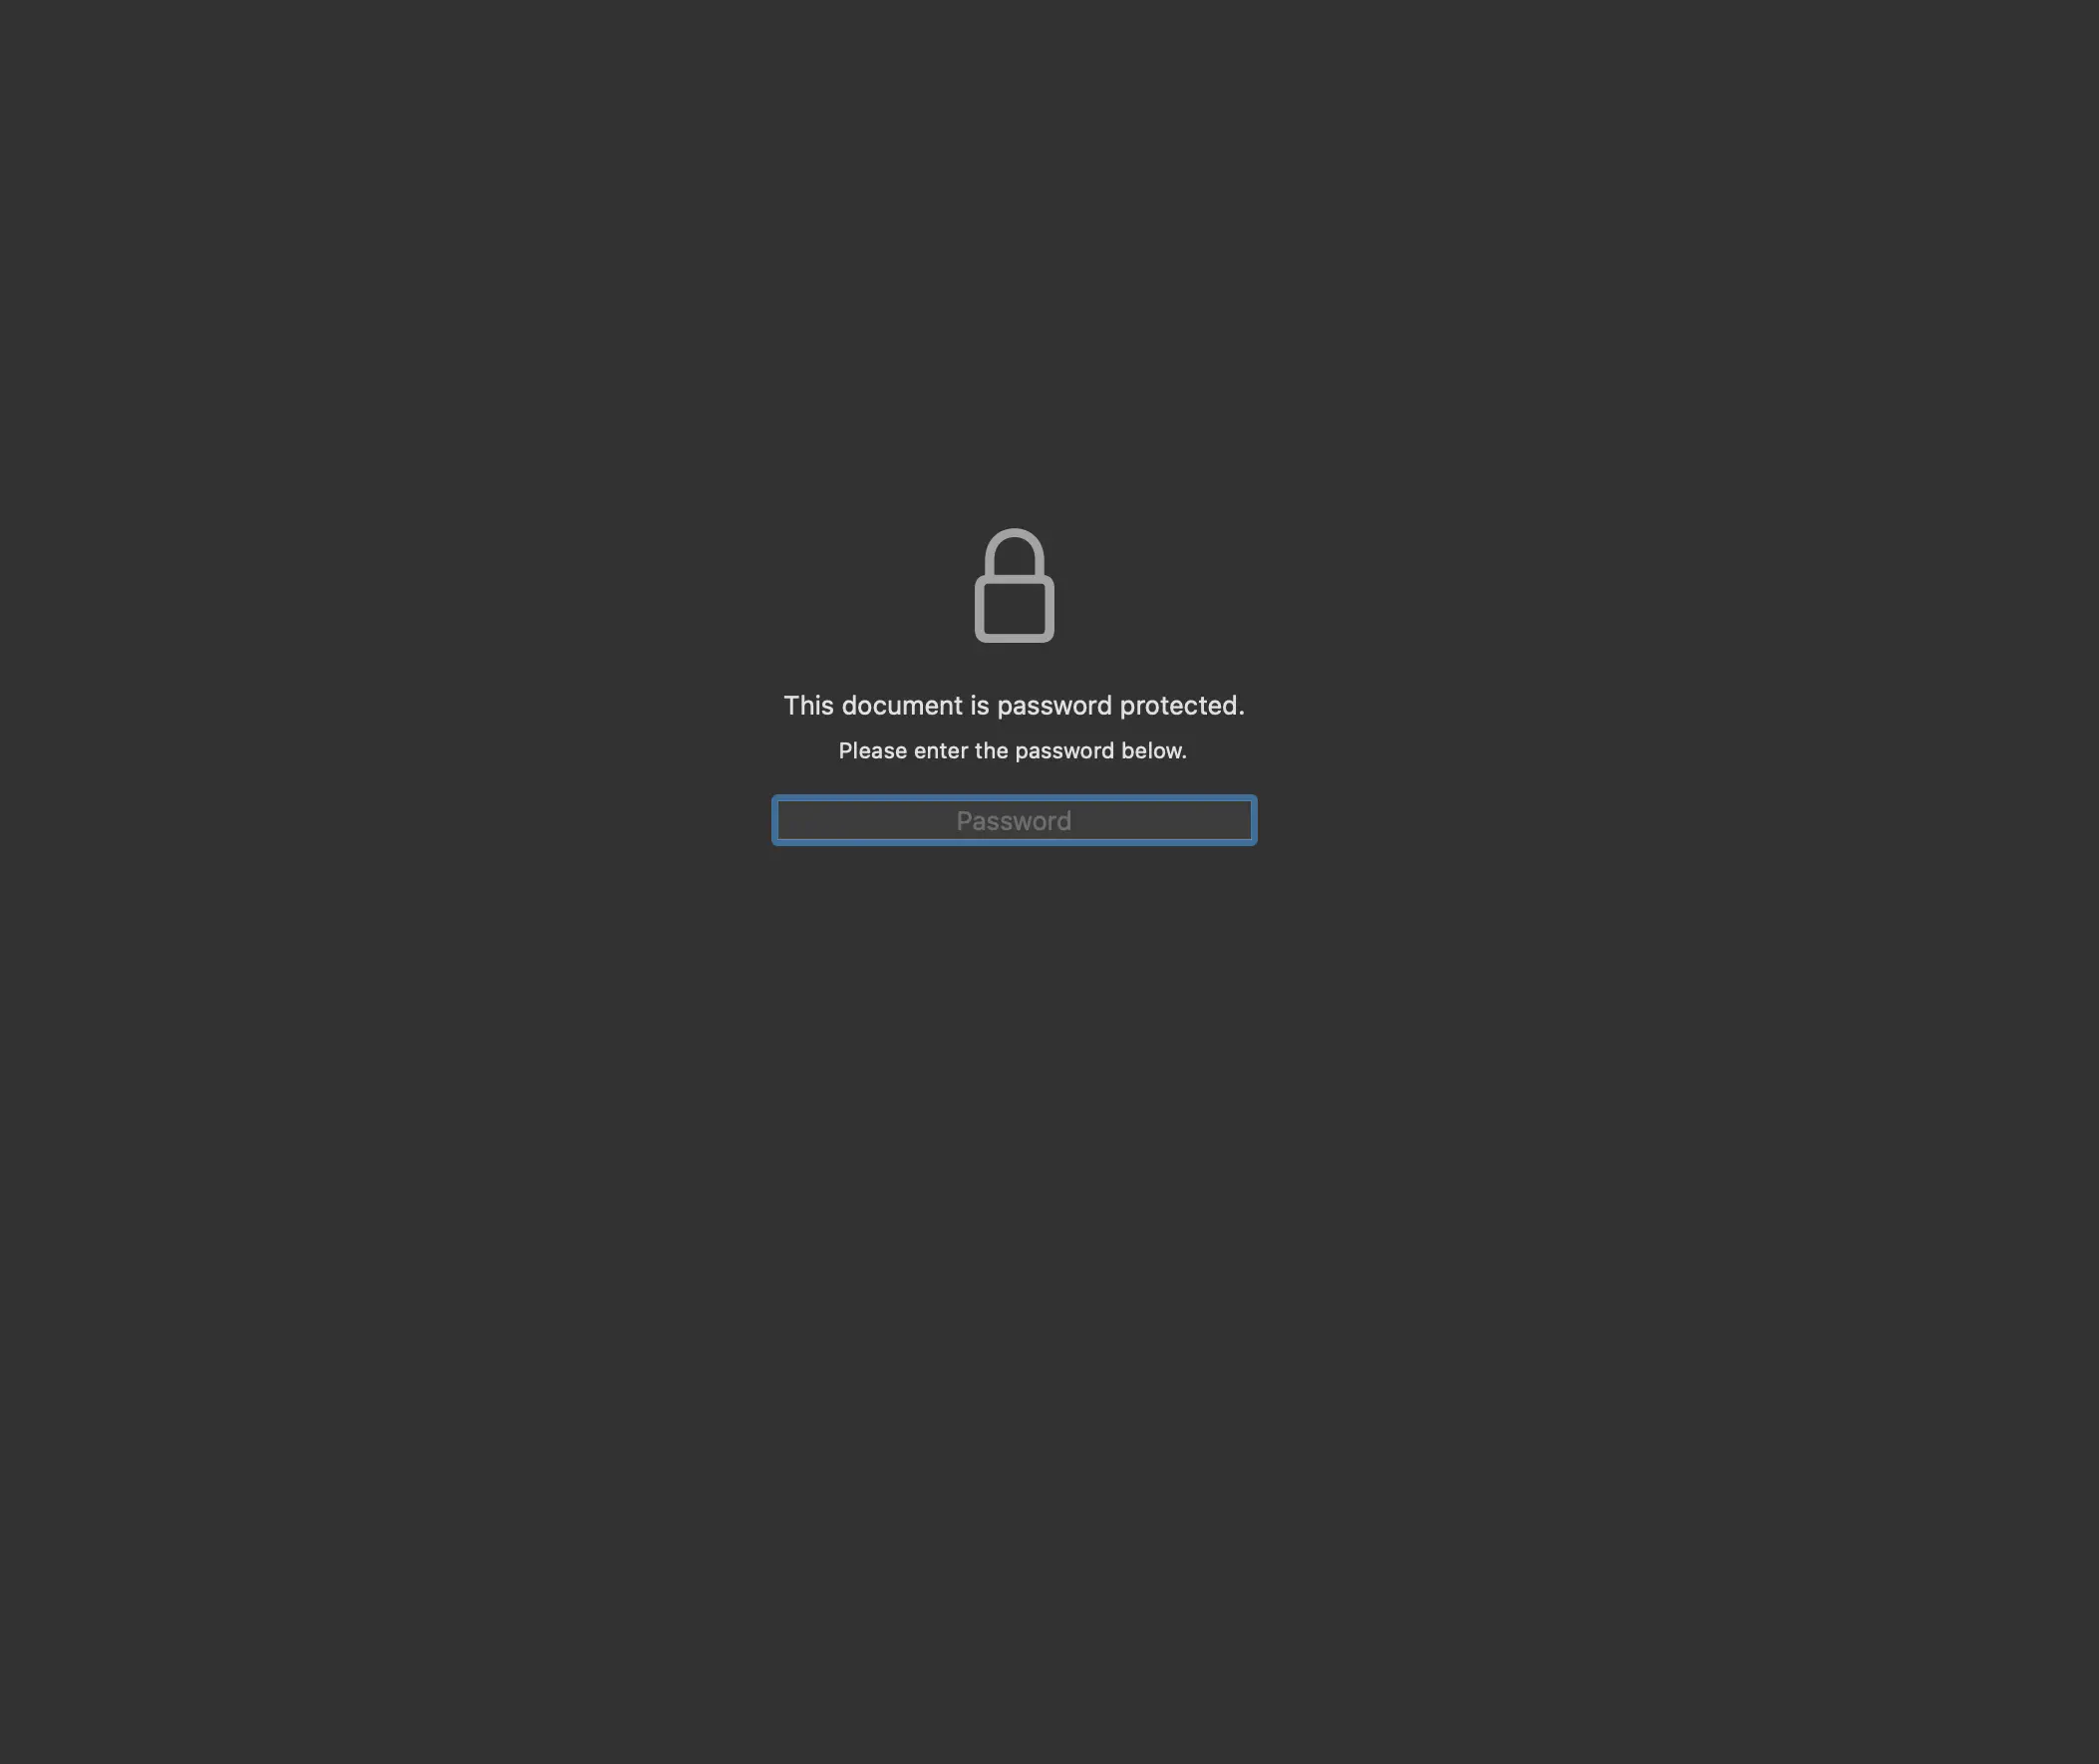
Signing and Encrypting PDF File
This guide will show how to sign and encrypt a document using UniPDF library.
Sample Input

Before you begin
You should get your API key from your UniCloud account.
If this is your first time using UniPDF SDK, follow this guide to set up a local development environment.
Project setup
Clone the project repository
In your terminal, clone examples repository. It contains the Go code we will be using for this guide.
git clone https://github.com/unidoc/unipdf-examples.git
Navigate to the signatures folder in the unipdf-examples directory.
cd unipdf-examples/signatures
Configure environment variables
Replace the UNIDOC_LICENSE_API_KEY with your API credentials from your UniCloud account.
Linux/Mac
export UNIDOC_LICENSE_API_KEY=PUT_YOUR_API_KEY_HERE
Windows
set UNIDOC_LICENSE_API_KEY=PUT_YOUR_API_KEY_HERE
How it works
The import section in lines 9-28 imports UniPDF packages and other necessary libraries.
The init function loads your metered license key from your system environment.
The main function in lines 39-111 signs and encrypts the file. In lines 40-53, the input file is read from the command line environment and opens the file os.Open(inputPath). In line 55, a new model.PdfReader is instantiated from the input file. Then in line 62-69, a list of access permissions are defined. A new model.EncryptOptions is instantiated using the permissions and model.AES_128bit encryption algorithm in lines 71-74.
In line 76-80, the encryptDocument function is used to encrypt the document. The PdfReader, password and encryptionOption are provided to the function as parameters. The encrypted form of the document is returned from the function in bytes buffer.
In lines 82 and 83 a reader options is instantiated using the password. This options object is then used to create a new reader that reads the contents of the encrypted buffer in lines 92-95.
A new PdfAppender object is instantiated using model.NewPdfAppenderWithOpts function and pdfReader, readerOpts and encryptionOpts arguments, in lines 92-95. Then a signature is added to the document by calling the addSignature function. Here the Appender object alongside with the target page number is passed as arguments in the function call.
Finally, the document is written to file using ioutil.WriteFile(outputPath, buf, 0666). Here the 0666 specifies the fs.FileMode bits and the outputPath is the destination where the buffer buf is written to.
In lines 113-134, the encryptDocument function which we used in the main function is defined. In this function, a new writer is created from the PdfReader and the Encrypt method is called on the writer. Then the content is written to a buffer which is returned to the caller.
The addSignature function is defined in lines 136-195. Generally, what this function does is generate signature keys, create a signature using the certificates, create signature fields using the annotator, and sign the document using the appender provided in the parameter.
The key pair is generated using priv, cert, err := generateSigKeys() in line 138. Using this key pair, a new signature handler is instantiated. Then this handler is used to instantiate a new PdfSignature using model.NewPdfSignature(handler) in line 150. The Name, Reason and the M fields are set using the signature.SetName, signature.SetReason and signature.SetDate methods respectively. In line 156 the signature dictionary is prepared by calling signature.Initialize() method.
A new signature field options is initialized using annotator.NewSignatureFieldOpts(). This set of options is used to configure an appearance widget dictionary. The font size, rectangle dimensions and text color are set using the following piece of code in lines 162-164.
opts.FontSize = 8
opts.Rect = []float64{float64(50), 250, float64(150), 300}
opts.TextColor = model.NewPdfColorDeviceRGB(255, 0, 0)
A new NewSignatureField object is then instantiated using the signature, a signature line object and the options using:
sigField, err := annotator.NewSignatureField(
  signature,
  []*annotator.SignatureLine{
    annotator.NewSignatureLine("Name", "John Doe"),
    annotator.NewSignatureLine("Date", "2019.03.14"),
    annotator.NewSignatureLine("Reason", fmt.Sprintf("Test sign")),
    annotator.NewSignatureLine("Location", "London"),
    annotator.NewSignatureLine("DN", "authority2:name2"),
  },
  opts,
)
The T field of sigField is set in line 181. Then in lines 183-185 the document is signed using pdfAppender.Sign(pageNum, sigField). Finally, the content is written to a buffer and returned in lines 187-195.
The generateSigKeys function, which is used to generate a key pair, is defined in lines 198-234. In line 202, a private key is generated using the GenerateKey function of crypto/rsa package. This function uses the crypto/rand.Reader and the bit length, which in this case is 2048, as arguments to generate the key. An X509 certificate template is initialized in lines 208-220. From this template a certificate data is created using x509.CreateCertificate(rand.Reader, &template, &template, priv.Public(), priv). Here the priv.Public() is used to create a public key from the rsa.PrivateKey object. In line 228 of the code, a new x509.Certificate is created from the []byte type of certificate data. Finally, the private key and the certificate object are returned from the function to the caller.
Run the code
To run the code use the following command.
go run pdf_sign_encrypted_pdf.go <INPUT_PDF_PATH> <OUTPUT_PDF_PATH>
Sample output
