Create Appearance Field for Digital Signature
This guide will explain the processes of signing appearance fields for digital signatures.
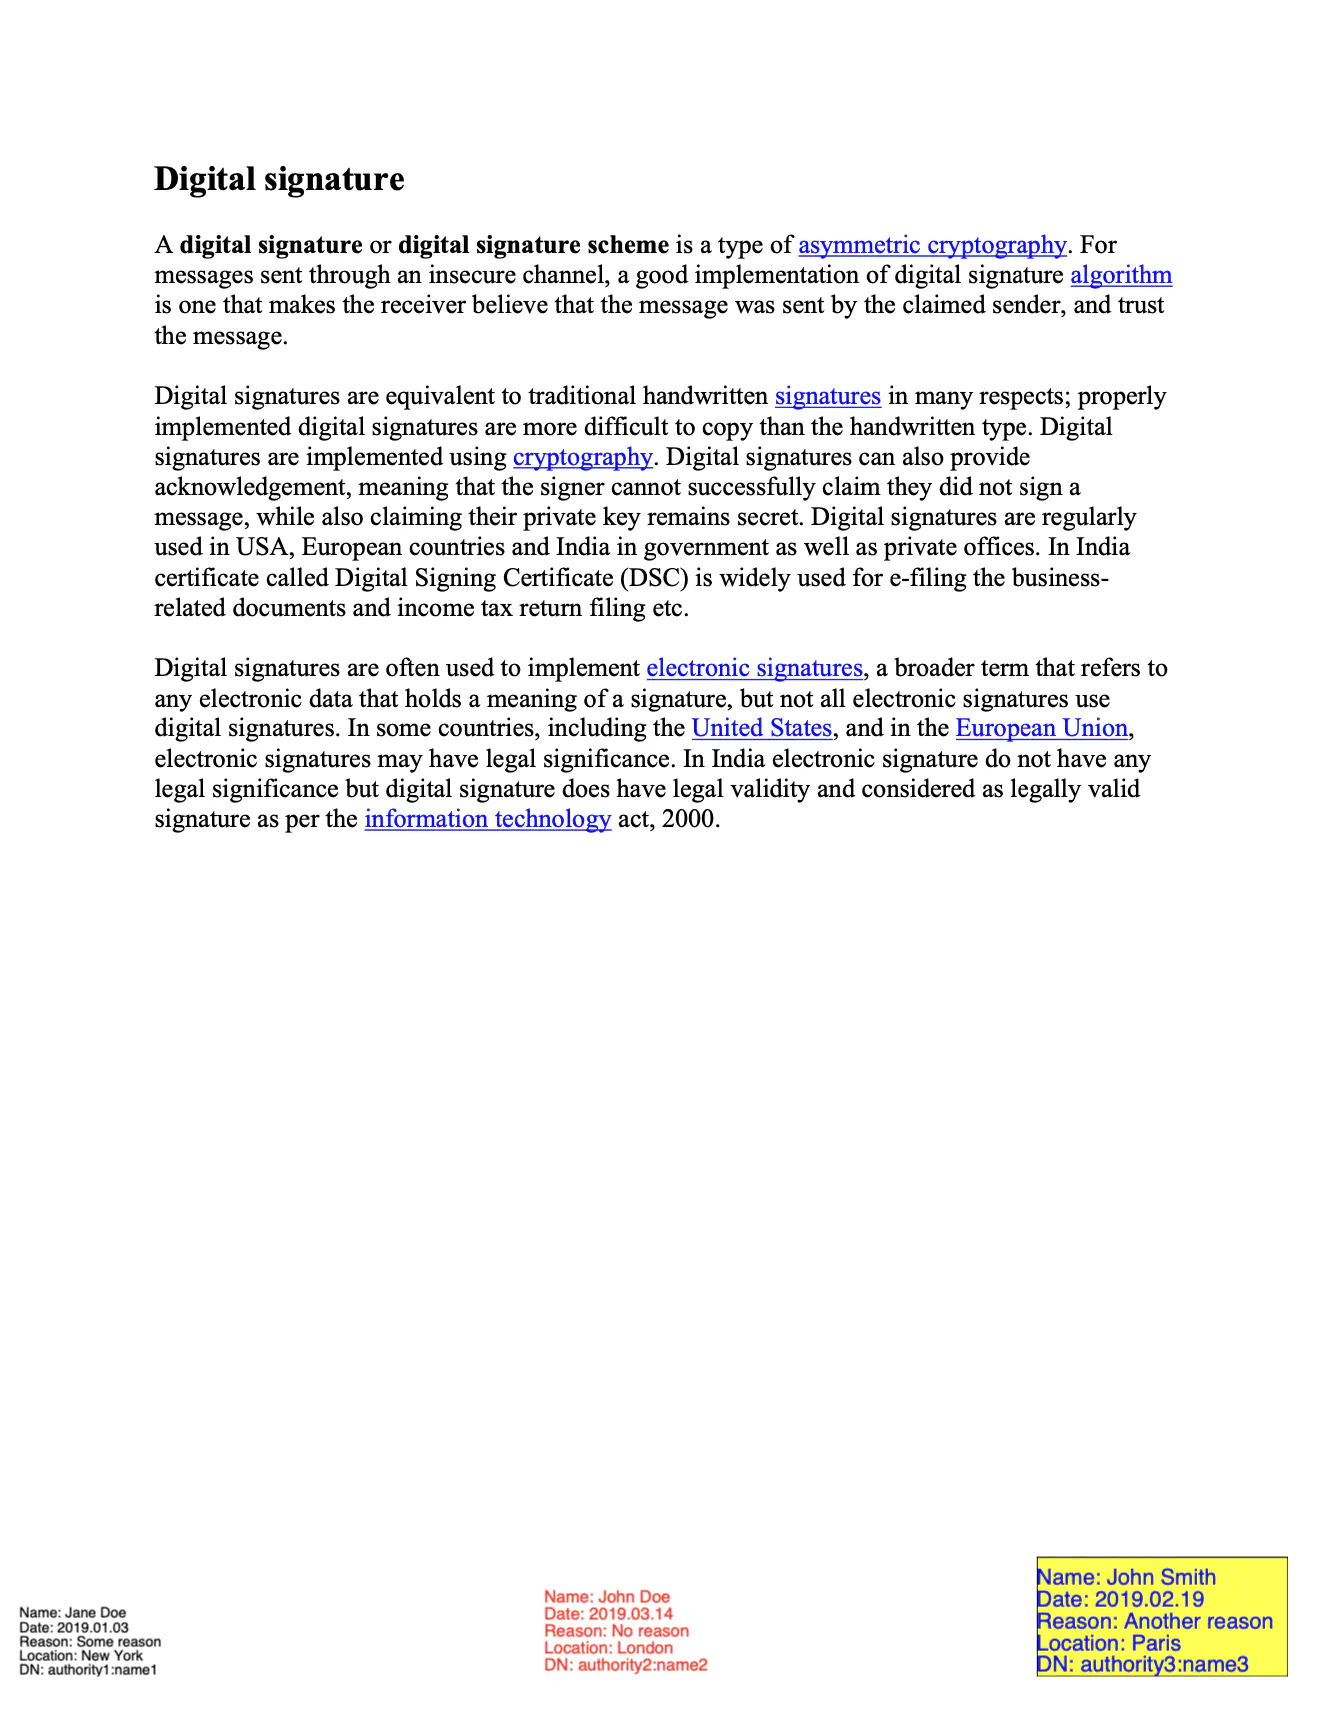
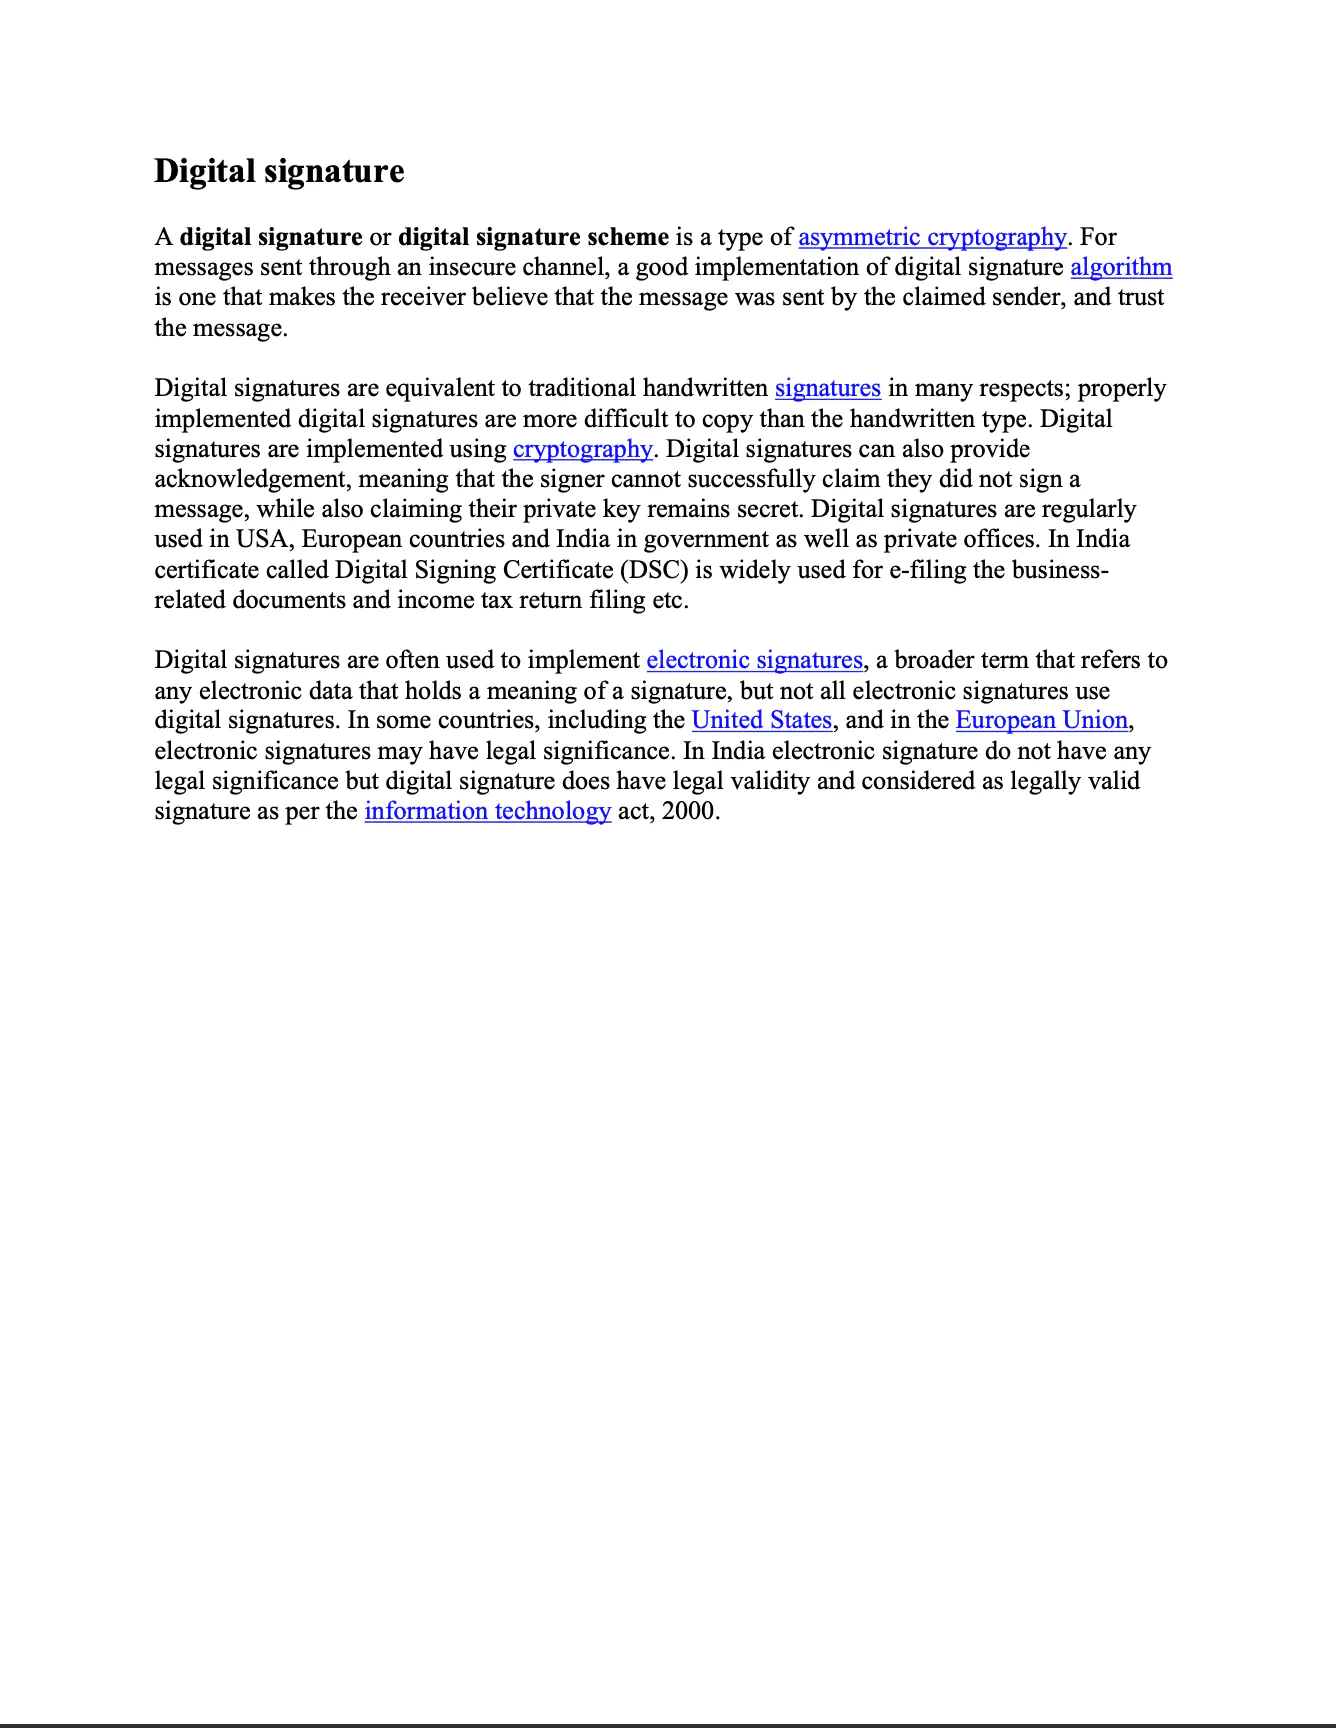
Sample Input
Before you begin
You should get your API key from your UniCloud account.
If this is your first time using UniPDF SDK, follow this guide to set up a local development environment.
Project setup
Clone the project repository
In your terminal, clone examples repository using the following command. It contains the Go code we will be using for this guide.
git clone https://github.com/unidoc/unipdf-examples.git
Then navigate to the signatures folder in the unipdf-examples directory.
cd unipdf-examples/signatures
The next section will walk through the code and explain how it works in detail.
How it works
The import section imports UniPDF package and other necessary libraries. The init section loads your license key from the system environment.
The main is defined in lines 140-176. In this function in lines 41-47, the inputPath and outputPath are parsed from the command line arguments. The key pair is generated using the generateKeys function in line 50. A new pdfReader is instantiated from the input file in line 62. Then in line 68 a new model.PdfAppender is created using the reader.
In lines 74-77, a signature handler is instantiated using the private key and the certificate. Then a new PdfSignature is instantiated using the handler. This signature is prepared for signing using the signature.Initialize() in line 85.
The for loop in lines 95-67, iterates through each page and applies the signature. In this loop in lines 99-101 the first annotator.SignatureFieldOpts is created and its FontSize and Rect fields are set. Then using the signature field options object, a new model.PdfFieldSignature is instantiated in lines 103-113 as follows:
sigField, err := annotator.NewSignatureField(
  signature,
  []*annotator.SignatureLine{
    annotator.NewSignatureLine("Name", "Jane Doe"),
    annotator.NewSignatureLine("Date", "2019.01.03"),
    annotator.NewSignatureLine("Reason", "Some reason"),
    annotator.NewSignatureLine("Location", "New York"),
    annotator.NewSignatureLine("DN", "authority1:name1"),
  },
  opts,
)
Here an additional slice of annotator.SignatureLine is instantiated inline and provided to the annotator.NewSignatureField. In line 114, the T field of the sigField is set using sigField.T = core.MakeString(fmt.Sprintf("Signature3 %d", pageNum)).
In line 164, the page is signed using the appender.Sign method. From lines 121 to 167 the second and third annotations are created and applied to the page using the same way. In line 170, the document is written to file using appender.WriteToFile(outputPath).
In lines 178-211 the generateKeys function is defined. This function is used to generate rsa.PrivateKey and x509.Certificate. Inside this function in line 180 the private key is generated using the rsa.GenerateKey function. The random source and the bit size are provided as the arguments of the function call.
In lines 186-197 a X509 certificate template is initialized. This template is then used to create a certificate data in line 200. This certificate data is a type of []byte, and represents the certificate in DER encoding. Later in line 205 this byte data is parsed and a x509.Certificate object is created using x509.ParseCertificate(certData). Finally, the private key and the certificate are returned at the end of the function definition.
Run the code
Run the code using the following command on your terminal.
go run pdf_sign_appearance.go <INPUT_PDF_PATH> <OUTPUT_PDF_PATH>
Sample output