Sign and Configure DocMDP Restriction
This guide will explain the process of signing a PDF document with the DocMDP (Document modification detection and prevention) restriction by following the example code which will be presented later.
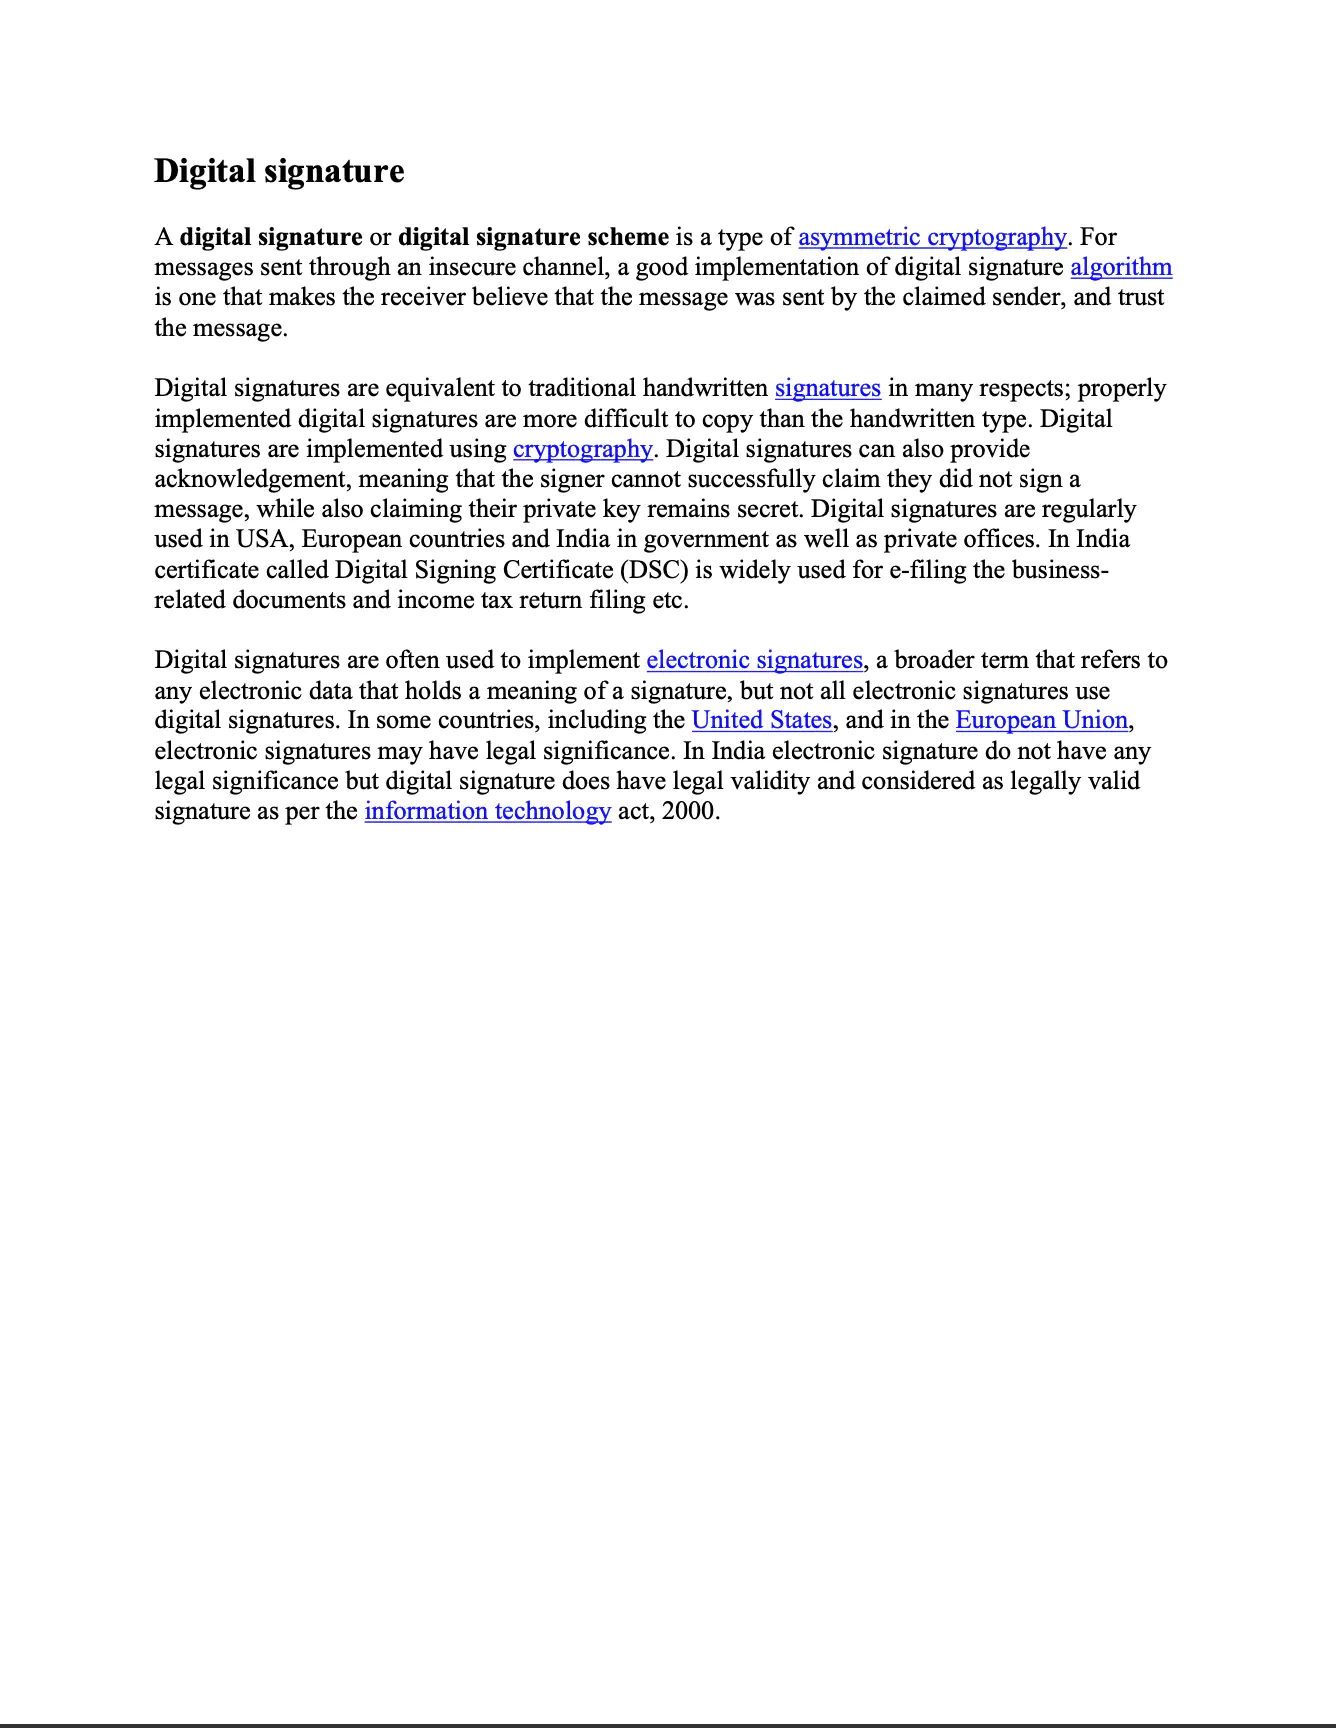
Sample Input

Before you begin
You should get your API key from your UniCloud account.
If this is your first time using UniPDF SDK, follow this guide to set up a local development environment.
Project setup
Clone the project repository
In your terminal, clone examples repository using the following command: It contains the Go code we will be using for this guide.
git clone https://github.com/unidoc/unipdf-examples.git
Then navigate to the signatures folder in the unipdf-examples directory.
cd unipdf-examples/signatures
The next section will walk you through the code and explain how it works in detail.
How it works
In the example code, the import section imports the necessary libraries and packages. The init function loads the license key from the system environment.
The main function starts in line 37. In this function, input path and output path are parsed from the command line arguments in lines 38-44. In lines 53-56, a new model.PdfReader is created from the input file. Then A signature is added to the document using addSignature(pdfReader, totalPage, outputPath).
In lines 72-141 the addSignature function is defined. In This function, a new private key is generated in line 147 using rsa.GenerateKey(rand.Reader, 2048). Then using x509.Certificate method, a new X509 certificate template is created in line 153-165.
In line 168, a certificate data is created from the template using x509.CreateCertificate function. Then from this certificate data a new x509.Certificate object using the ParseCertificate function of the x509 package. Finally, the function returns the private key and the certificate object.
Run the code
Run the code using the following command on your terminal.
go run pdf_sign_docmdp.go <INPUT_PDF_PATH> <OUTPUT_PDF_PATH>
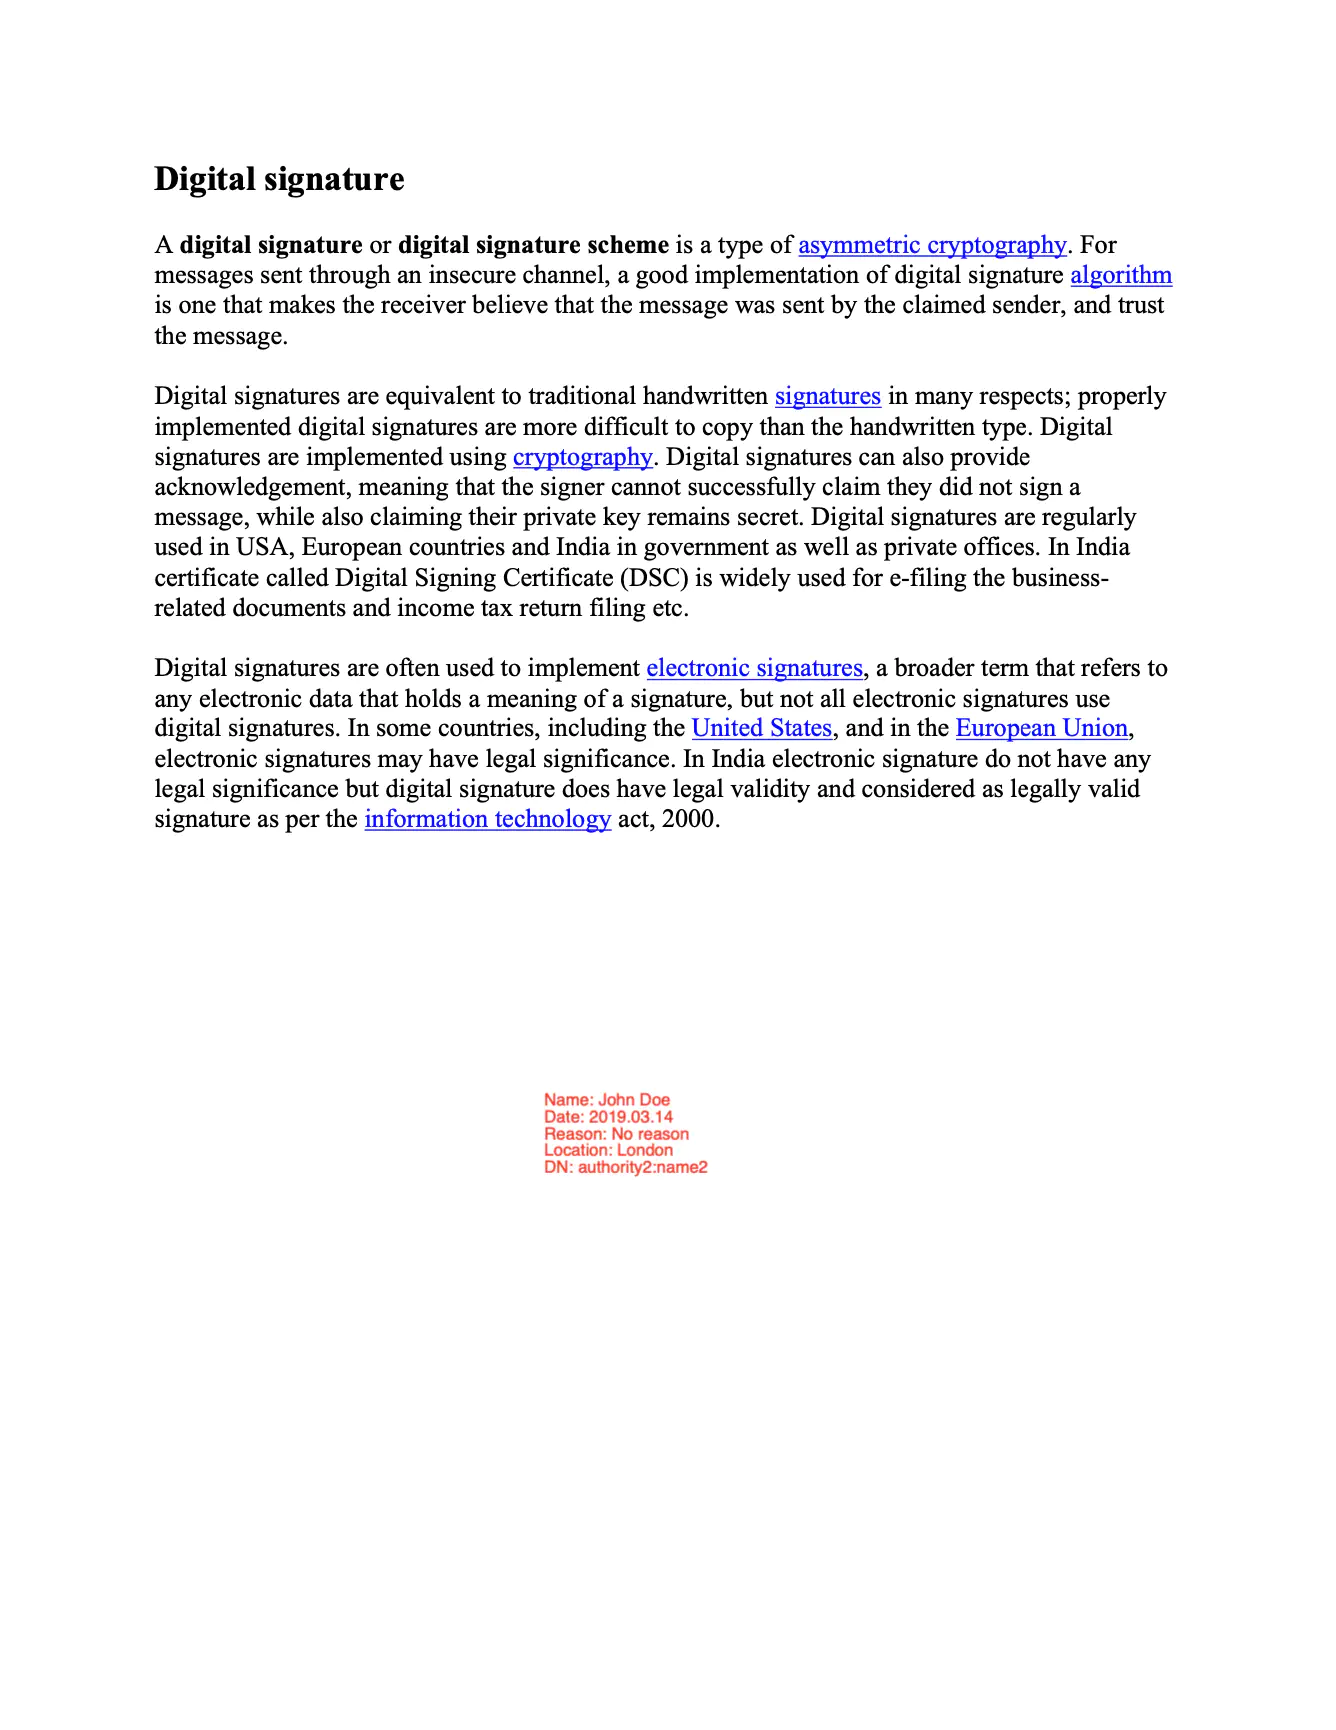
Sample output
