Add Multiple Signature Field
This guide explains how to append a new page with signature to a PDF document.
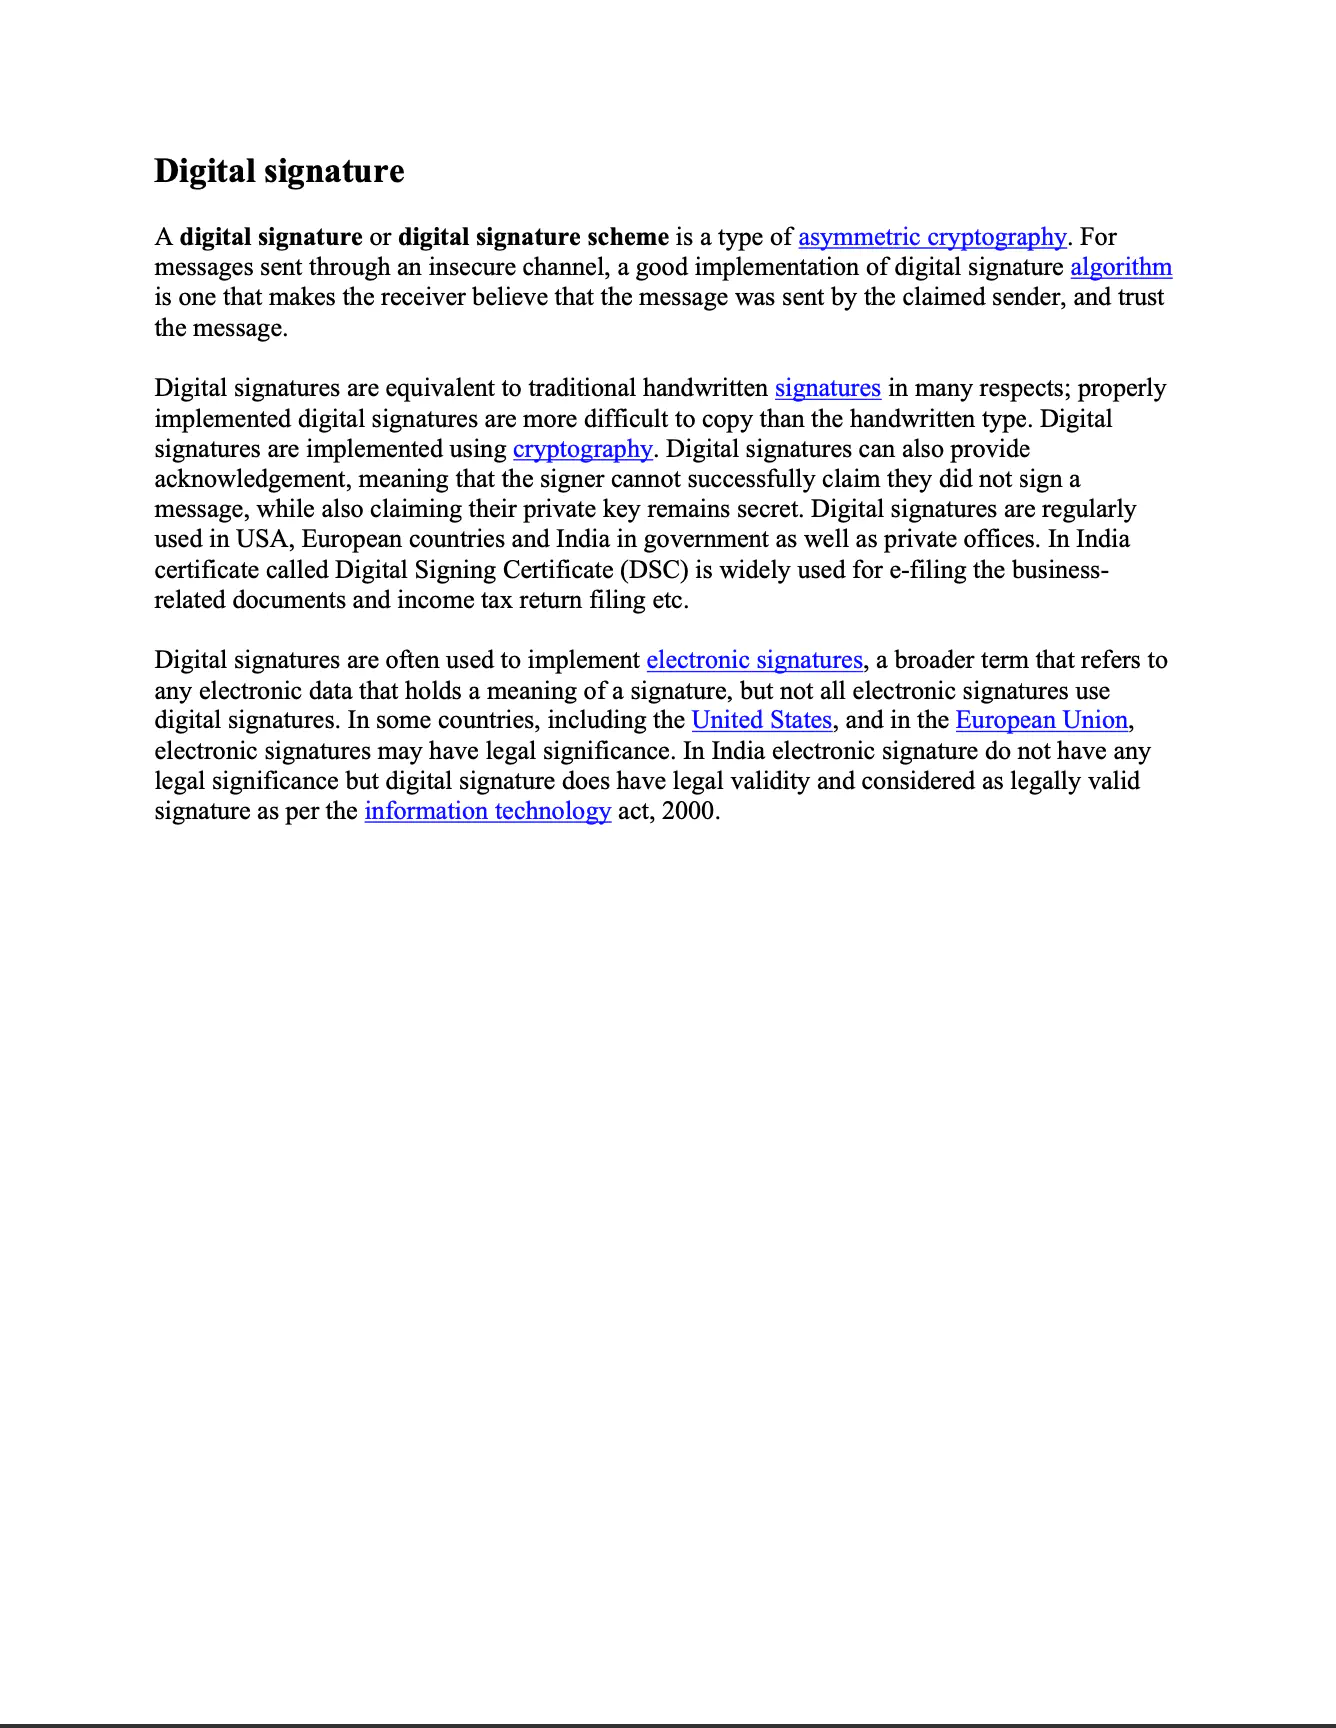
Sample Input
Before you begin
You should get your API key from your UniCloud account.
If this is your first time using UniPDF SDK, follow this guide to set up a local development environment.
Project setup
Clone the project repository
In your terminal, clone examples repository using the following command. It contains the Go code that will be used in this guide.
git clone https://github.com/unidoc/unipdf-examples.git
Then navigate to the signatures folder in the unipdf-examples directory.
cd unipdf-examples/signatures
How it works
First the import section in lines 9-18, of the example code, imports all the necessary dependencies used.
The init function in lines 30-37, authenticates UniPDF library request by loading the API key from the system environment and setting the license using license.SetMeteredKey(os.Getenv(`UNIDOC_LICENSE_API_KEY`)).
The main function defined in lines 39-86 does the singing process. At line 61, a signature is added to the document by calling the addSignature function with PdfReader as an argument. Then a new PdfReader containing the signed document is created at line 67. This signed document is signed again by calling addSignature(pdfReader, 1). The PdfReader, which is provided as an argument in the function call, contains the new signed document. Then in line 79, the document is written to file.
The addSignature which is used to sign a document, is defined in line 88-158. In line 95 of this function, a new PdfAppender is created from the PdfReader provided in the function parameters. Then in line 101, the key pair is generated using the generateSigKeys() function call. A signature handler is created from the generated key pair using sighandler.NewAdobePKCS7Detached(priv, cert) in line 107. Then a new PdfSignature object is created and initialized in lines 113-121.
The SignatureFieldOpts and its options are created in the next section using the following piece of code:
opts := annotator.NewSignatureFieldOpts()
	opts.FontSize = 8
	opts.Rect = []float64{float64(50 + signNumber*100), 250, float64(150 + signNumber*100), 300}
	opts.TextColor = model.NewPdfColorDeviceRGB(255, 0, 0)

	sigField, err := annotator.NewSignatureField(
		signature,
		[]*annotator.SignatureLine{
			annotator.NewSignatureLine("Name", "John Doe"),
			annotator.NewSignatureLine("Date", "2019.03.14"),
			annotator.NewSignatureLine("Reason", fmt.Sprintf("Test sign #%d", signNumber)),
			annotator.NewSignatureLine("Location", "London"),
			annotator.NewSignatureLine("DN", "authority2:name2"),
		},
		opts,
	)
	if err != nil {
		return nil, err
	}

	sigField.T = core.MakeString(fmt.Sprintf("New Page Signature %d", signNumber))
Then the document is signed by calling the Sign method of the PdfAppender object by providing the signature field and the number of total pages as arguments of the method call. The signed document is returned in a bytes.Buffer data at line 157.
The generateSigKeys function, generates private/public key pair by leveraging the crypto.rsa and crypto.x509 packages. First it generates a private key using rsa.GenerateKey(rand.Reader, 2048). Then it initializes a X509 certificate template. After that, using x509.CreateCertificate and x509.ParseCertificate functions consecutively, it creates a new x509.Certificate object. This certificate and the private key are returned from the function at line 195.
Run the code
Run the code using the following command:
go run pdf_sign_twice_visible_annotation.go <INPUT_PDF_PATH> <OUTPUT_PDF_PATH>
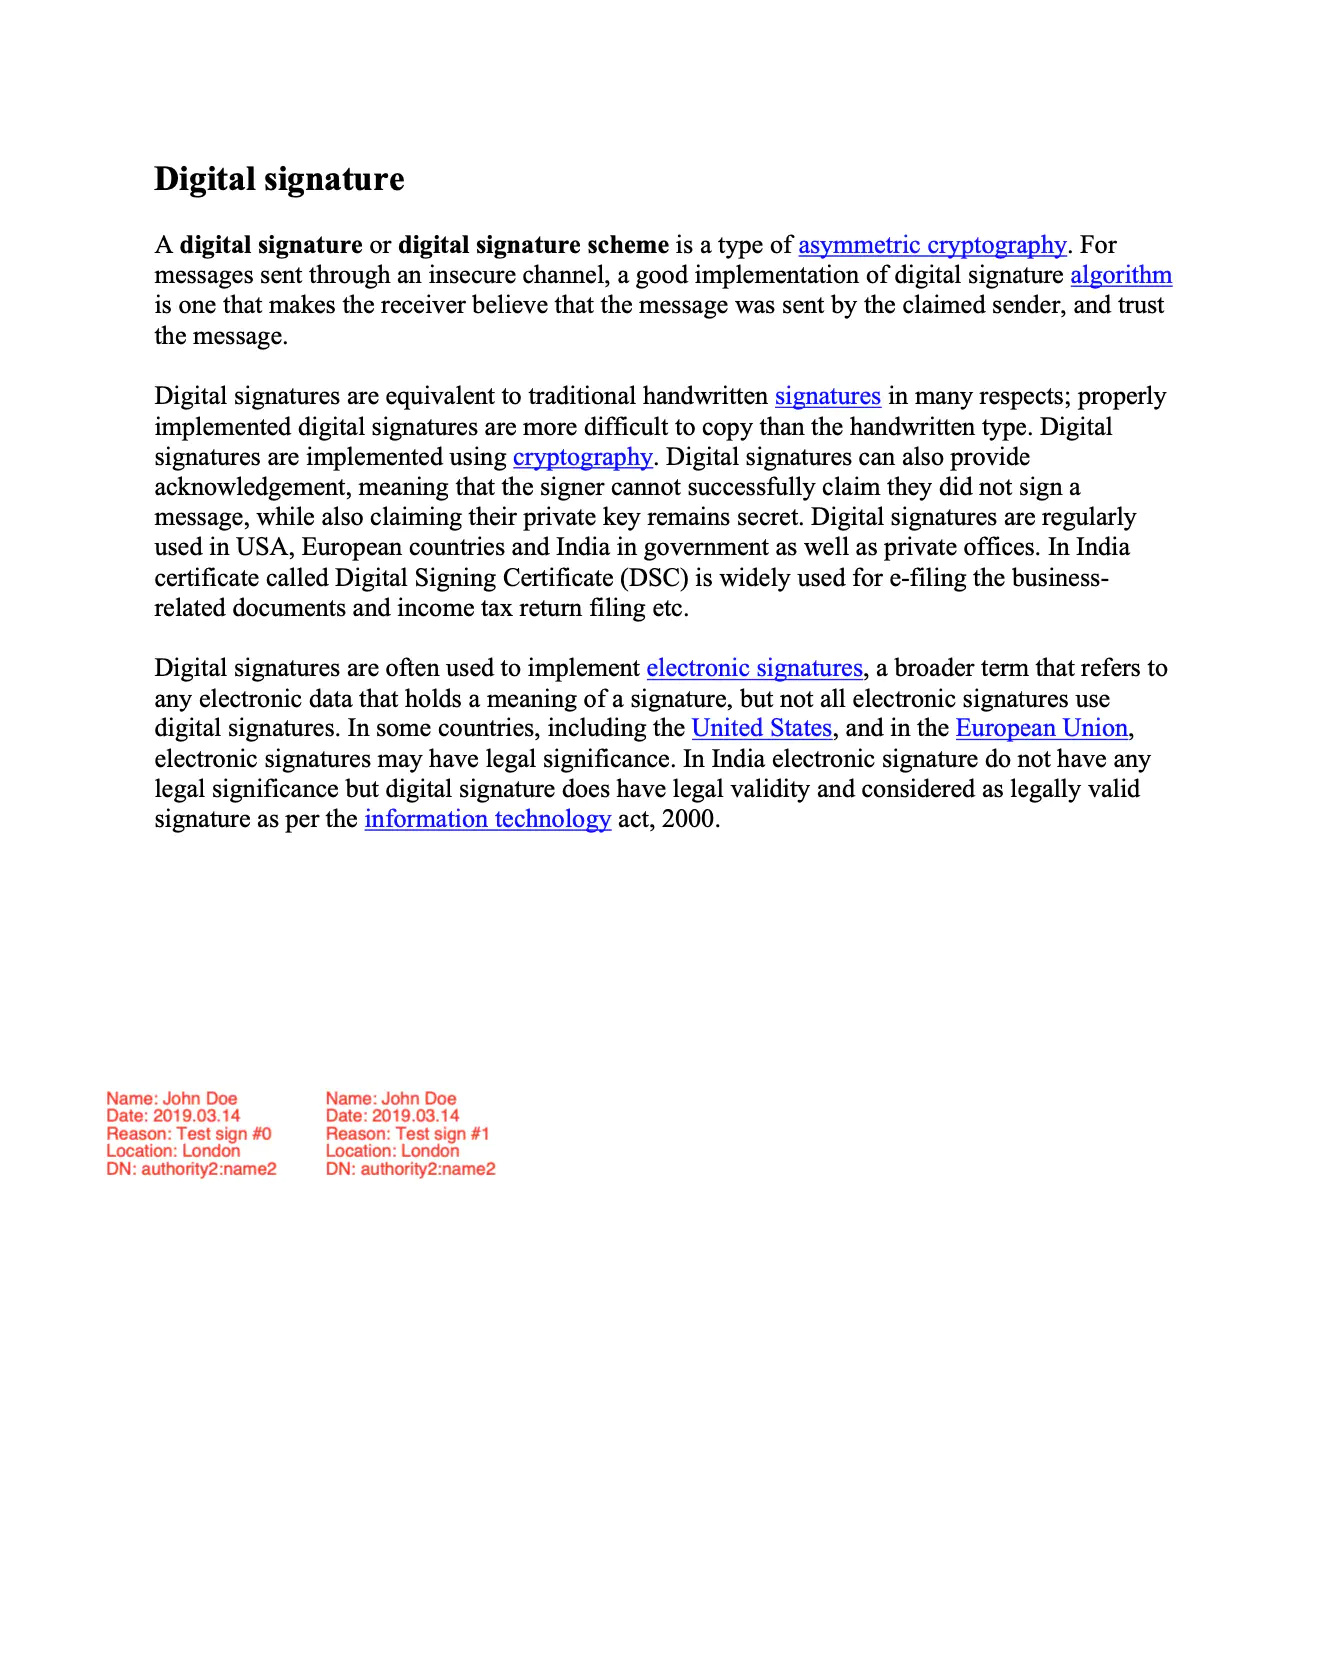
Sample output