Subtables
Before you begin
You should get your API key from your UniCloud account.
If this is your first time using UniPDF SDK, follow this guide to set up a local development environment.
Project setup
Clone the project repository
In your terminal, clone the examples repository. It contains the Go code we will be using for this guide.
git clone https://github.com/unidoc/unipdf-examples.git
Navigate to the tables folder in the unipdf-examples directory.
cd unipdf-examples/tables
How it works
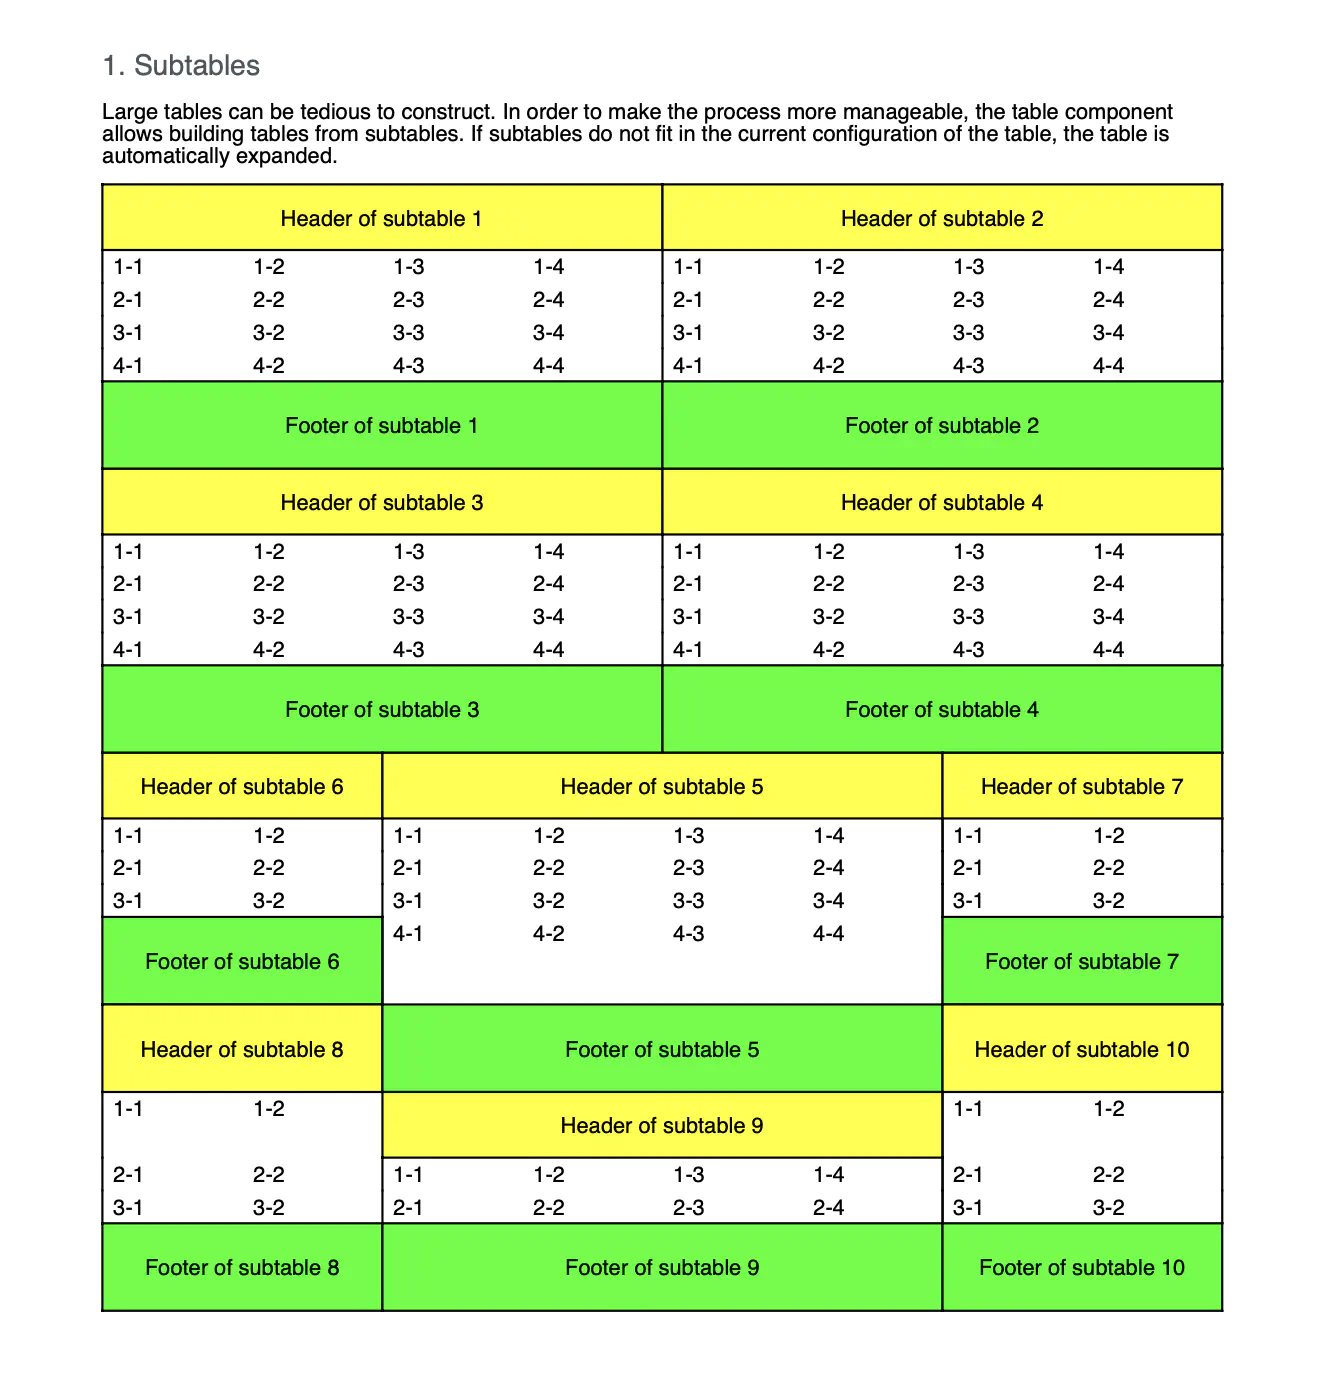
This example code shows how to create sub tables using unipdf’s packages.
The import section in lines 9-17 imports the necessary unipdf packages and other libraries.
The init function loads your metered license key and authenticates your request.
Lines 28-53 defines the main function which is the entry point to the example code where a new creator.Creator object is instantiated and the generated document is written to file.
the subtables function in line 55-162 creates the sub table.
A table with 6 columns is created in line 71 of this function. The anonymous function in lines 77-121 generates a sub table.
Basically it returns a table with the specified number of cols which is created using c.NewTable(cols) in line 78. Based on the number of rows given in the parameter the sub table is populated using the loop in lines 91-105.
The sub table is added to a table using AddSubtable method. When adding a sub table to another table the position where the sub table should be added at is specified by row and column values. This is shown in lines 124-154.
E.g. table.AddSubtable(1, 1, generateSubtable(4, 4, 1, false)) adds a sub table at row 1 and column 1 of the original table.
Run the code
go run pdf_tables_subtables.go
Sample output
