Add Text Watermark
This guide provides a step-by-step explanation on how to add a text watermark to a PDF document using UniPDF. It will use an example code provided on example repo. Before proceeding with this guide, ensure that your environment is set up by following the instructions provided below.
Before you begin
You should get your API key from your UniCloud account.
If this is your first time using UniPDF SDK, follow this guide to set up a local development environment.
Project setup
Clone the project repository
In your terminal, clone examples repository. It contains the Go code we will be using for this guide.
git clone https://github.com/unidoc/unipdf-examples.git
Navigate to the text folder in the unipdf-examples directory.
cd unipdf-examples/text
How it works
The following example code adds a text watermark to pdf document.
First, as always, the import section comes first by importing the necessary Go libraries and unipdf packages. Then in lines 18-25, the init function follows by setting the metered key using license the package.
The main function that accomplishes this task of adding a text watermark is defined in lines 27-87. The necessary variables, if given, are parsed from the command line arguments in lines 33-55. Then in lines 37-48, a model.PdfReader object is created from the input pdf file provided by the input path variable.
In line 50, a new creator object is instantiated. We will see what that is for later. Then in line 52 , the number of pages of the file is obtained using GetNumPages() the method.
The for loop in lines 58-77 iterates through each pdf page and adds the required watermark to each page. Here is how that is done. The error handling part is omitted for brevity.
    page, err := pdfReader.GetPage(i)
	options := model.WatermarkTextOptions{
		Alpha:     0.3,
		FontSize:  40,
		FontPath:  "Roboto-Regular.ttf",
		FontColor: color.RGBA{R: 255, G: 0, B: 0, A: 1},
		Angle:     30,
	}

	err = page.AddWatermarkText(watermark, options)
	c.AddPage(page)
First the model.PdfPage object is obtained using pdfReader.GetPage(i) where i is the current page number. Then the model.WatermarkTextOptions is initialized in lines 64-69.
The WatermarkTextOptions object includes several fields to customize the appearance of the watermark text. The Alpha field specifies the opacity of the text, with a default value of 0.5, while FontSize sets the text size, defaulting to 20. The FontPath field is mandatory and defines the path to the .ttf font file used for rendering the text. The FontColor field allows customization of the text color, which defaults to black. Finally, the Angle field adjusts the text orientation in degrees, with a default value of 0. All fields except FontPath are optional and can be customized as needed.
The page.AddWatermarkText is then called to add the watermark text by providing the options alongside it. And in line 76 the page is added to the created.
Finally once the loop is done, the document is written to file in line 79 using c.WriteToFile(outputPath).
Run the code
Run the code using the following command.
go run pdf_add_text_watermark.go <input.pdf> <watermark text> <output.pdf>
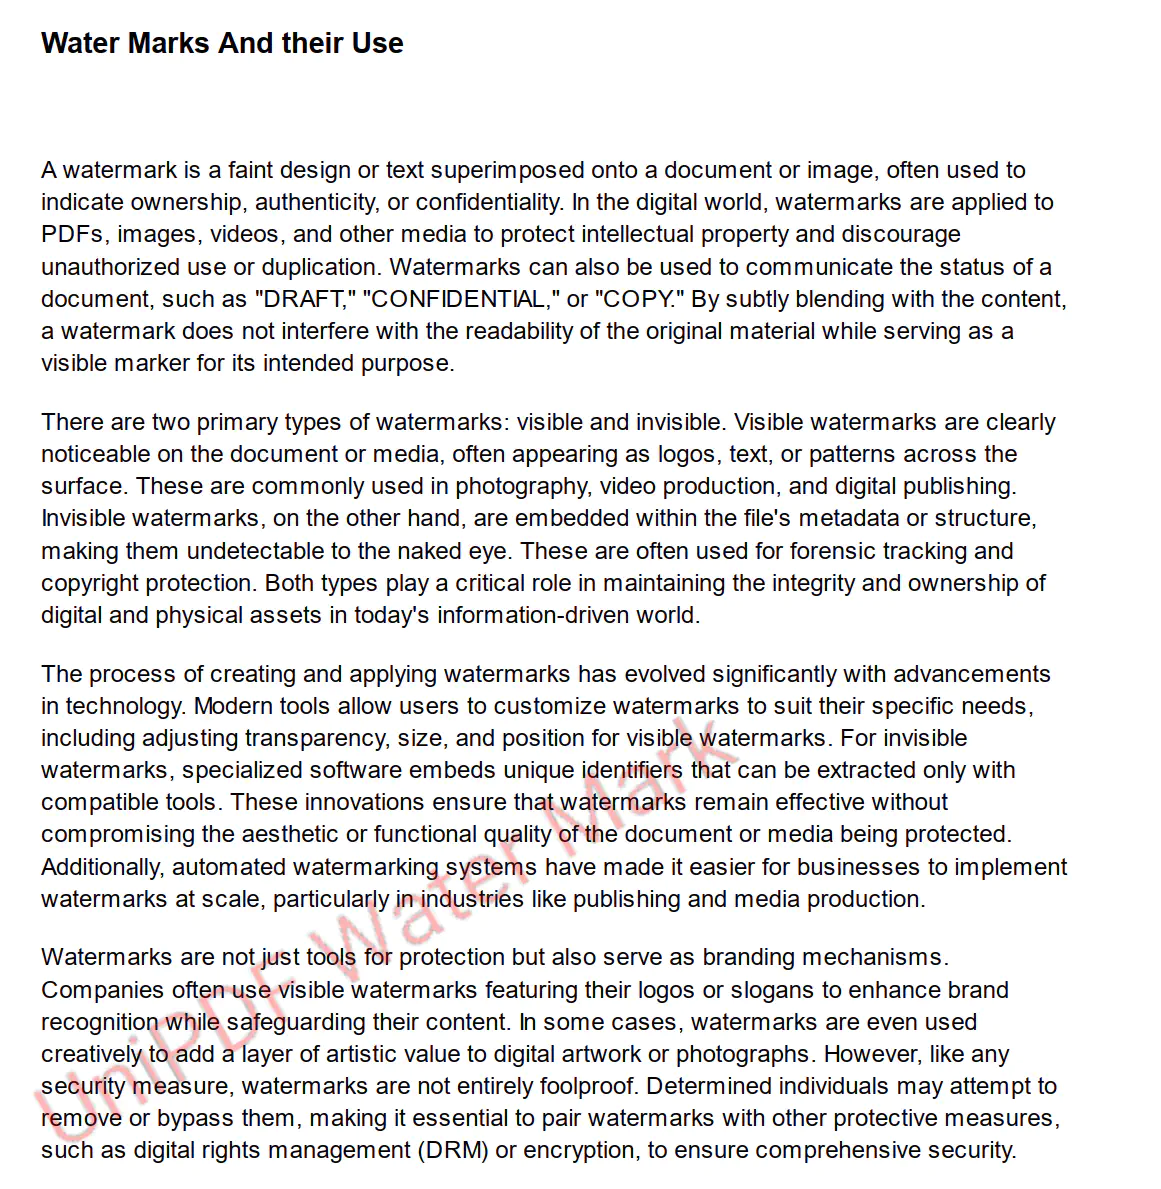
Sample Output
preview of result document.