Wrap Text around an Image
An anchored drawing is placed at a position on the page rather than at a point
in the text, and the wrap mode decides what the surrounding text does about it.
This is the whole reason to reach for AddDrawingAnchored over
AddDrawingInline: an inline image occupies its own space in the line and text
never flows beside it.
A fresh anchored drawing starts out wrapped square on both sides, positioned relative to the page with a zero offset, and sized at one point per pixel of the source image. Every one of those is worth overriding.
| Mode | Call | What the text does |
|---|---|---|
| Square | SetTextWrapSquare(t) | Flows around the image’s bounding box. t picks which sides get text. |
| Tight | SetTextWrapTight(opts) | Flows around a wrap polygon rather than the box. |
| Through | SetTextWrapThrough(opts) | Like tight, but text may also enter concave parts of the polygon. |
| Top and bottom | SetTextWrapTopAndBottom() | Breaks above and below. Nothing sits beside the image. |
| Behind text | SetTextWrapBehindText() | Ignores the image and runs over it. |
| In front of text | SetTextWrapInFrontOfText() | Ignores the image, which covers it. |
| None | SetTextWrapNone() | No wrapping at all, so the image floats over the text. |
SetTextWrapSquare takes a wml.WdST_WrapText saying which sides receive text:
WdST_WrapTextBothSides, WdST_WrapTextLeft, WdST_WrapTextRight or
WdST_WrapTextLargest. The zero value WdST_WrapTextUnset writes no attribute
and leaves the decision to Word.
Placing a wrapped image
anchored, err := para.AddRun().AddDrawingAnchored(imgRef)
if err != nil {
    log.Fatalf("unable to add anchored image: %s", err)
}

anchored.SetName("Gopher")
anchored.SetSize(2*measurement.Inch, 2*measurement.Inch)
anchored.SetOrigin(wml.WdST_RelFromHPage, wml.WdST_RelFromVTopMargin)
anchored.SetHAlignment(wml.WdST_AlignHCenter)
anchored.SetYOffset(3 * measurement.Inch)
anchored.SetTextWrapSquare(wml.WdST_WrapTextBothSides)
SetOrigin sets what the position is measured from, horizontally and
vertically, and defaults to the page on both axes. The other useful values are
WdST_RelFromHColumn and WdST_RelFromVParagraph, which pin the image to the
text around it so it travels with the paragraph as content is added above.
WdST_RelFromHMargin, WdST_RelFromVTopMargin and the inside and outside
margin variants cover the rest.
SetName sets the description Word shows in the picture’s properties. It is
also the alt text, so it is worth filling in for accessibility even though
nothing enforces it.
Offset against alignment
Each axis is positioned either by an offset or by an alignment, never both. They write the same field, so whichever call comes last is the one that applies. That makes the order of these calls significant in a way nothing in the signatures suggests:
anchored.SetHAlignment(wml.WdST_AlignHCenter)  // horizontally centered
anchored.SetXOffset(2 * measurement.Inch)      // overrides the centering
SetOffset is SetXOffset plus SetYOffset, and SetAlignment is
SetHAlignment plus SetVAlignment, so those two hit both axes at once. Mixing
them per axis is fine and often what you want: centered horizontally, three
inches down from the top margin, as in the snippet above.
Setting an alignment to its unset value does not clear a previously set offset. It writes an empty alignment in the offset’s place, which is a different thing from having no position at all.
Tight and through wrapping
Both take an *AnchorDrawWrapOptions describing the wrap polygon, and both
accept nil, in which case they build the default themselves:
opts := document.NewAnchorDrawWrapOptions()
anchored.SetTextWrapTight(opts)
The default polygon is a rectangle covering the whole image, expressed in the fixed 21600 by 21600 coordinate space Word uses for wrap polygons regardless of the image’s real size.
Both calls also force the wrap sides to WdST_WrapTextBothSides and ignore
whatever the drawing had before, so there is no left-only tight wrap.
Limitations
SetFollowImageShape, SetWrapPathStart and SetWrapPathLineTo on
AnchorDrawWrapOptions are declared on a value receiver, so they modify a copy
and the options object you hold is unchanged. Tight and through wrapping
therefore always use the default rectangular polygon. This is a bug rather than
a documented restriction, and there is no way around it from outside the
package, so treat custom wrap polygons as unavailable.
SetTextWrapBehindText and SetTextWrapInFrontOfText both switch the wrap type
to none and differ only in the behindDoc flag, so a later SetTextWrapNone
call leaves the image wherever the last of those two put it in the z-order.
An anchored drawing is still added to a run, so it inherits that run’s position in the document flow when the origin is relative to the paragraph or the column. Anchoring to the page is what decouples it entirely.
Run the example
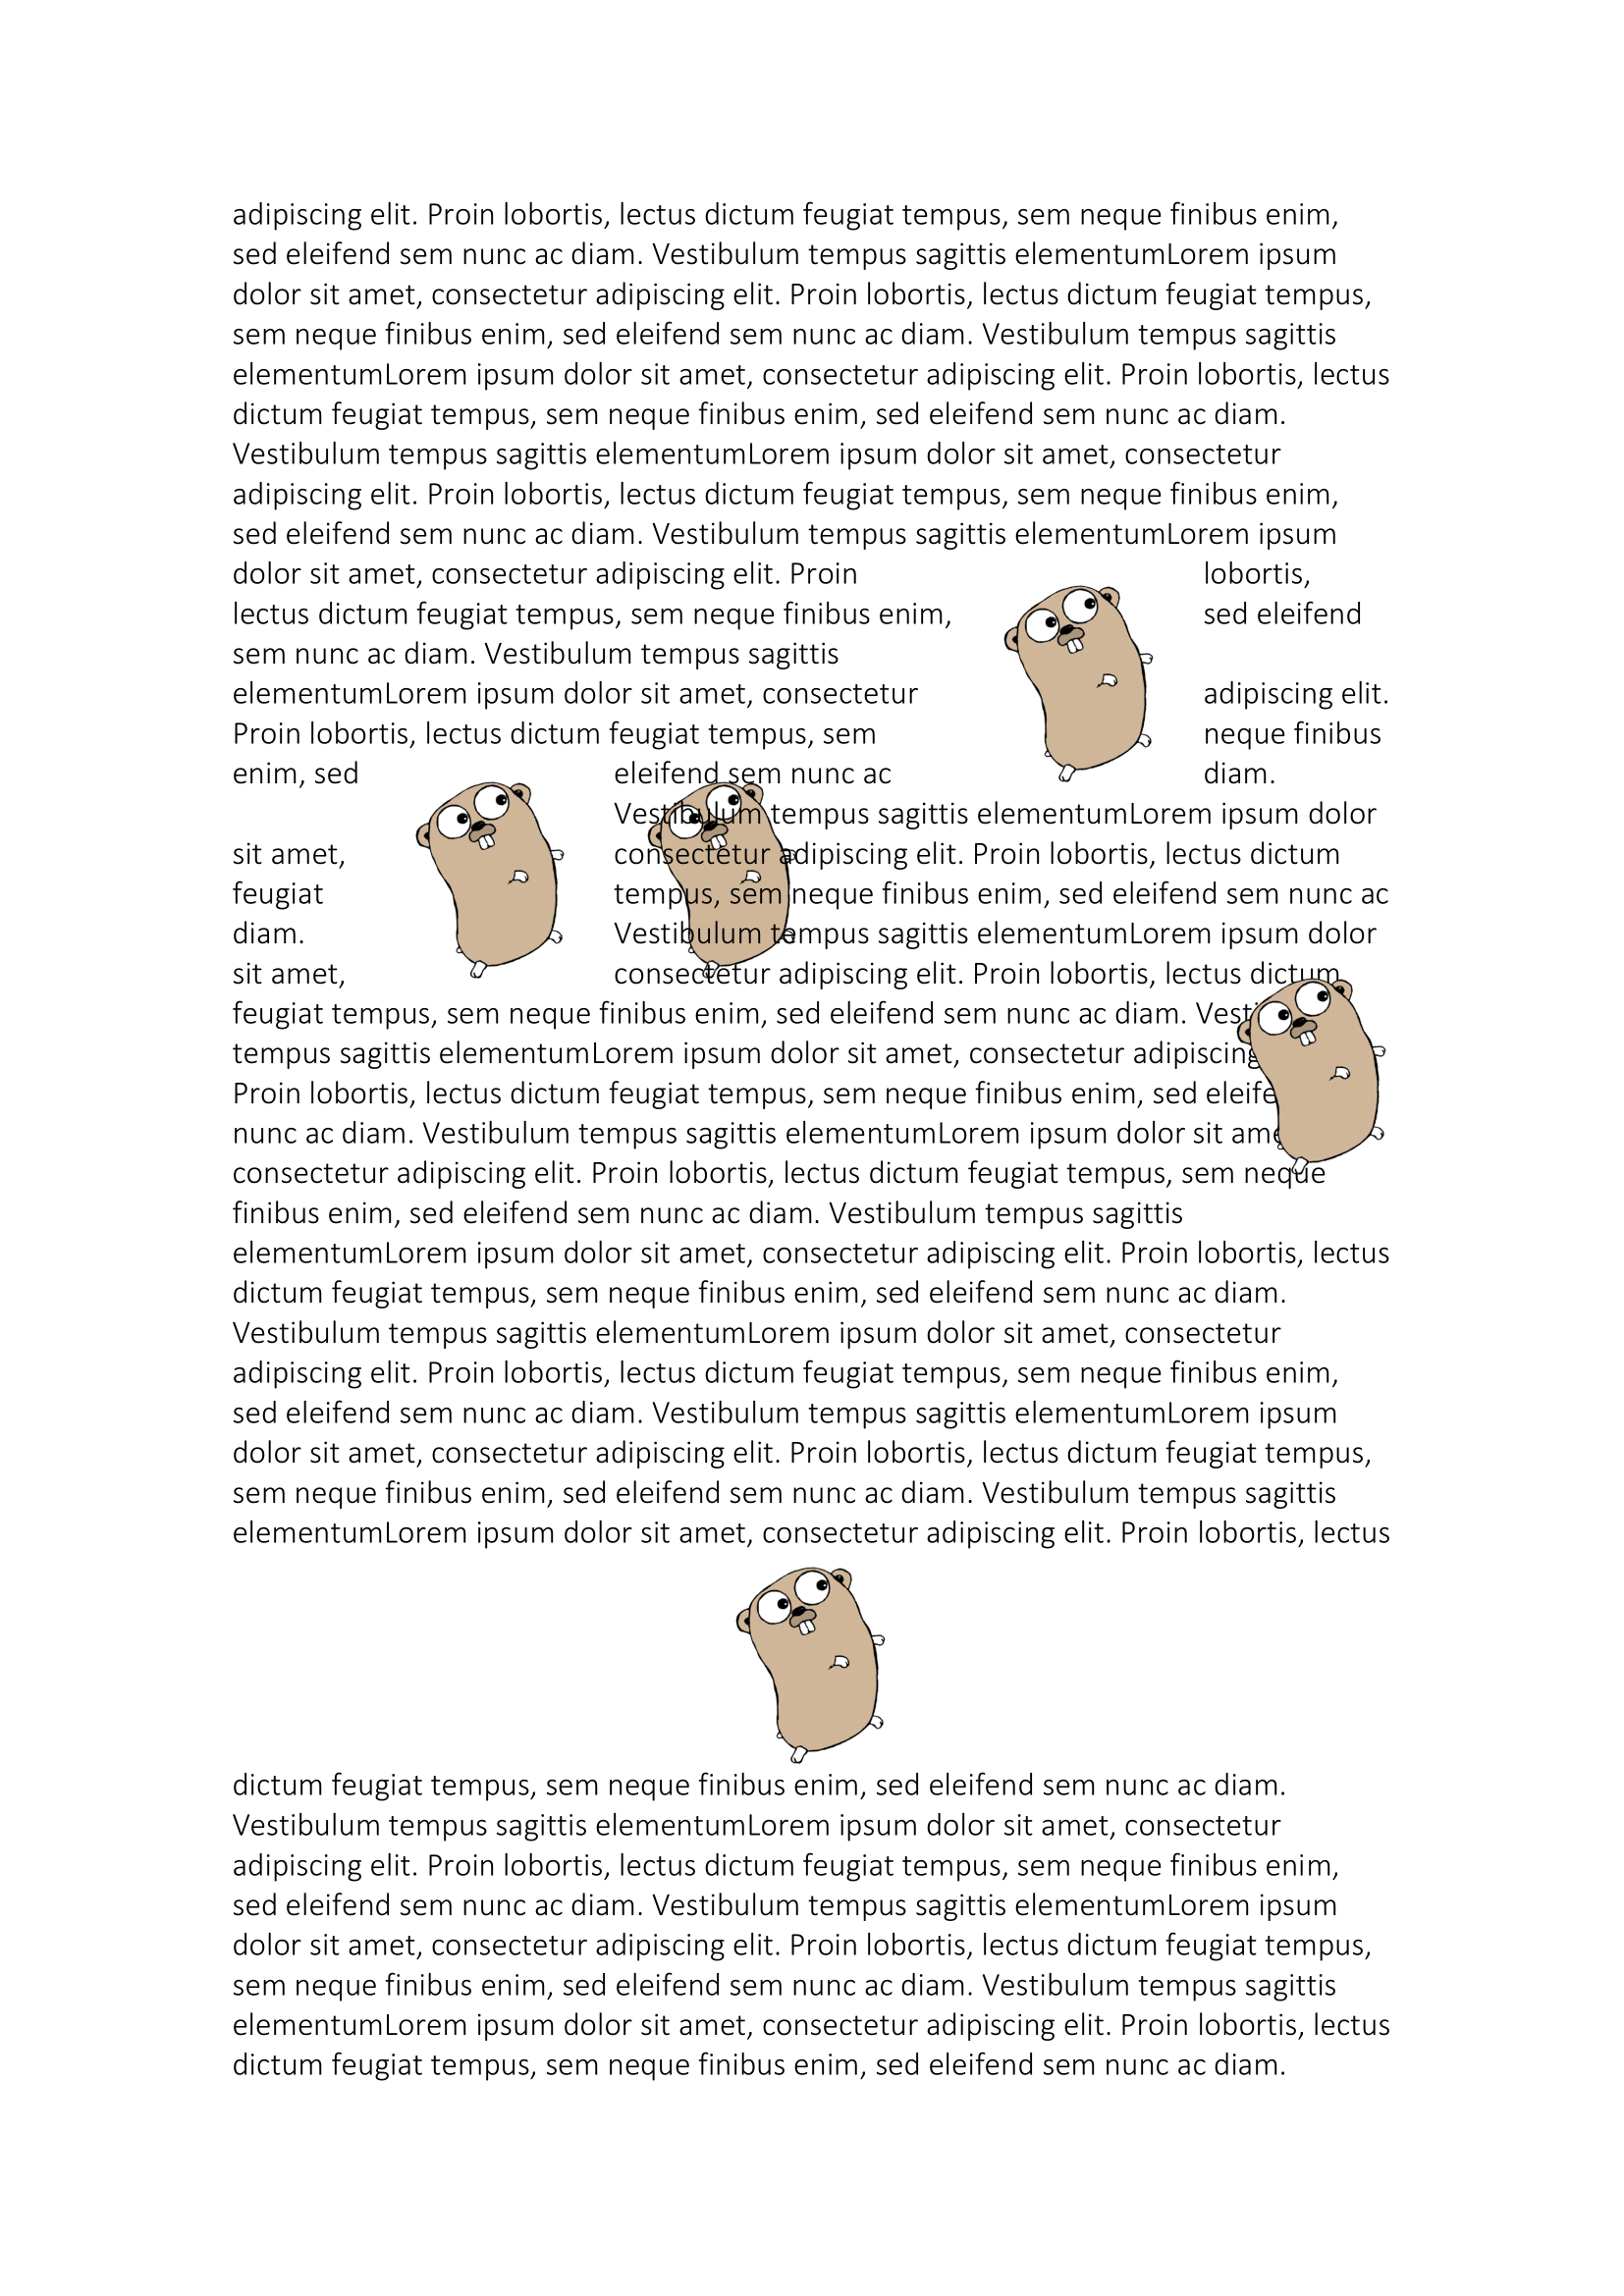
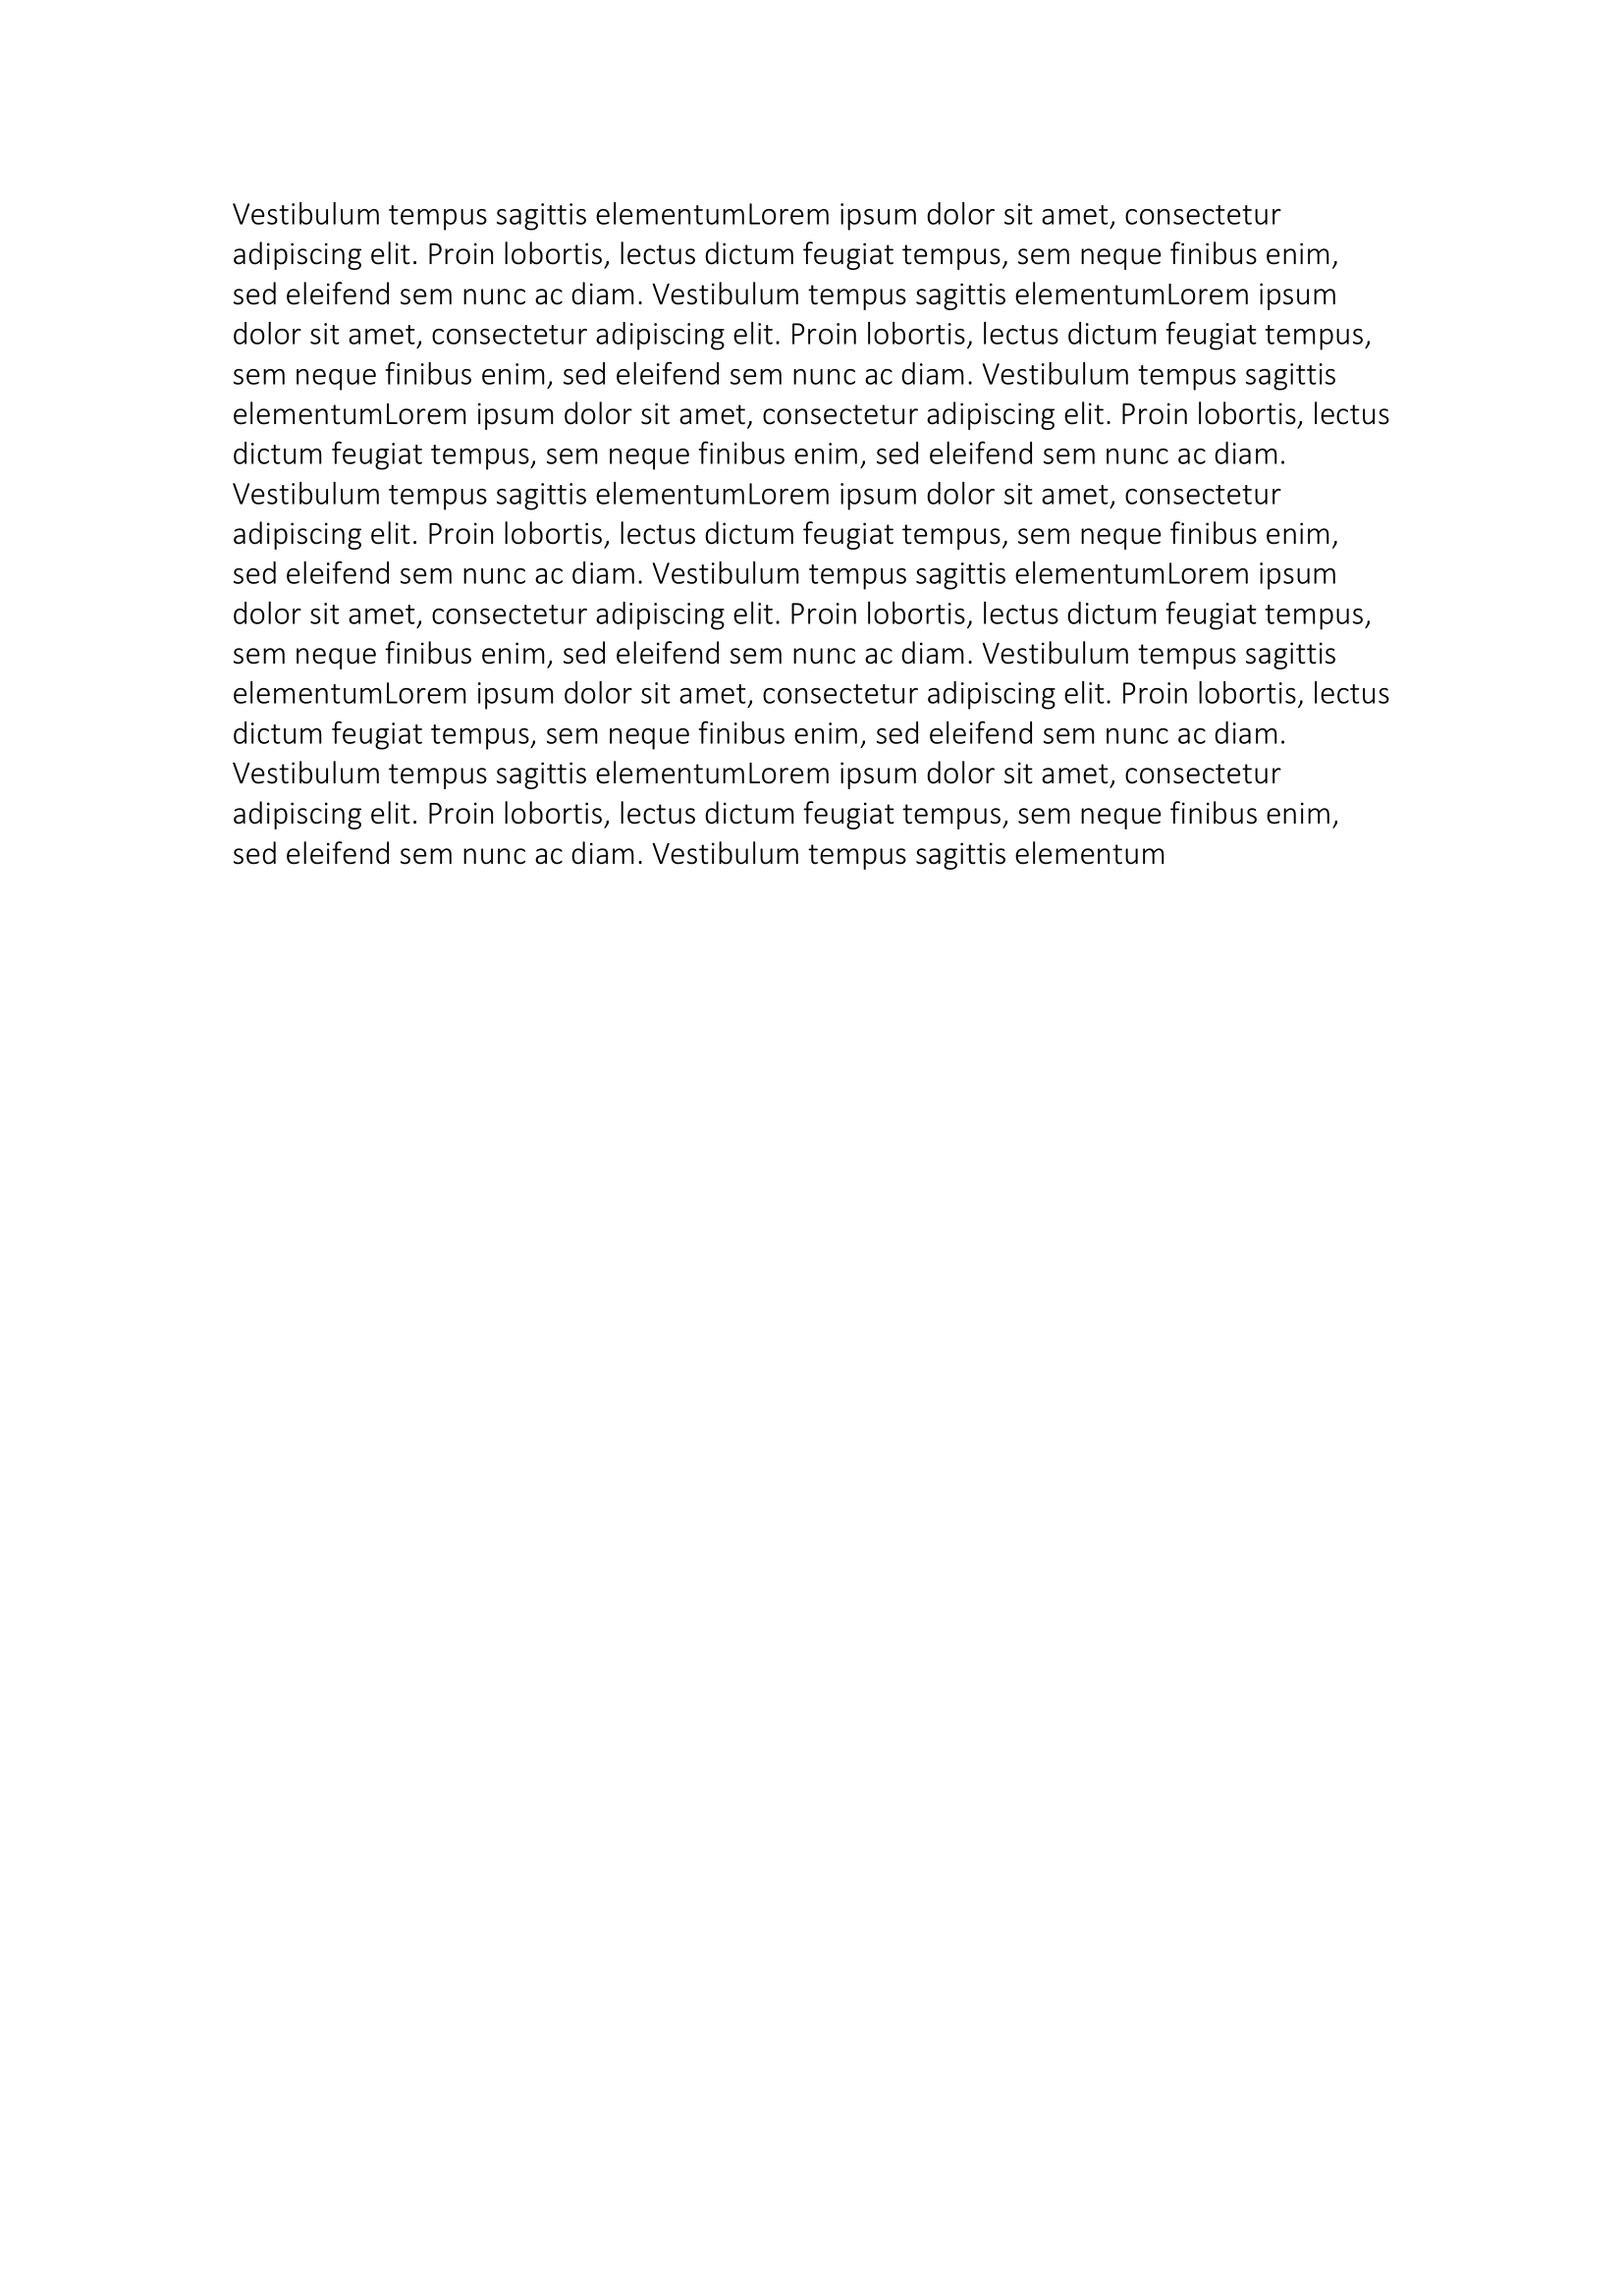
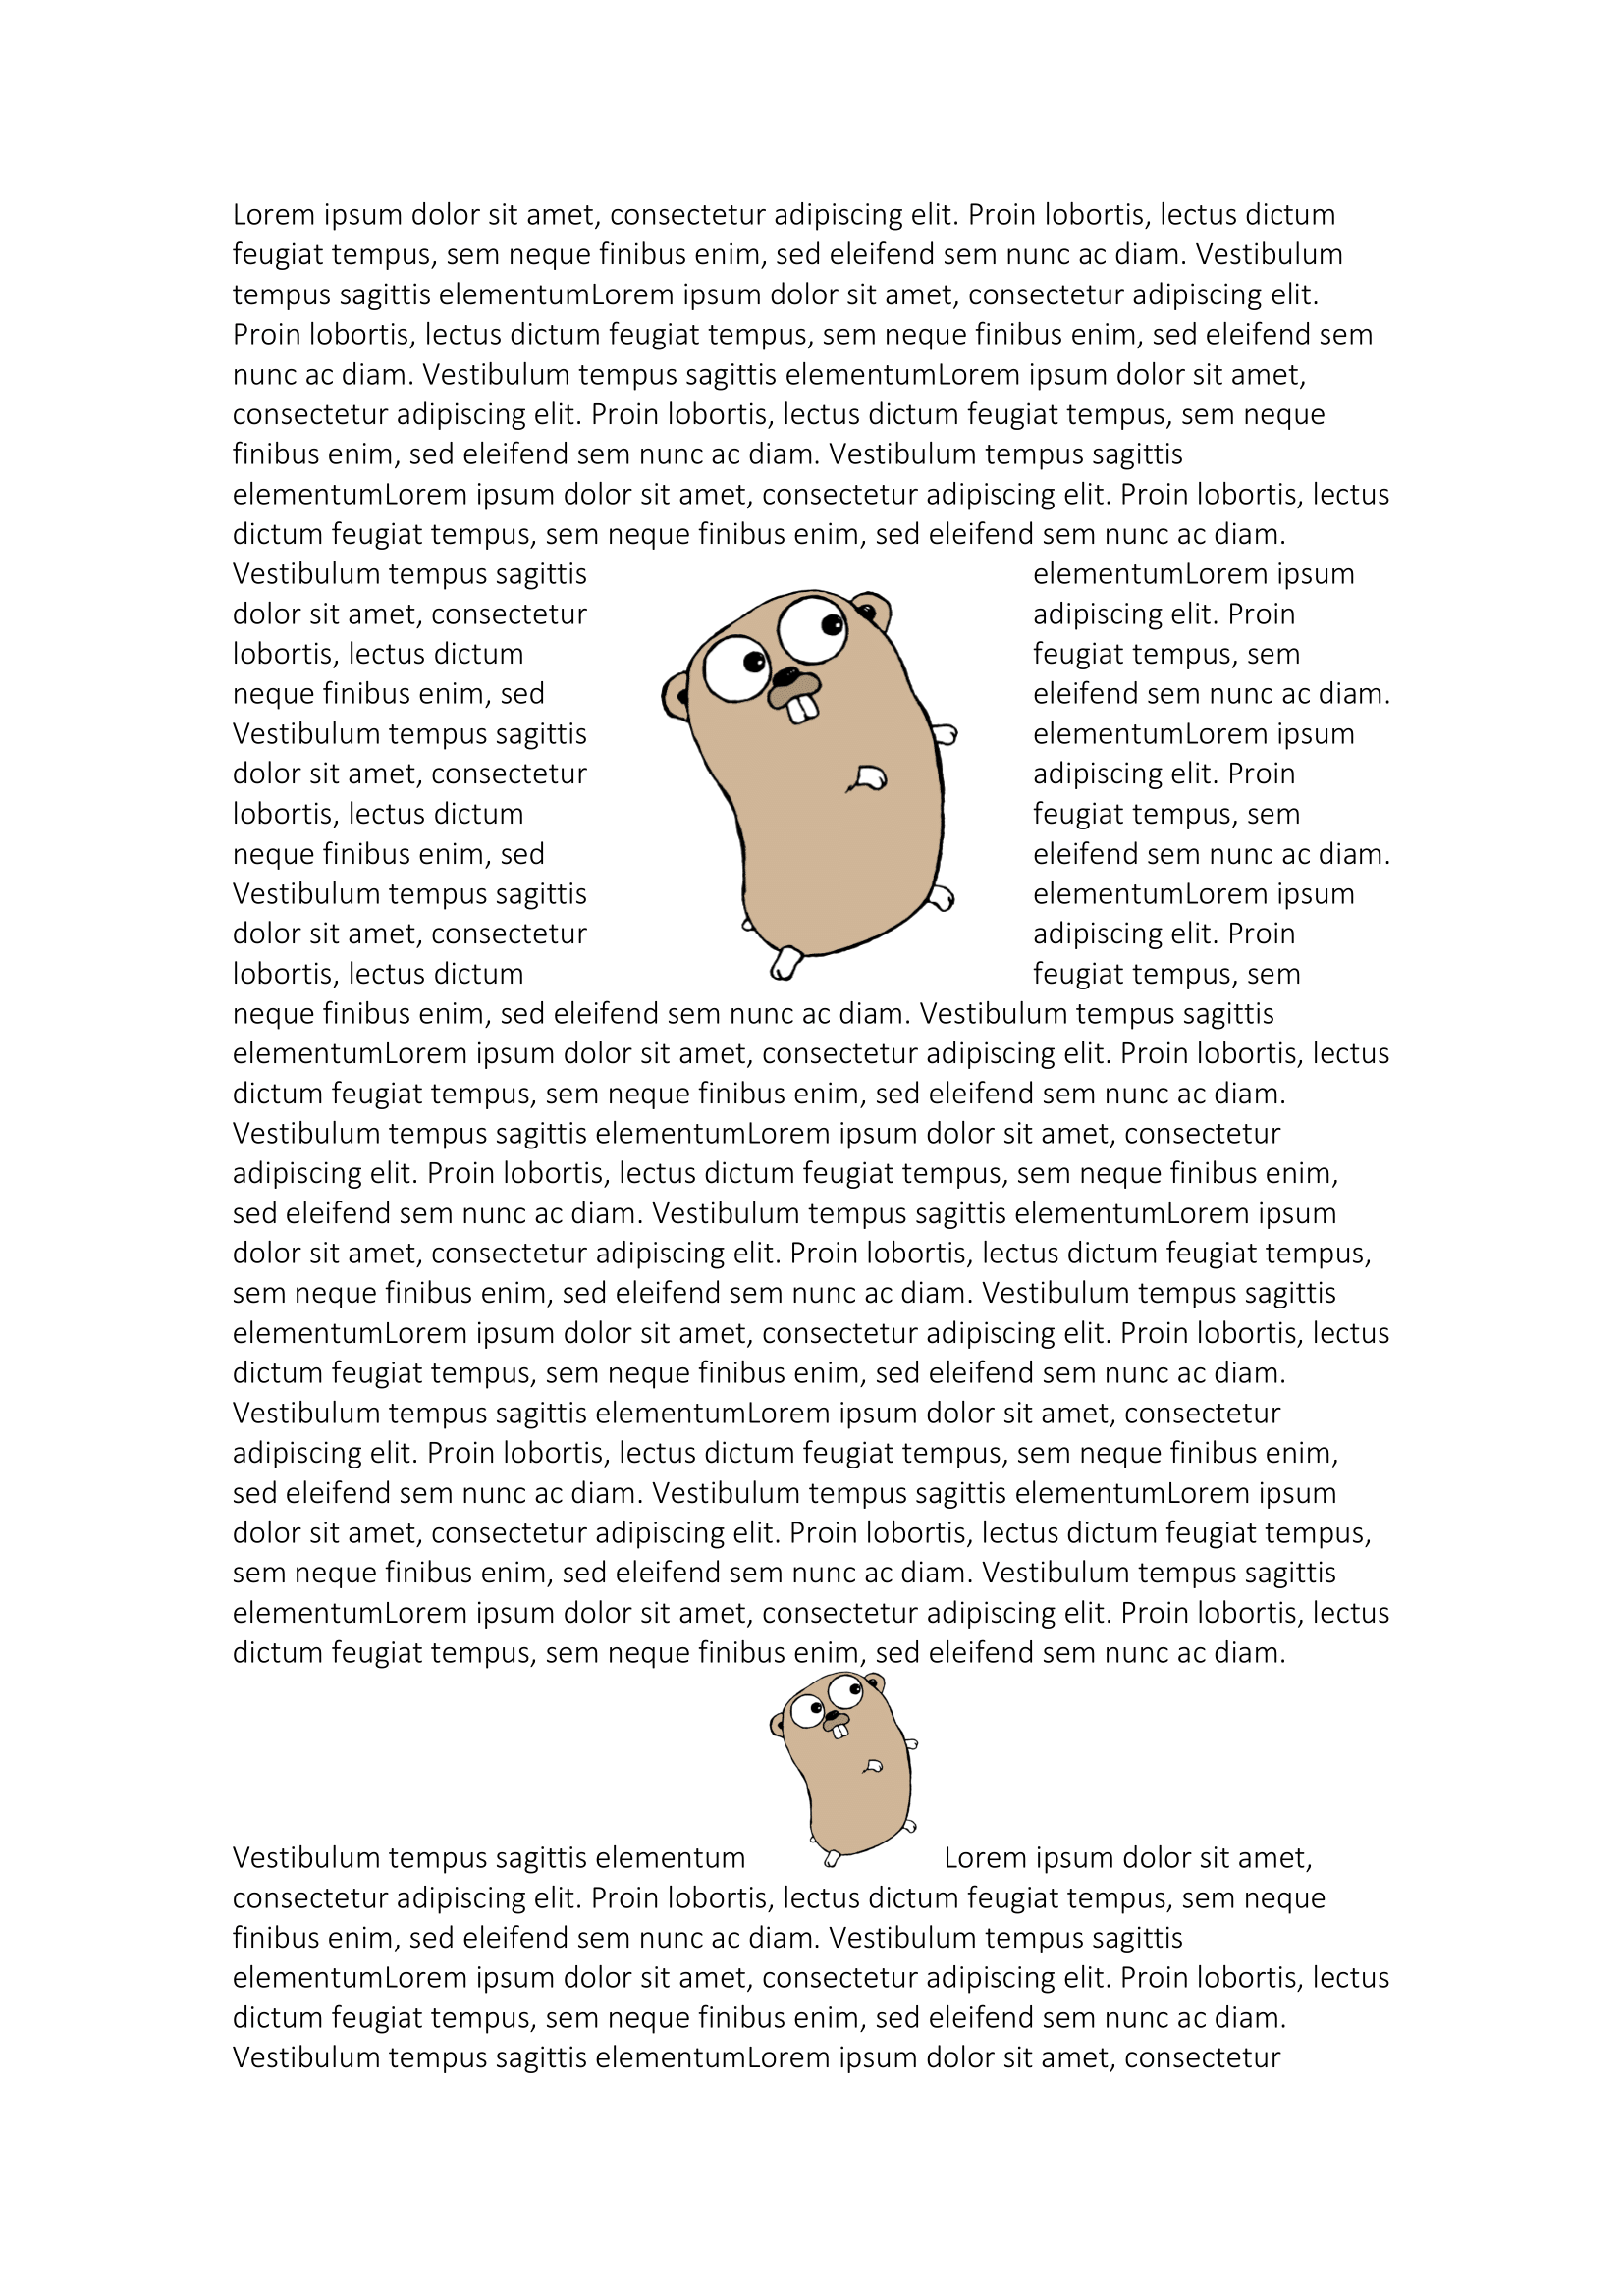
The example builds one long paragraph of lorem ipsum and drops anchored images into it at various points, one per wrap mode, so the output shows square, behind, in front of, top and bottom, through and tight wrapping against the same body text. It also drops one inline image in for comparison.
git clone https://github.com/unidoc/unioffice-examples.git
cd unioffice-examples/document/image-text-wrap
go run main.go
If this is your first time using UniOffice, follow the getting started guide to create an API key and set up your development environment.
View the full source
Sample output
The first page carries the square-wrapped image, with text running down both sides of it, and the inline image further down where the line simply grows to fit.
The second page is where the rest of the modes land. The images the text runs straight over are the behind and in front of text cases; the ones with text crowding up to them are tight and through, both of which fall back to the rectangular polygon.