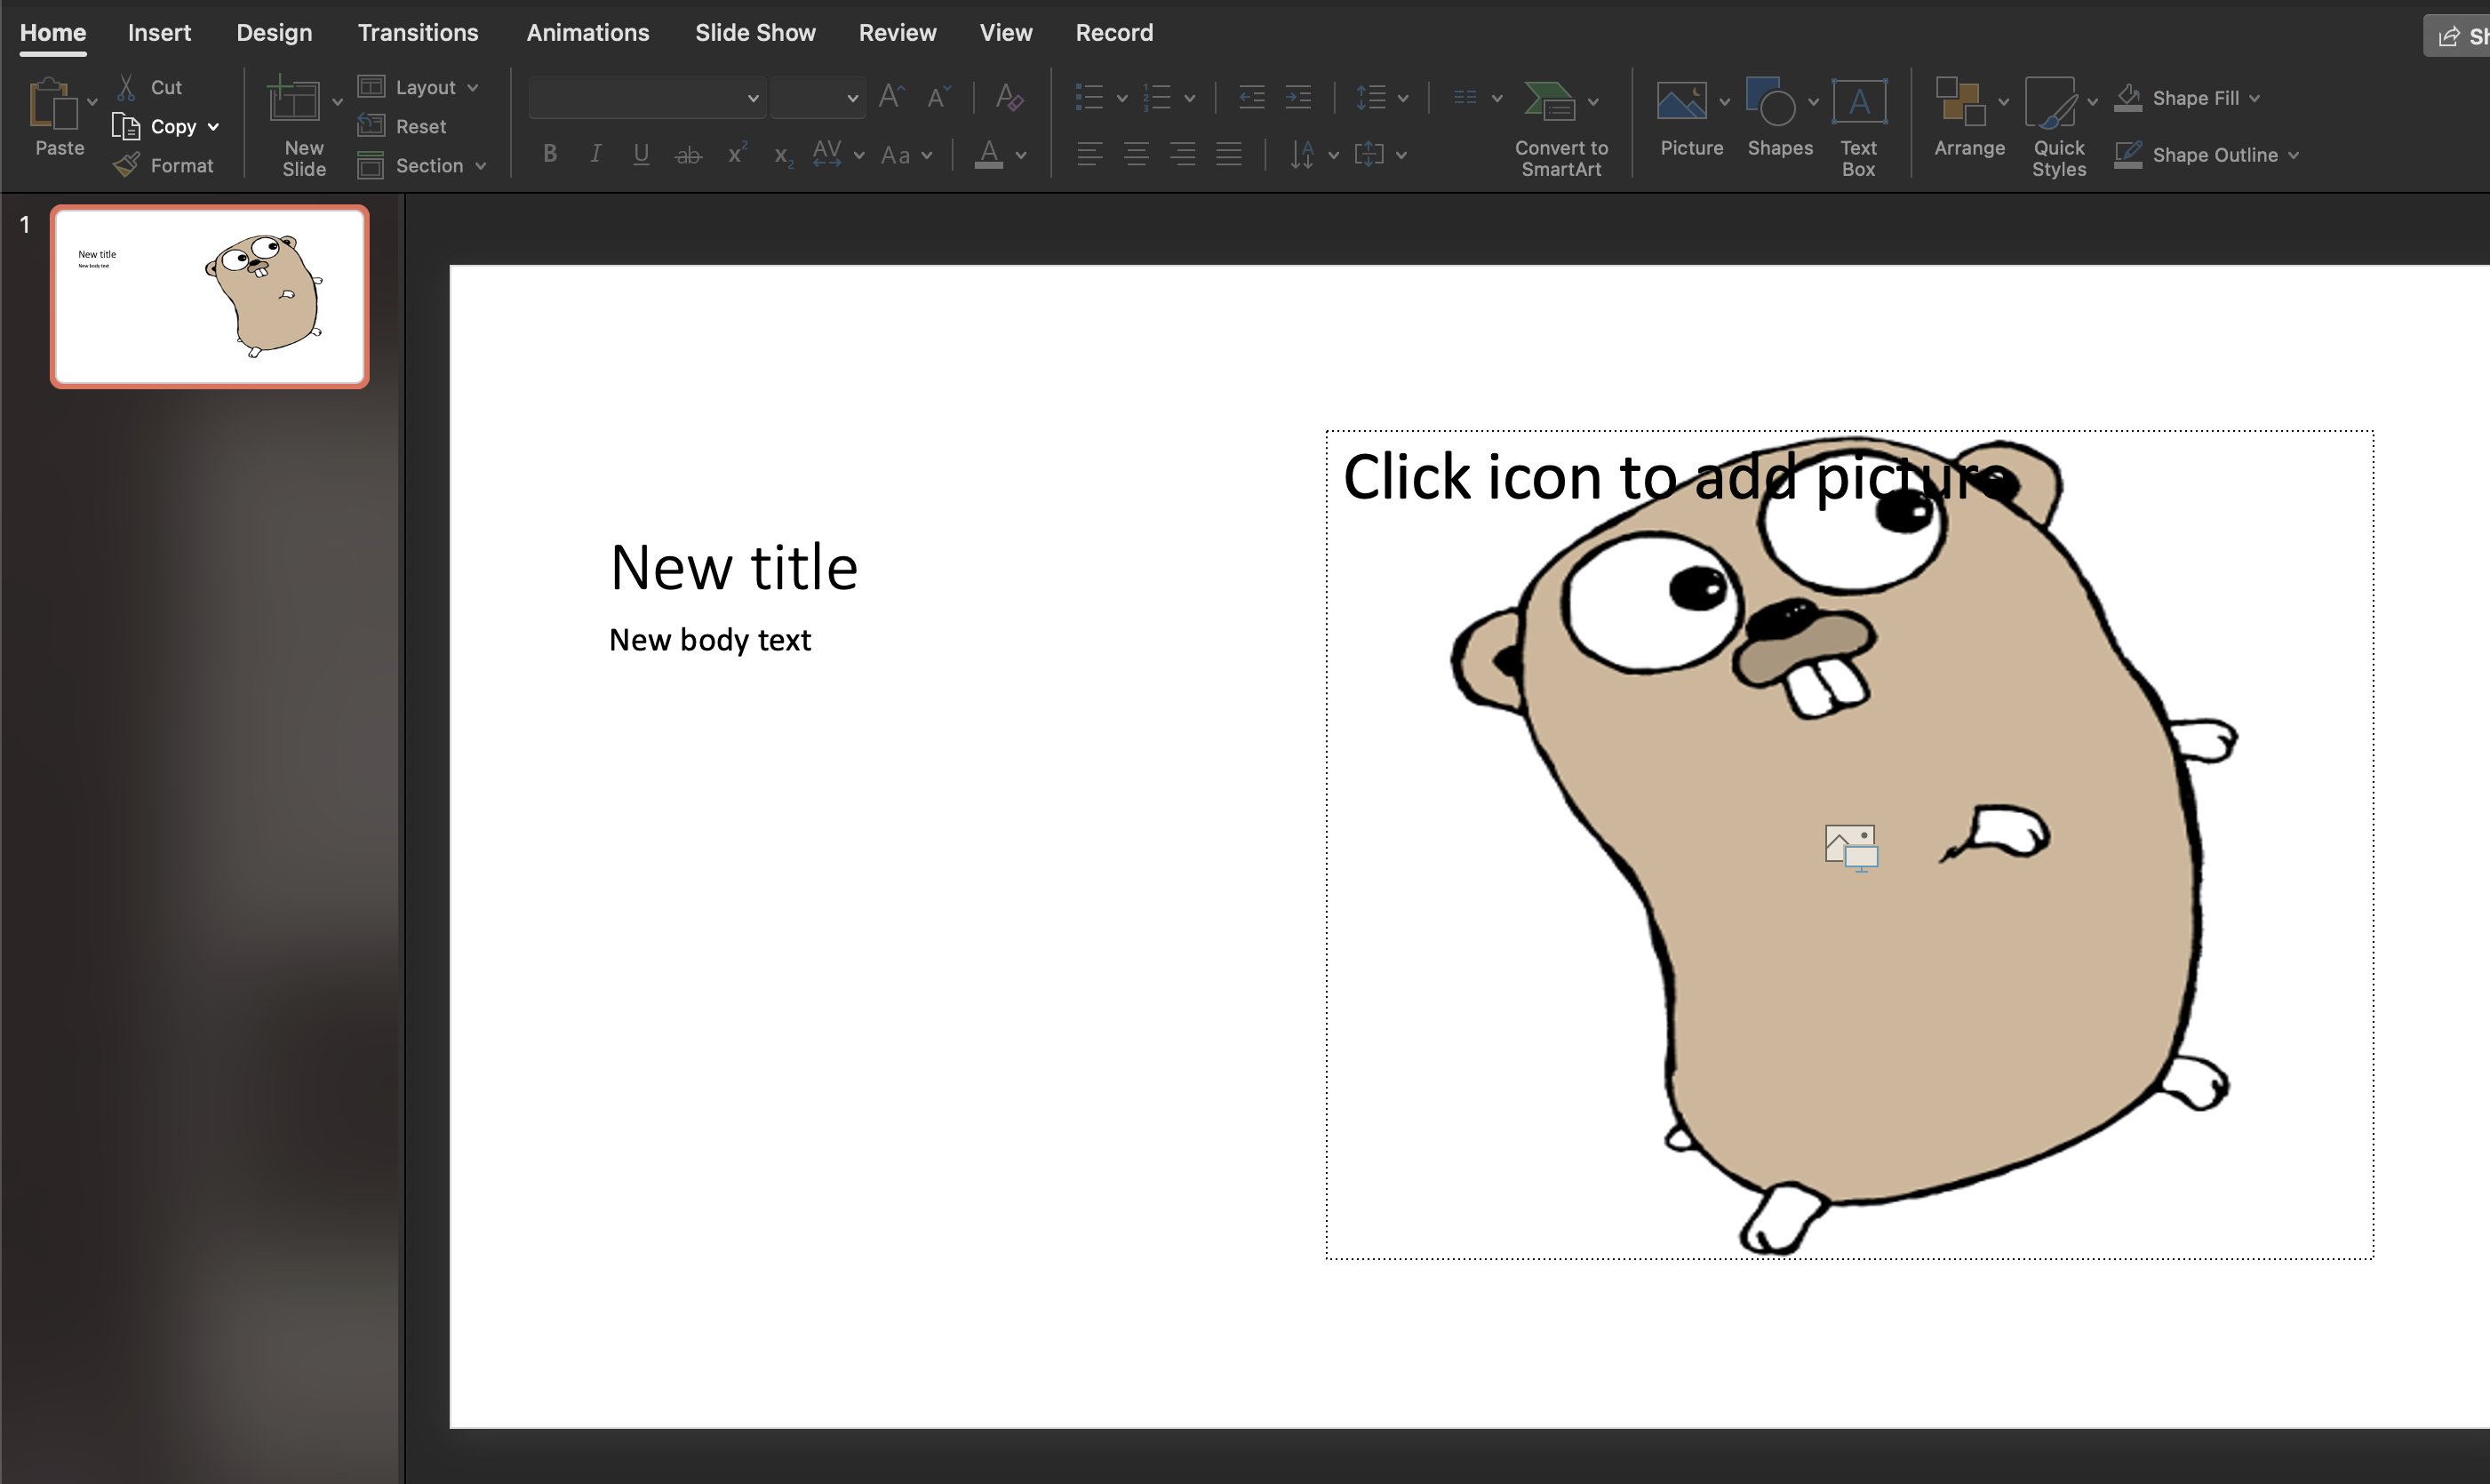
Template with an Image
A picture placeholder is a shape the layout already positioned and sized. There
is no SetImage on PlaceHolder, so filling one means registering the image,
adding the relationship to the slide, and assigning a blip fill to the
placeholder’s shape properties. That is more schema work than the text
placeholders in Use a Template need, and it is the reason
this has its own guide.
| Way to get a picture onto a slide | When |
|---|---|
slide.AddImage(iref) | Free placement. You choose position and size. |
Blip fill on a Pic placeholder | The layout decides position and size. |
Filling a picture placeholder
image, err := common.ImageFromFile("gophercolor.png")
if err != nil {
    return err
}
iRef, err := ppt.AddImage(image)
if err != nil {
    return err
}

imageRelID := slide.AddImageToRels(iRef)

pic, err := slide.GetPlaceholder(pml.ST_PlaceholderTypePic)
if err != nil {
    return err
}

spPr := dml.NewCT_ShapeProperties()
spPr.FillPropertiesChoice.BlipFill = dml.NewCT_BlipFillProperties()
spPr.FillPropertiesChoice.BlipFill.Blip = dml.NewCT_Blip()
spPr.FillPropertiesChoice.BlipFill.Blip.EmbedAttr = &imageRelID
spPr.FillPropertiesChoice.BlipFill.FillModePropertiesChoice.Stretch = dml.NewCT_StretchInfoProperties()
pic.X().SpPr = spPr
AddImageToRels is the piece that differs from ordinary image placement. It
registers the image as a relationship of this slide and returns the relationship
ID, without creating a picture shape. That ID goes into the blip’s embed
attribute, which is what ties the placeholder’s fill to the image part.
Stretch with no fill rectangle means stretch to the shape, which for a
placeholder is the box the layout drew. FillModePropertiesChoice also has a
Tile alternative; set one of the two, since a blip fill with neither leaves
the fill mode to the viewer.
Assigning pic.X().SpPr replaces the placeholder’s shape properties outright.
Whatever geometry, line or effect the layout put there is gone, which is
acceptable for a picture placeholder whose position comes from the layout’s
transform rather than from its shape properties.
Ordering
ppt.AddImage registers the image with the package and slide.AddImageToRels
attaches it to one slide, so the presentation-level call has to come first and
the slide has to exist for the second. The example registers the image, adds the
slide, then wires them together.
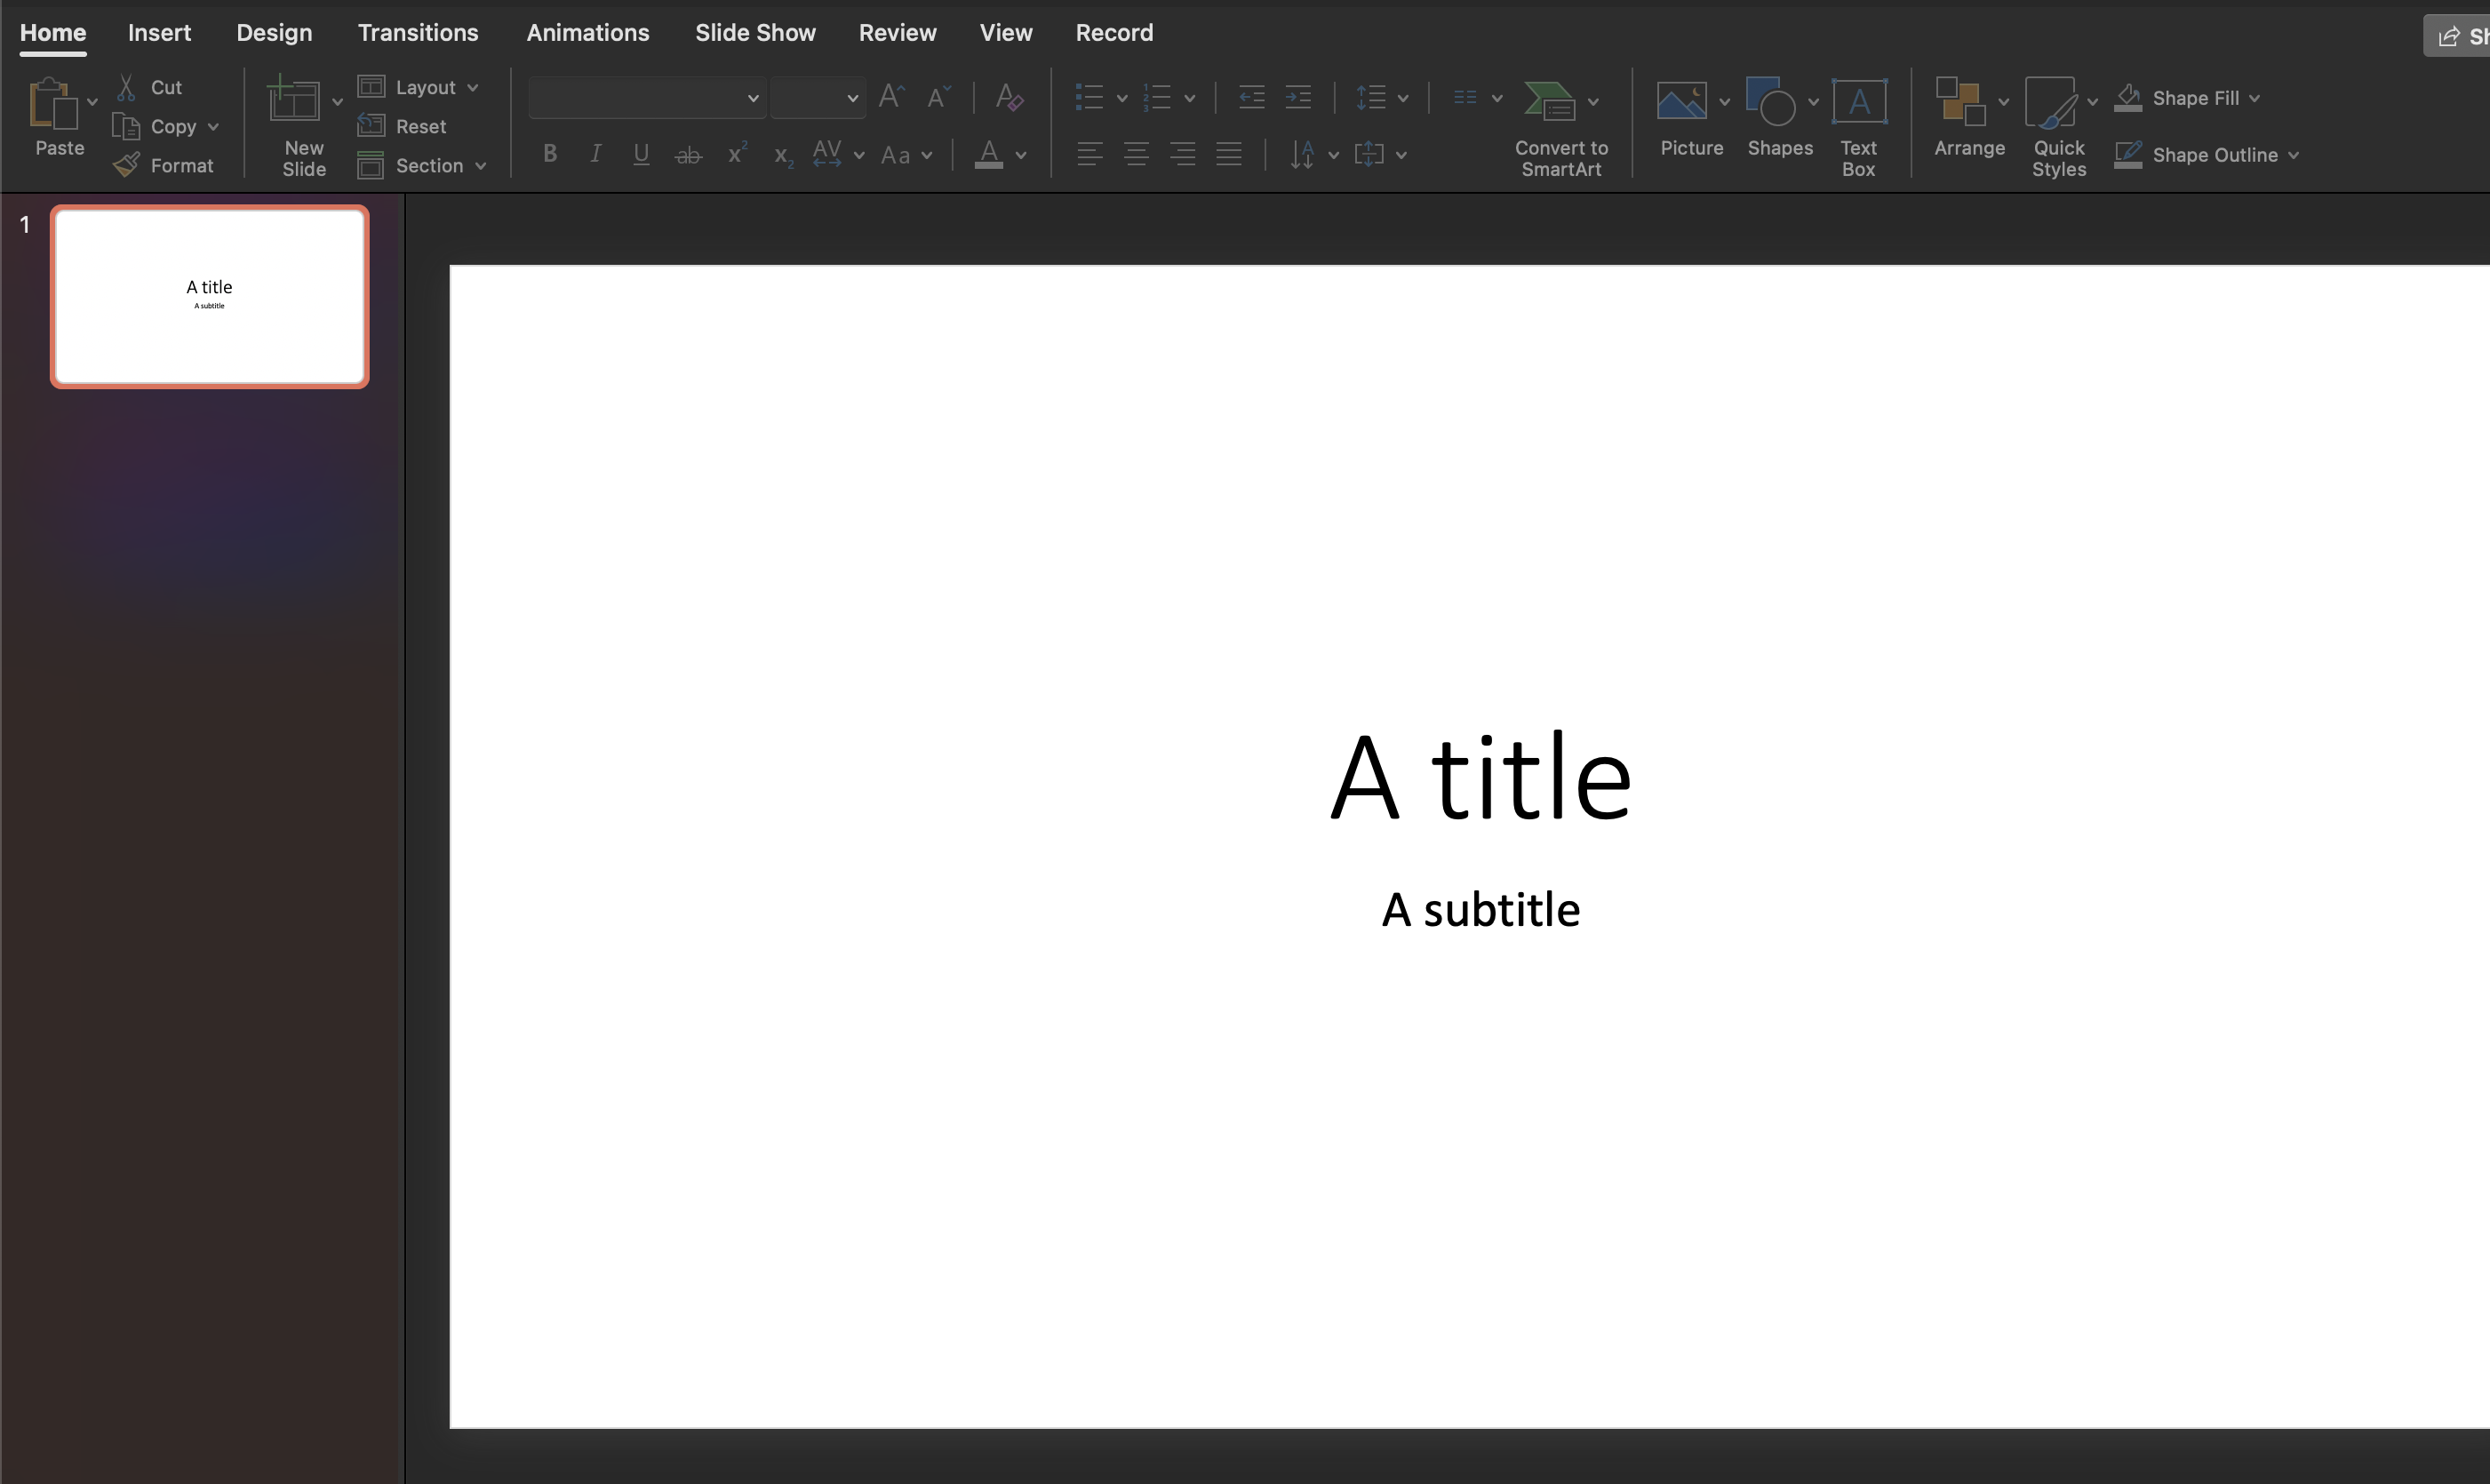
Templates ship with example slides. Remove them with RemoveSlide before adding
your own, or the output carries both.
Limitations
The image fills the placeholder’s box as the layout sized it. Aspect ratio is
not preserved: a stretch fill distorts a picture whose proportions do not match
the box. If that matters, use slide.AddImage and size it yourself with
RelativeHeight.
GetPlaceholder(pml.ST_PlaceholderTypePic) returns an error when the layout has
no picture placeholder, which is most layouts. “Picture with Caption” is the
usual one in a PowerPoint-authored template. Check the error; do not discard it
the way the title and body lookups often are.
Validate checks the schema and the paragraph rule for text bodies. It does not
check that a blip’s embed attribute names a relationship that exists, so a wrong
or stale relationship ID produces a file that validates and then shows an empty
frame in PowerPoint.
Run the example
The example opens template.potx, removes its slides, adds one from the
“Picture with Caption” layout, sets the title and body text, fills the picture
placeholder with gophercolor.png and writes mod.pptx. It prints the elapsed
time on success.
git clone https://github.com/unidoc/unioffice-examples.git
cd unioffice-examples/presentation/use-template-with-image
go run main.go
If this is your first time using UniOffice, follow the getting started guide to create an API key and set up your development environment.
View the full source
Sample input
Sample output