PDF to Image
The render package rasterizes a page. ImageDevice walks the page content
stream and paints it into a Go image.Image, which you can either save directly
or hand to your own encoder. Reach for it when you need a thumbnail, a preview, or
a bitmap to compare pages against each other.
| Call | Result |
|---|---|
RenderToPath(page, path) | Writes the file, picking PNG or JPEG from the extension. |
Render(page) | Returns an image.Image for you to encode however you like. |
RenderWithOpts(page, skipFlattening) | Same as Render, but can leave annotations out. |
Doing it
device := render.NewImageDevice()
device.OutputWidth = 2048

for i := 1; i <= numPages; i++ {
    page, err := reader.GetPage(i)
    if err != nil {
        return err
    }

    if err := device.RenderToPath(page, fmt.Sprintf("page_%d.png", i)); err != nil {
        return err
    }
}
OutputWidth is in pixels and is the only size control. Height follows from the
page’s aspect ratio, and if a crop box is present the width applies to the cropped
region rather than the media box. Leaving it at zero renders at the page’s own
size in points, so a letter page comes out 612 pixels wide.
One device can render a whole document, and reusing it is worth doing: the device owns a glyph cache that is shared across every page it renders. The cache is not locked, so give each goroutine its own device rather than sharing one.
Render flattens annotations into the output. Call
RenderWithOpts(page, true) to skip that and render only the page content, which
is what you want when form fields or stamps should not appear.
SetInterpolator changes the scaling filter. The default is draw.BiLinear;
draw.CatmullRom gives better quality for large downscales and
draw.NearestNeighbor is the fastest. It takes an interpolator from
golang.org/x/image/draw.
Limitations
RenderToPath recognizes .png, .jpg and .jpeg and returns an error for
anything else. JPEG output is written at quality 100, which is not adjustable
through the device; use Render and encode yourself if you need a different
quality or a different format.
Of the seven PDF shading types, only axial (type 2) and radial (type 3) are painted. Function-based and mesh shadings, types 1 and 4 through 7, are skipped with a debug log message and no error, so the area they should fill comes out empty. Color spaces inside a shading are also narrower than elsewhere: an unsupported one fails the shading rather than the page.
The multiply blend mode is only composited properly inside a transparency group.
Outside a /Group form it is approximated by rendering the fill at almost zero
alpha, which is close for dark ink on white and wrong for anything else. Miter
limit, line dash phase, rendering intent and flatness tolerance are parsed and
ignored.
Fonts that the document does not embed are substituted from the fonts installed on the machine, matched by name and by the bold, italic and serif traits guessed from the base font name and the font descriptor. Output for those documents therefore depends on the host, which matters when rendered images are compared between machines or in CI.
Color management
UniPDF v5 interprets embedded ICC profiles when converting color for rendering.
For an ICCBased color space with three components whose profile is a matrix/TRC
RGB profile, colors and images are converted through that profile to sRGB. Only
that profile class is interpreted: a different component count, a CMYK, gray or
Lab profile, a LUT-based profile, or a corrupt one falls back to the alternate
color space named in the PDF, exactly as v4 did for every profile.
This is a behavioral change. Pages whose colors come from a matrix/TRC ICCBased space will render with slightly different pixel values than they did under v4. Nothing needs to change in your code, but a test that compares rendered output against images captured from v4 may need new reference images.
Run the example
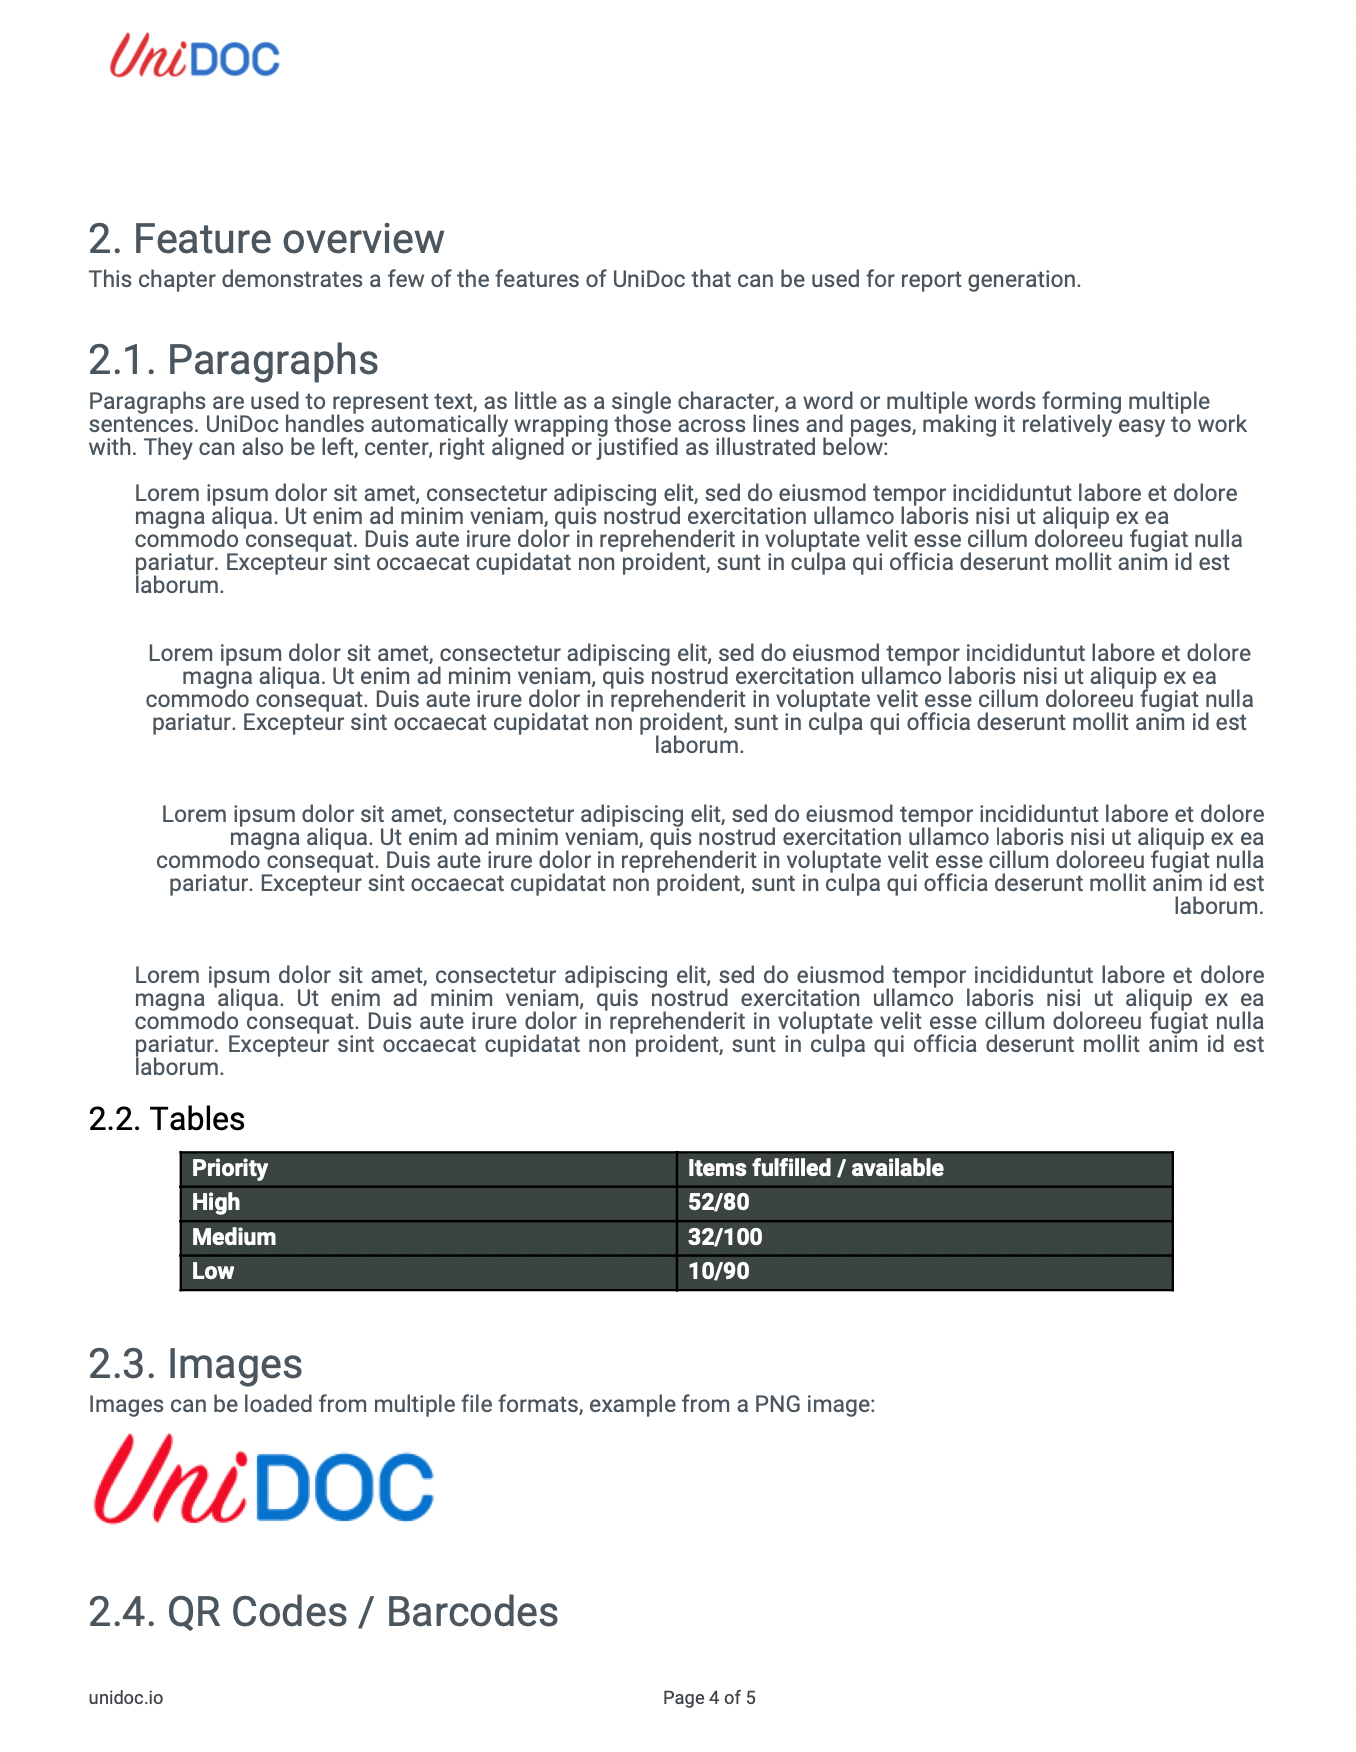
pdf_image_render.go renders every page of every input file to a numbered PNG in
the output directory. The whole of it is one ImageDevice and a loop over
reader.GetPage.
git clone https://github.com/unidoc/unipdf-examples.git
cd unipdf-examples/render
go run pdf_image_render.go OUTPUT_DIR INPUT.pdf
If this is your first time using UniPDF, follow the getting started guide to create an API key and set up your development environment.
View the full source
Sample output
The input page:
And the PNG written to the output directory: