Division Layout
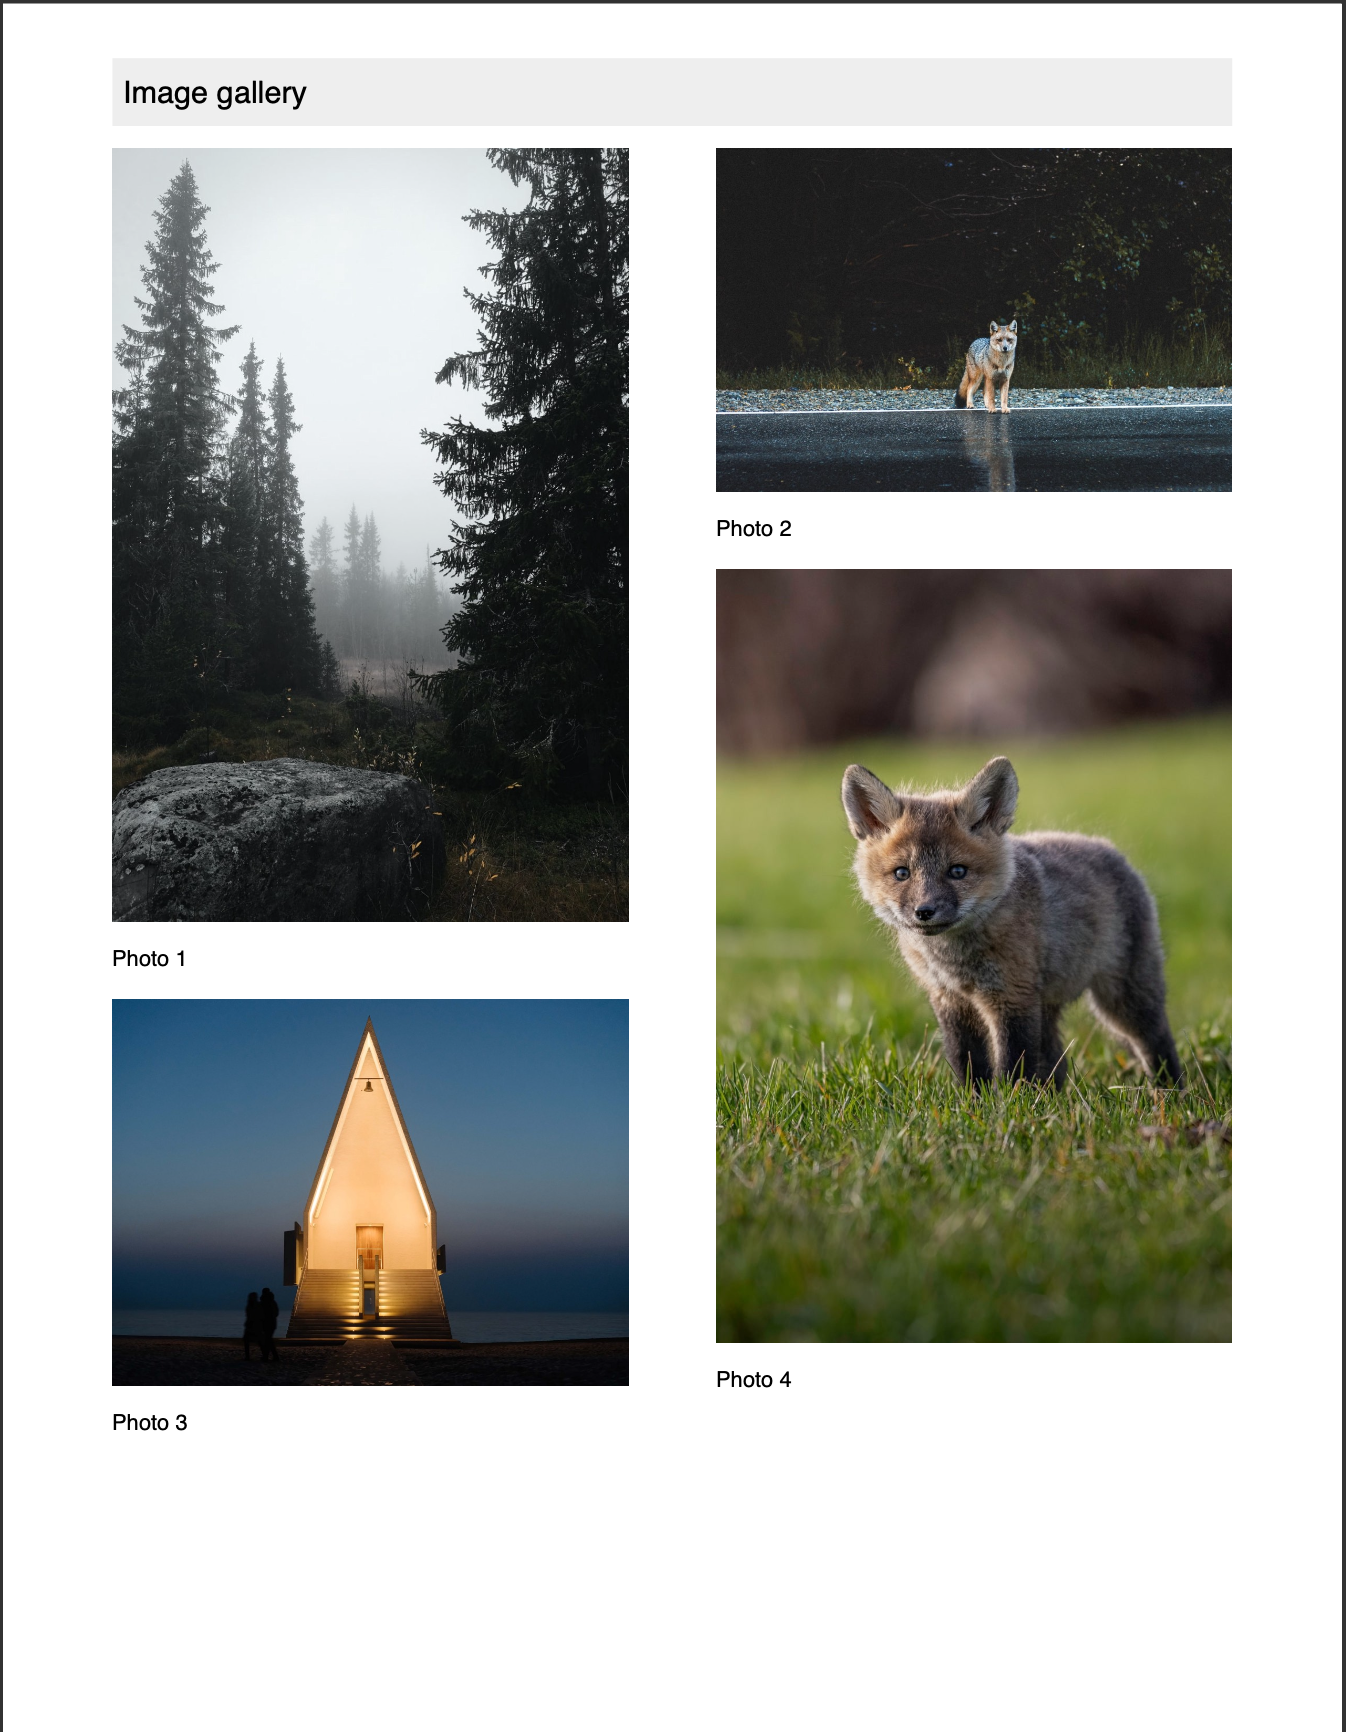
A table is a convenient way to get a magazine-style column layout: make a table with
one cell per column, put a Division in each cell, and add content to the divisions.
The table handles the column geometry while each division stacks its own content
vertically.
contentTable := c.NewTable(2)
contentTable.EnableRowWrap(true)

divLeft, divRight := c.NewDivision(), c.NewDivision()

// Fill the divisions, alternating between them.
for i, imagePath := range imagePaths {
    img, err := c.NewImageFromFile(imagePath)
    if err != nil {
        return err
    }
    img.ScaleToWidth(colWidth)

    div := divLeft
    if i%2 != 0 {
        div = divRight
    }
    div.Add(img)
}

// One cell per column, each holding a division.
cell := contentTable.NewCell()
cell.SetIndent(0)
if err := cell.SetContent(divLeft); err != nil {
    return err
}
Two details make the layout come out right. SetIndent(0) removes the cell’s default
indent, without which the columns don’t line up with the page margins. And the images
are scaled to the column width, computed from the page width minus the page and
content margins, because a cell won’t shrink content to fit.
Enabling row wrapping matters here: a column of images is usually taller than one page, and the wrapping lets the row split so the columns continue onto the next page rather than being pushed forward whole. See row wrap for the details.
Run the example
Everything happens in main: it builds a header table, creates the two divisions,
distributes the images between them by alternating on the loop index, and puts each
division in a cell of a two column table.
git clone https://github.com/unidoc/unipdf-examples.git
cd unipdf-examples/tables
go run pdf_tables_division_layout.go
If this is your first time using UniPDF, follow the getting started guide to create an API key and set up your development environment.
View the full source
Sample output