Simple
A table is created with a fixed column count, and cells are added one at a time, filling each row left to right:
table := c.NewTable(3)

p := c.NewStyledParagraph()
p.SetText("Product #1")

cell := table.NewCell()
cell.SetHorizontalAlignment(creator.CellHorizontalAlignmentLeft)
if err := cell.SetContent(p); err != nil {
    return err
}
There is no way to address a cell by coordinates. The position comes from the order you add cells, and a new row starts automatically once the current one is full.
Alignment
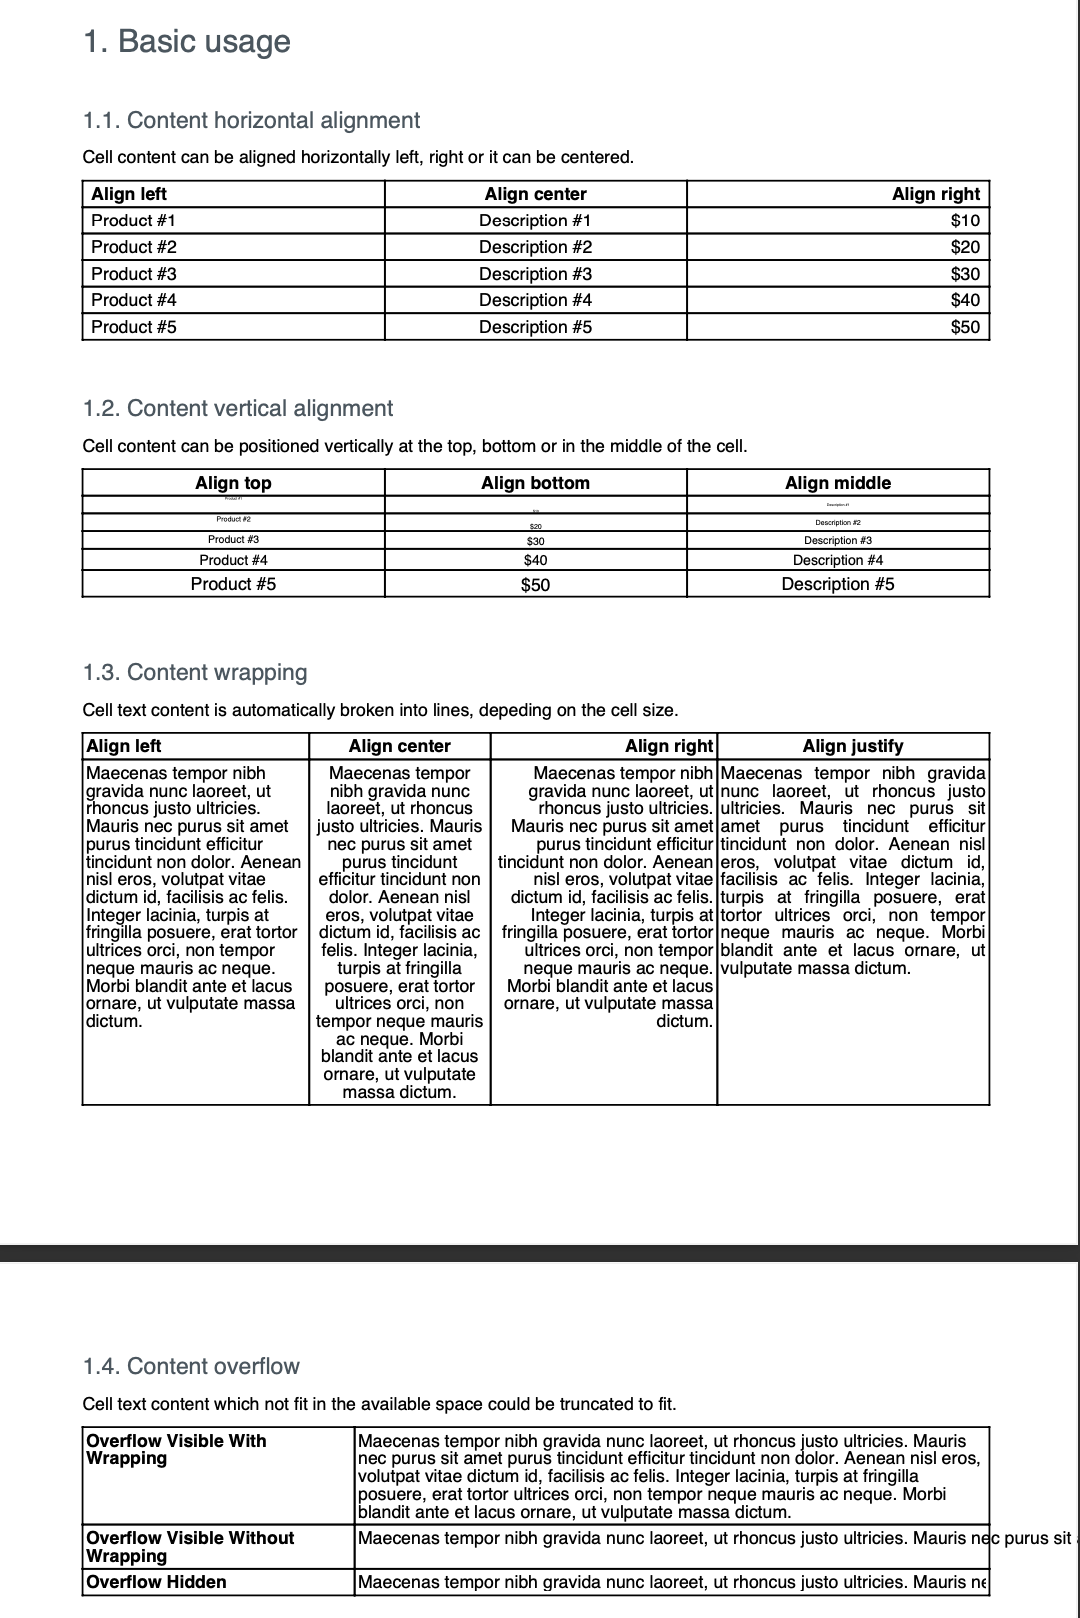
Alignment is a property of the cell, set separately for each axis.
Horizontal: CellHorizontalAlignmentLeft, CellHorizontalAlignmentCenter,
CellHorizontalAlignmentRight.
Vertical: CellVerticalAlignmentTop, CellVerticalAlignmentMiddle,
CellVerticalAlignmentBottom. Vertical alignment only has a visible effect when the
row is taller than the cell’s content, which usually means another cell in the same
row is taller.
Wrapping and overflow
Text that doesn’t fit the column width is handled by the paragraph, not the cell, so
these two calls go on the StyledParagraph:
p.SetEnableWrap(true)
p.SetTextOverflow(creator.TextOverflowVisible)SetEnableWrap(true), the default, breaks the text over several lines and grows the
row to fit. With wrapping off the text stays on one line and runs past the cell,
which is where SetTextOverflow decides what happens:
TextOverflowVisibledraws the text beyond the cell boundary.TextOverflowHiddenclips it at the boundary.
The overflow setting has no effect while wrapping is on, since wrapped text never exceeds the width in the first place.
Run the example
The example is one chapter with four subchapters, each a small table:
contentAlignH for horizontal alignment, contentAlignV for vertical,
contentWrapping for wrapped text, and contentOverflow for the wrap and overflow
combinations side by side.
git clone https://github.com/unidoc/unipdf-examples.git
cd unipdf-examples/tables
go run pdf_tables_simple.go
If this is your first time using UniPDF, follow the getting started guide to create an API key and set up your development environment.
View the full source
Sample output